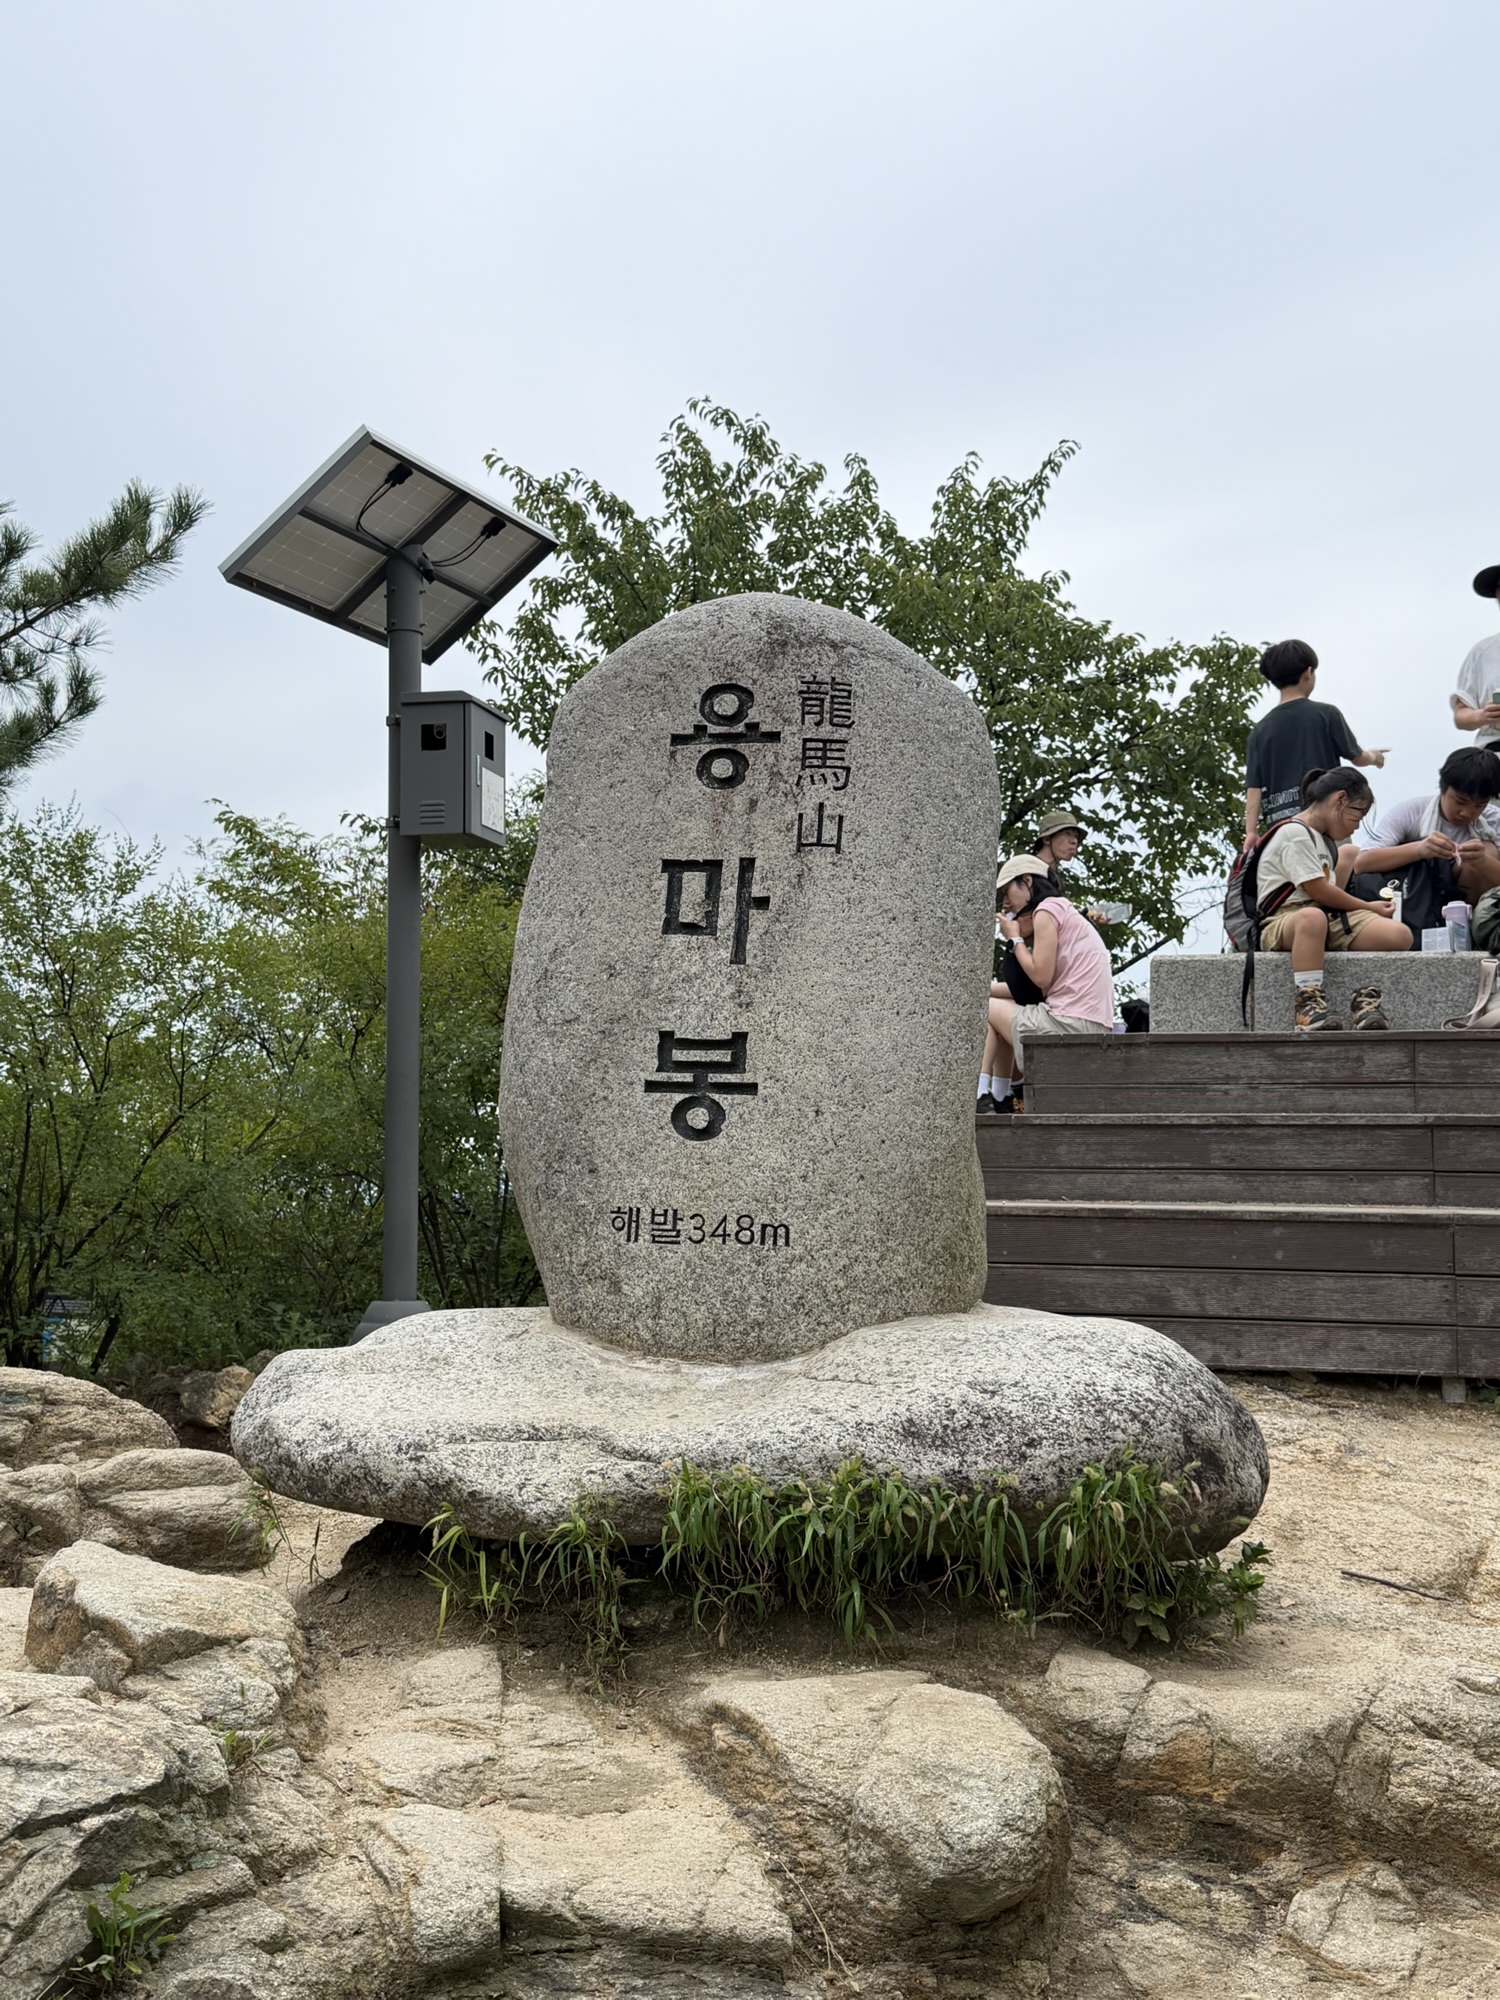
Yongmasan (용마산) is a short Seoul hike, and the route from Yongma Waterfall Park (용마폭포공원) is easy to follow. It also has that very Seoul kind of reward: you don’t have to hike for hours before the city starts opening up in front of you. The mountain is 348 meters high, so I went in thinking it would feel closer to a walk than a hike. That was my mistake. It isn’t an extremely hard mountain, but for a complete beginner, or for someone showing up a little too relaxed like I did, the stairs and rocky uphill sections can feel stronger than expected.
From the parking lot to Yongmabong (용마봉), it took me about one hour. My full round trip was about 1 hour and 40 minutes, including a short stop at the waterfall and a few minutes watching the climbing wall near the start.
So yes, Yongmasan is manageable. Just don’t underestimate it too much.
Starting from Yongma Waterfall Park
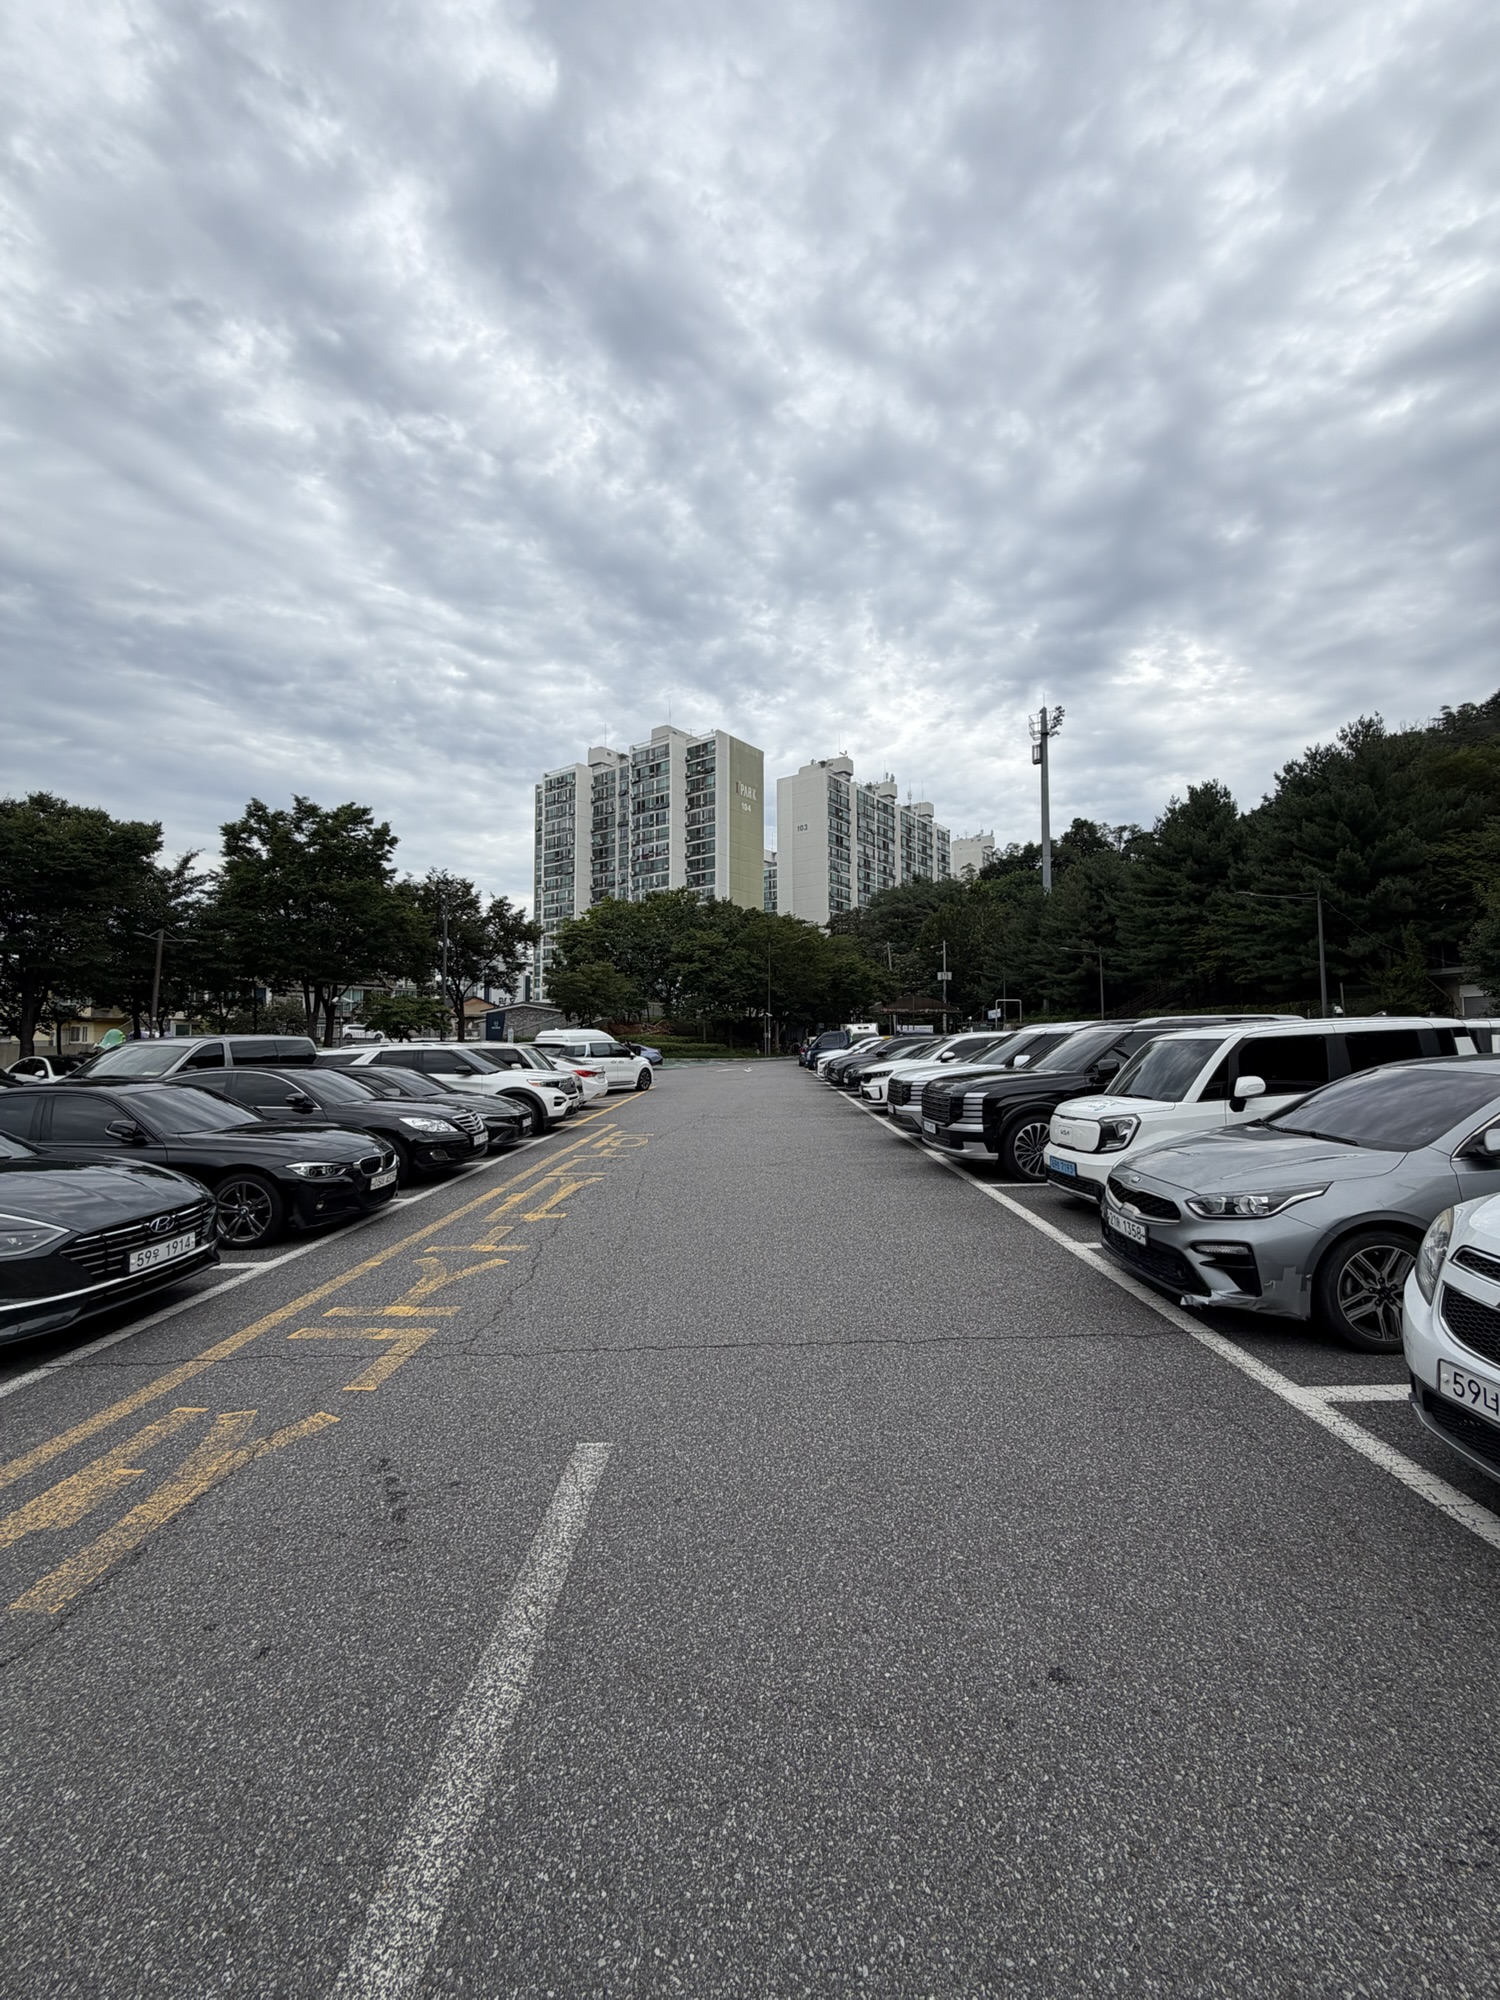
We drove this time and parked at Yongma Waterfall Park. The parking lot was bigger than I expected, and the fee was 100 won per 10 minutes when I visited. If you’re coming by subway, Yongmasan Station (용마산역) on Line 7 is about a seven-minute walk from the park parking lot.
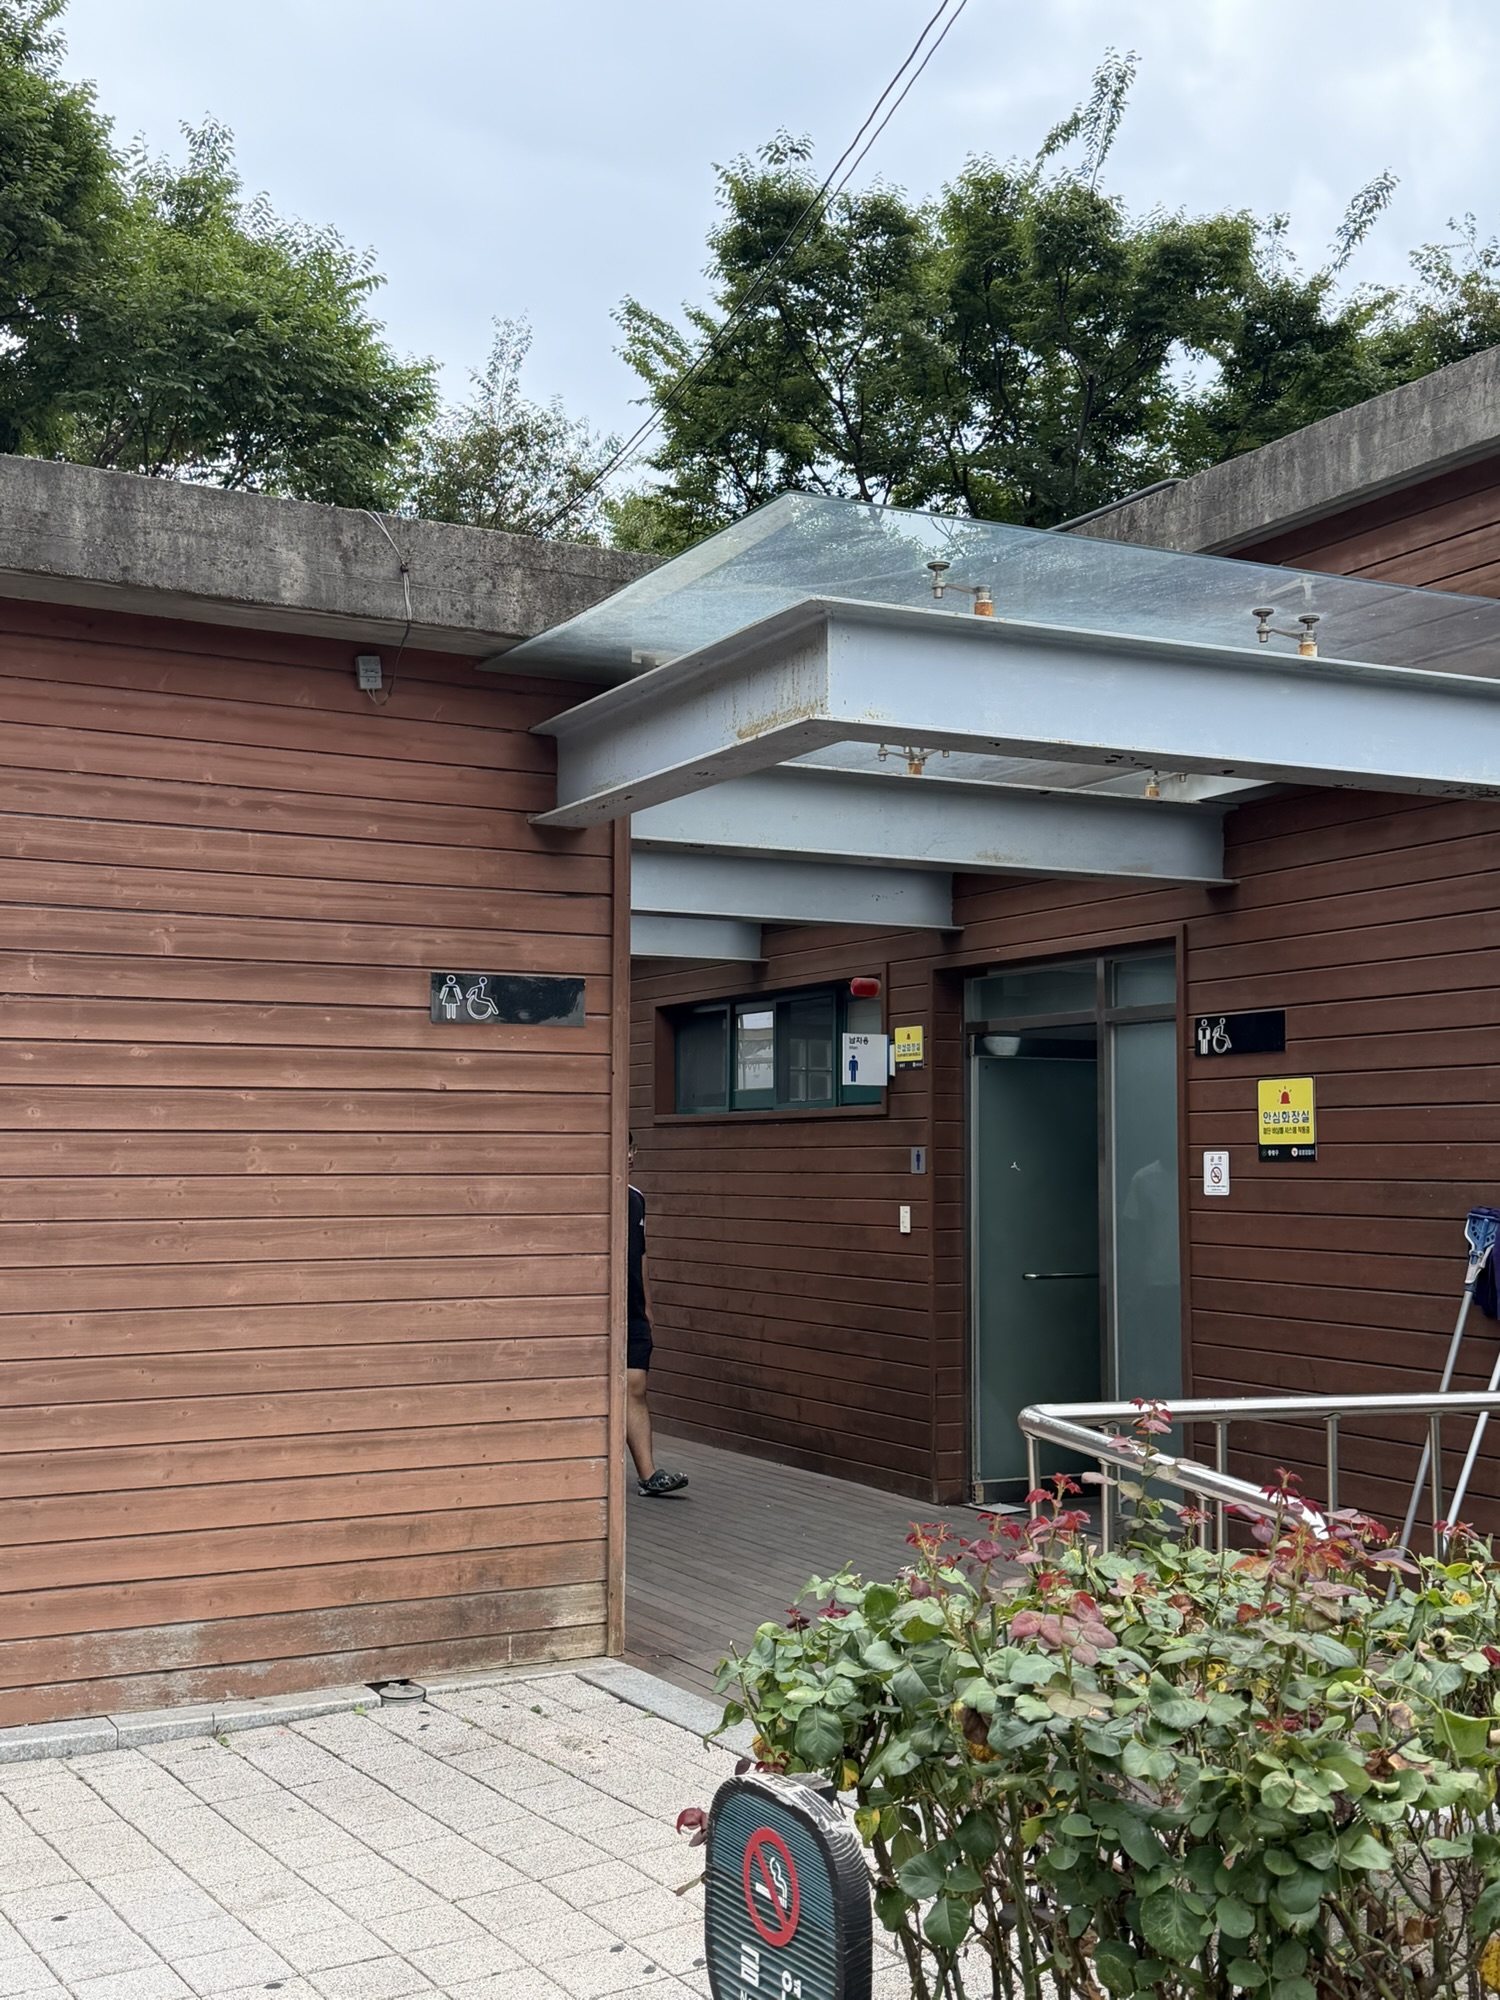
There was a restroom right by the parking area, and it was cleaner than I expected for a park restroom. It also had toilet paper, which I always appreciate before a hike. There’s another restroom further inside the park too, so this route is pretty comfortable before you actually start climbing.
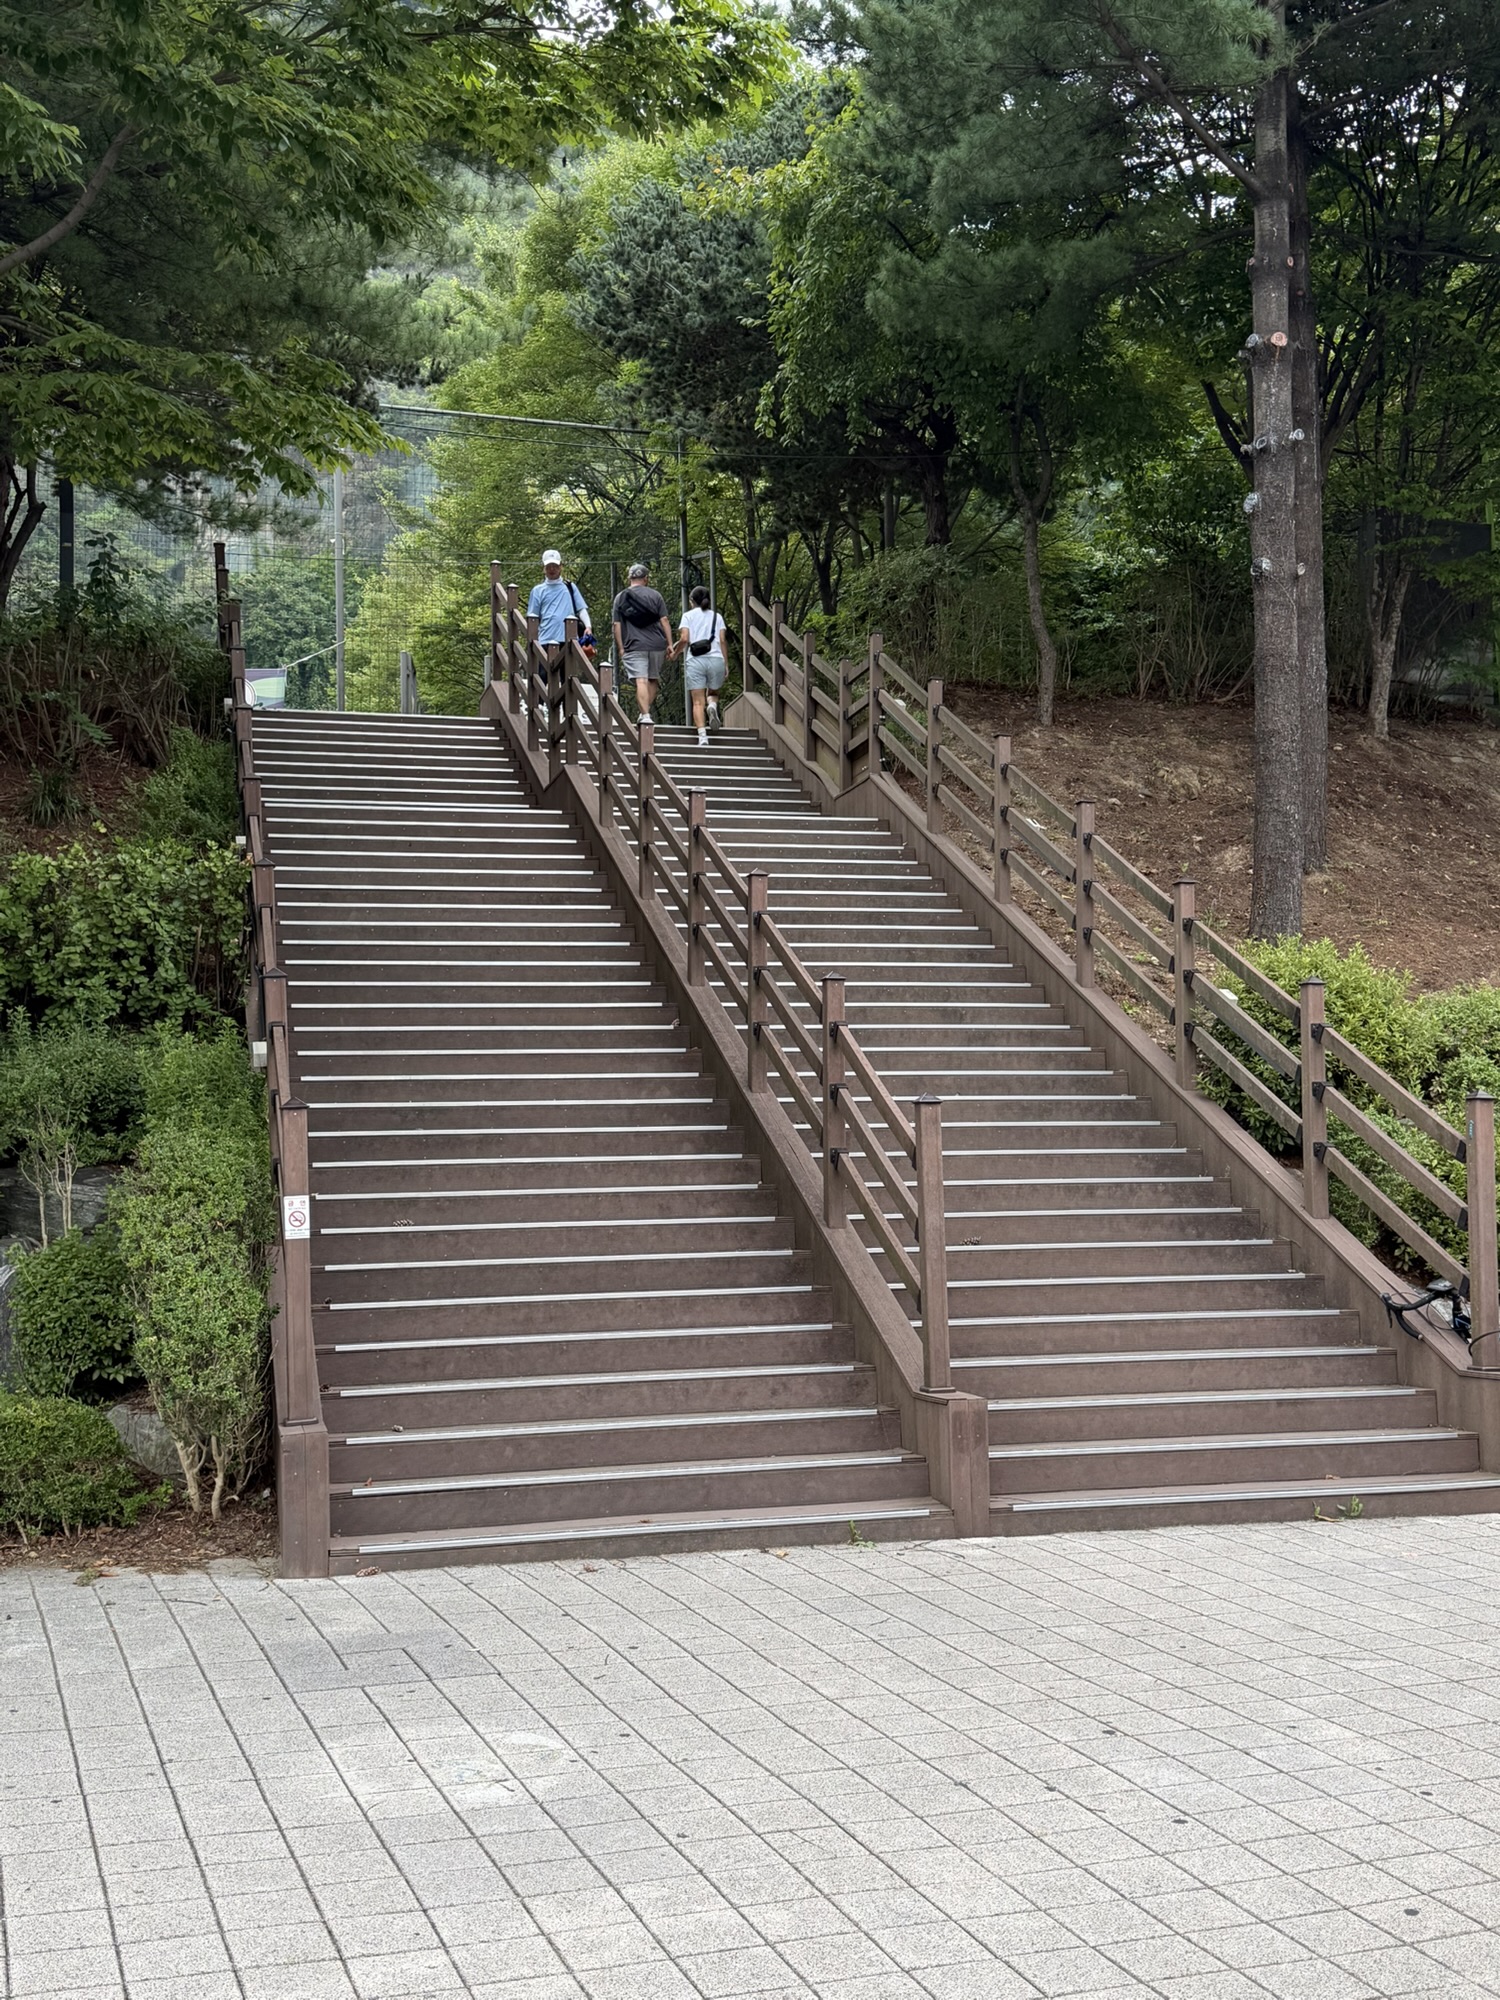
One small route note: I saw the stairs near the parking lot and went straight up, but that wasn’t the closest way. If you’re starting from the parking lot, it’s easier to walk toward the far inside end of the lot and continue up from there.
Yongma Waterfall Before the Trail
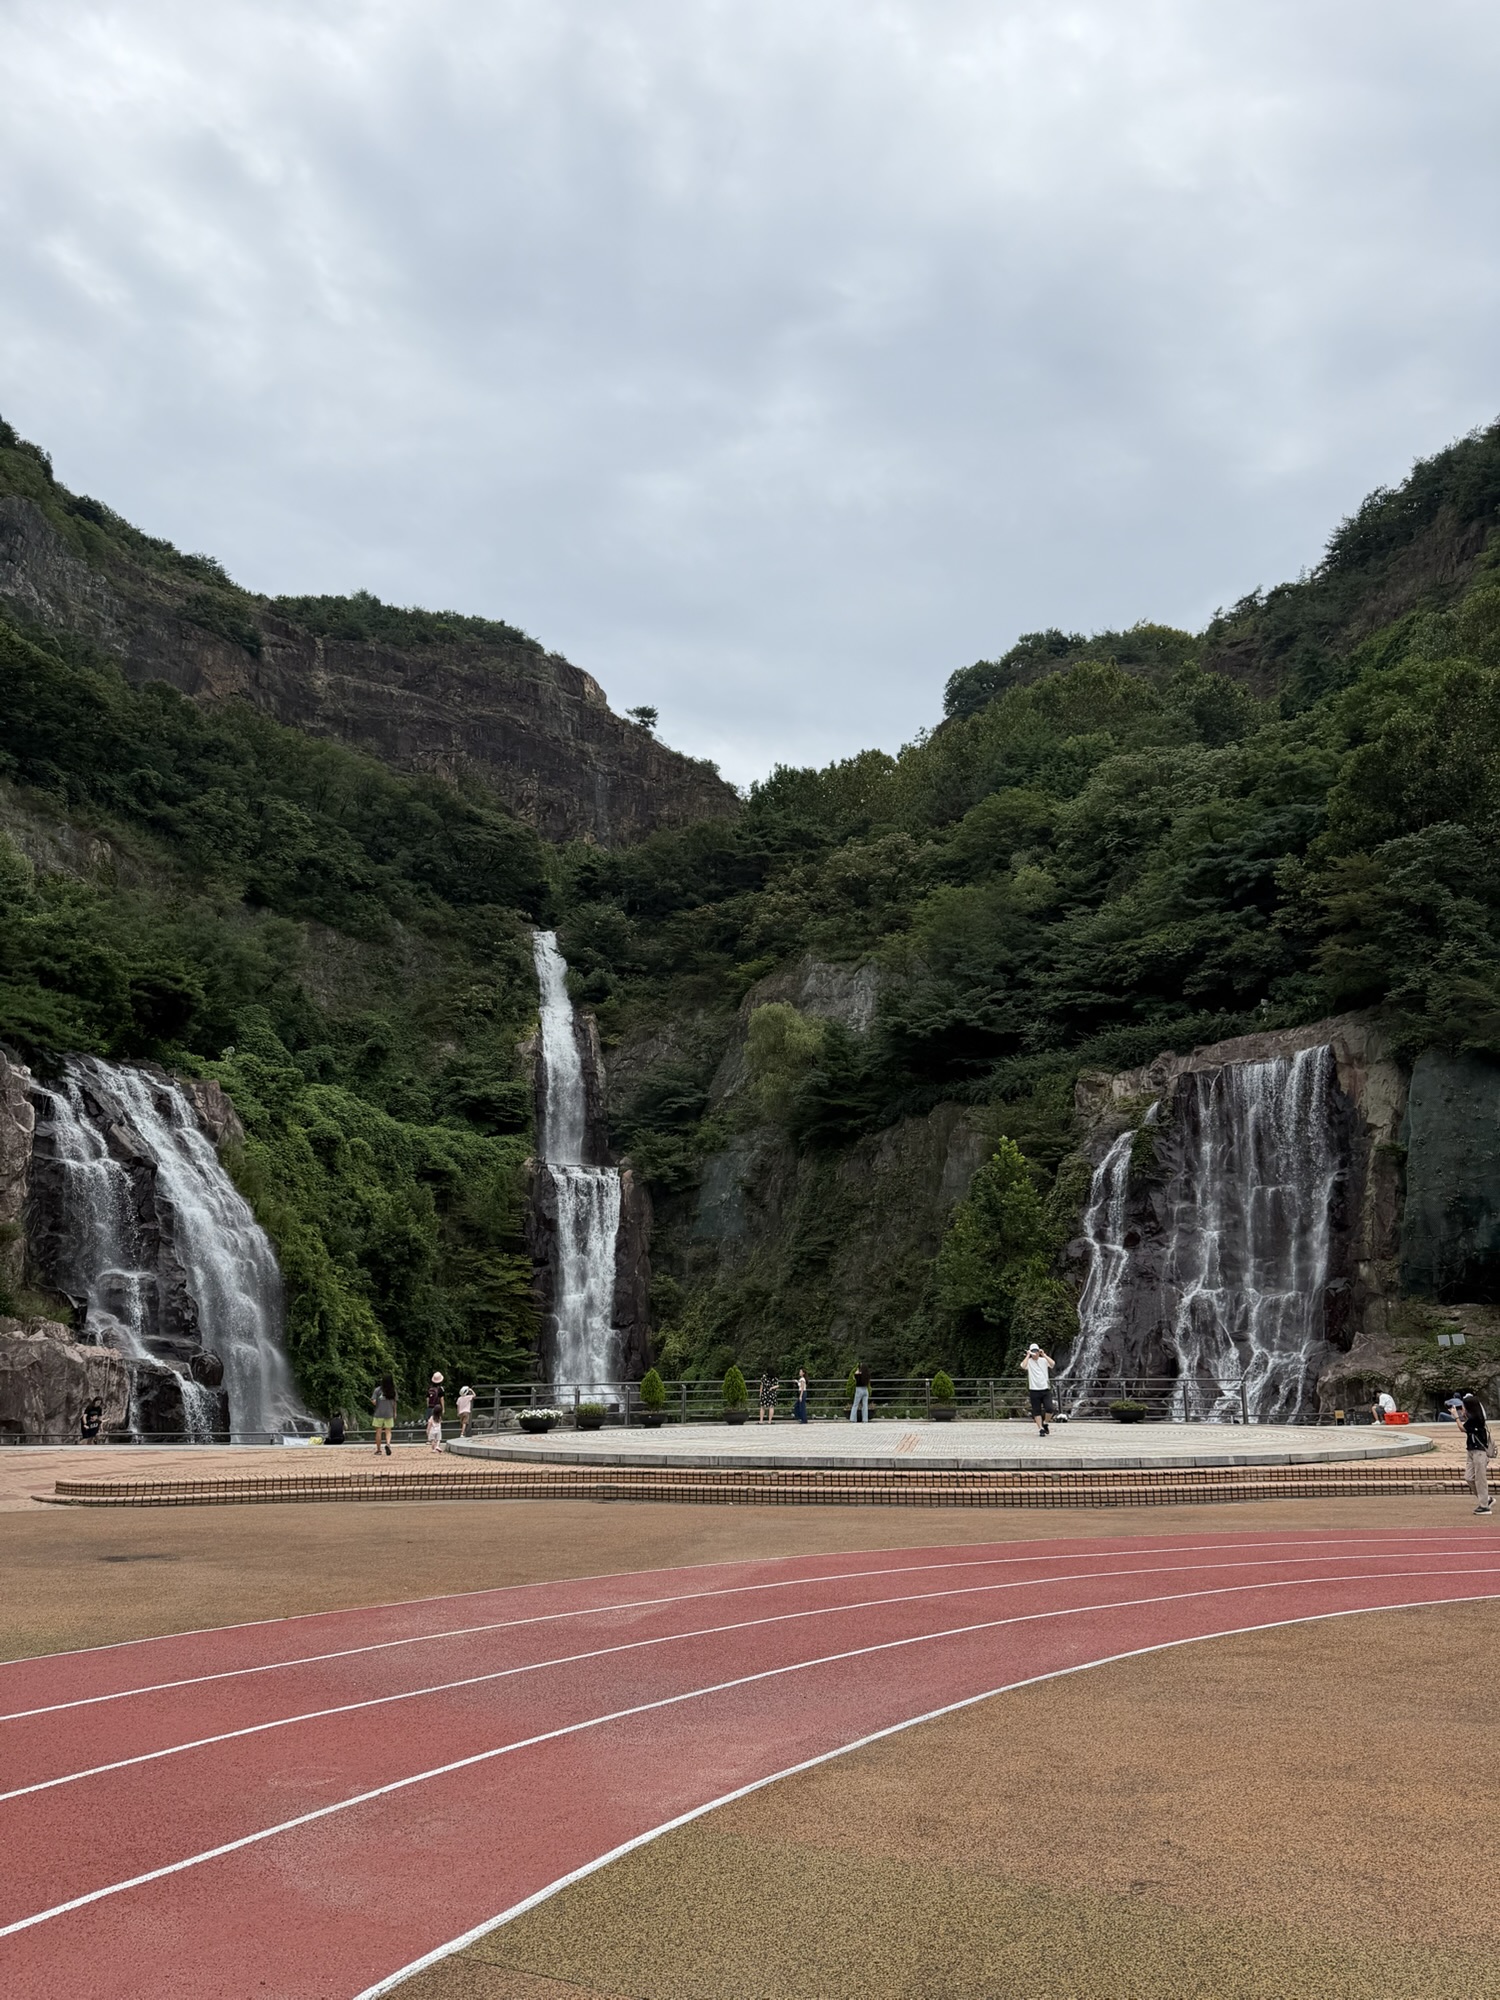
Before the hike really begins, you pass Yongma Waterfall. It still feels slightly unexpected to see a waterfall like this inside Seoul, especially when you haven’t even left the city properly yet. I only stopped for about five minutes, but it’s worth pausing here before heading up.
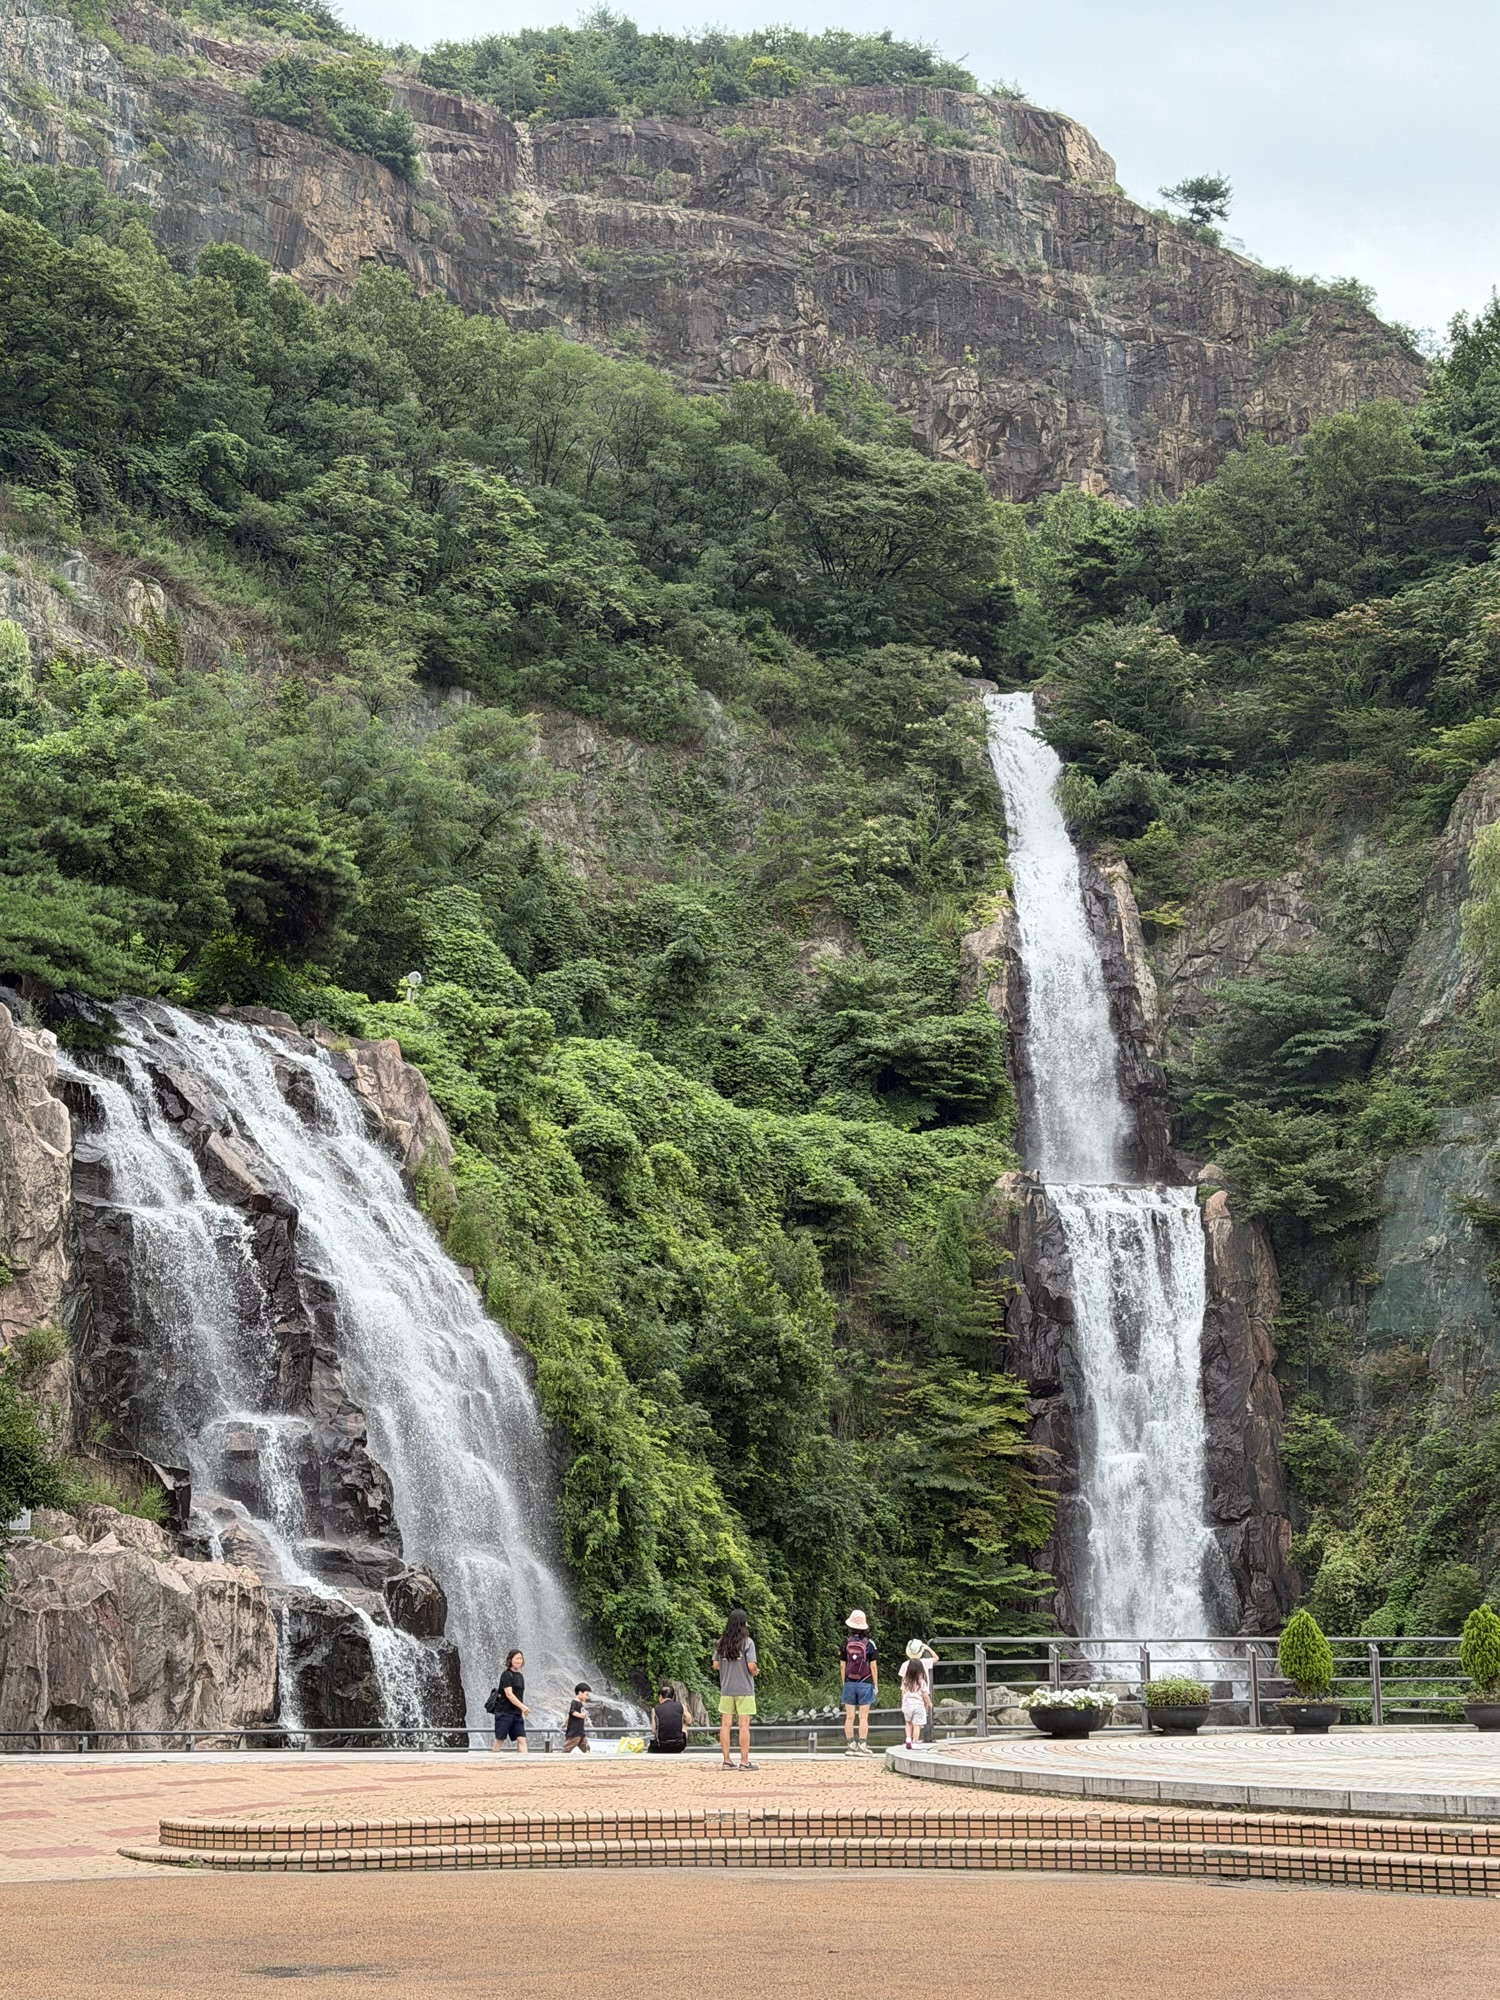
My total time was about 1 hour and 40 minutes, and that already includes around five minutes of looking at the waterfall. If you move straight to the trail, the actual walking time can be a little shorter.
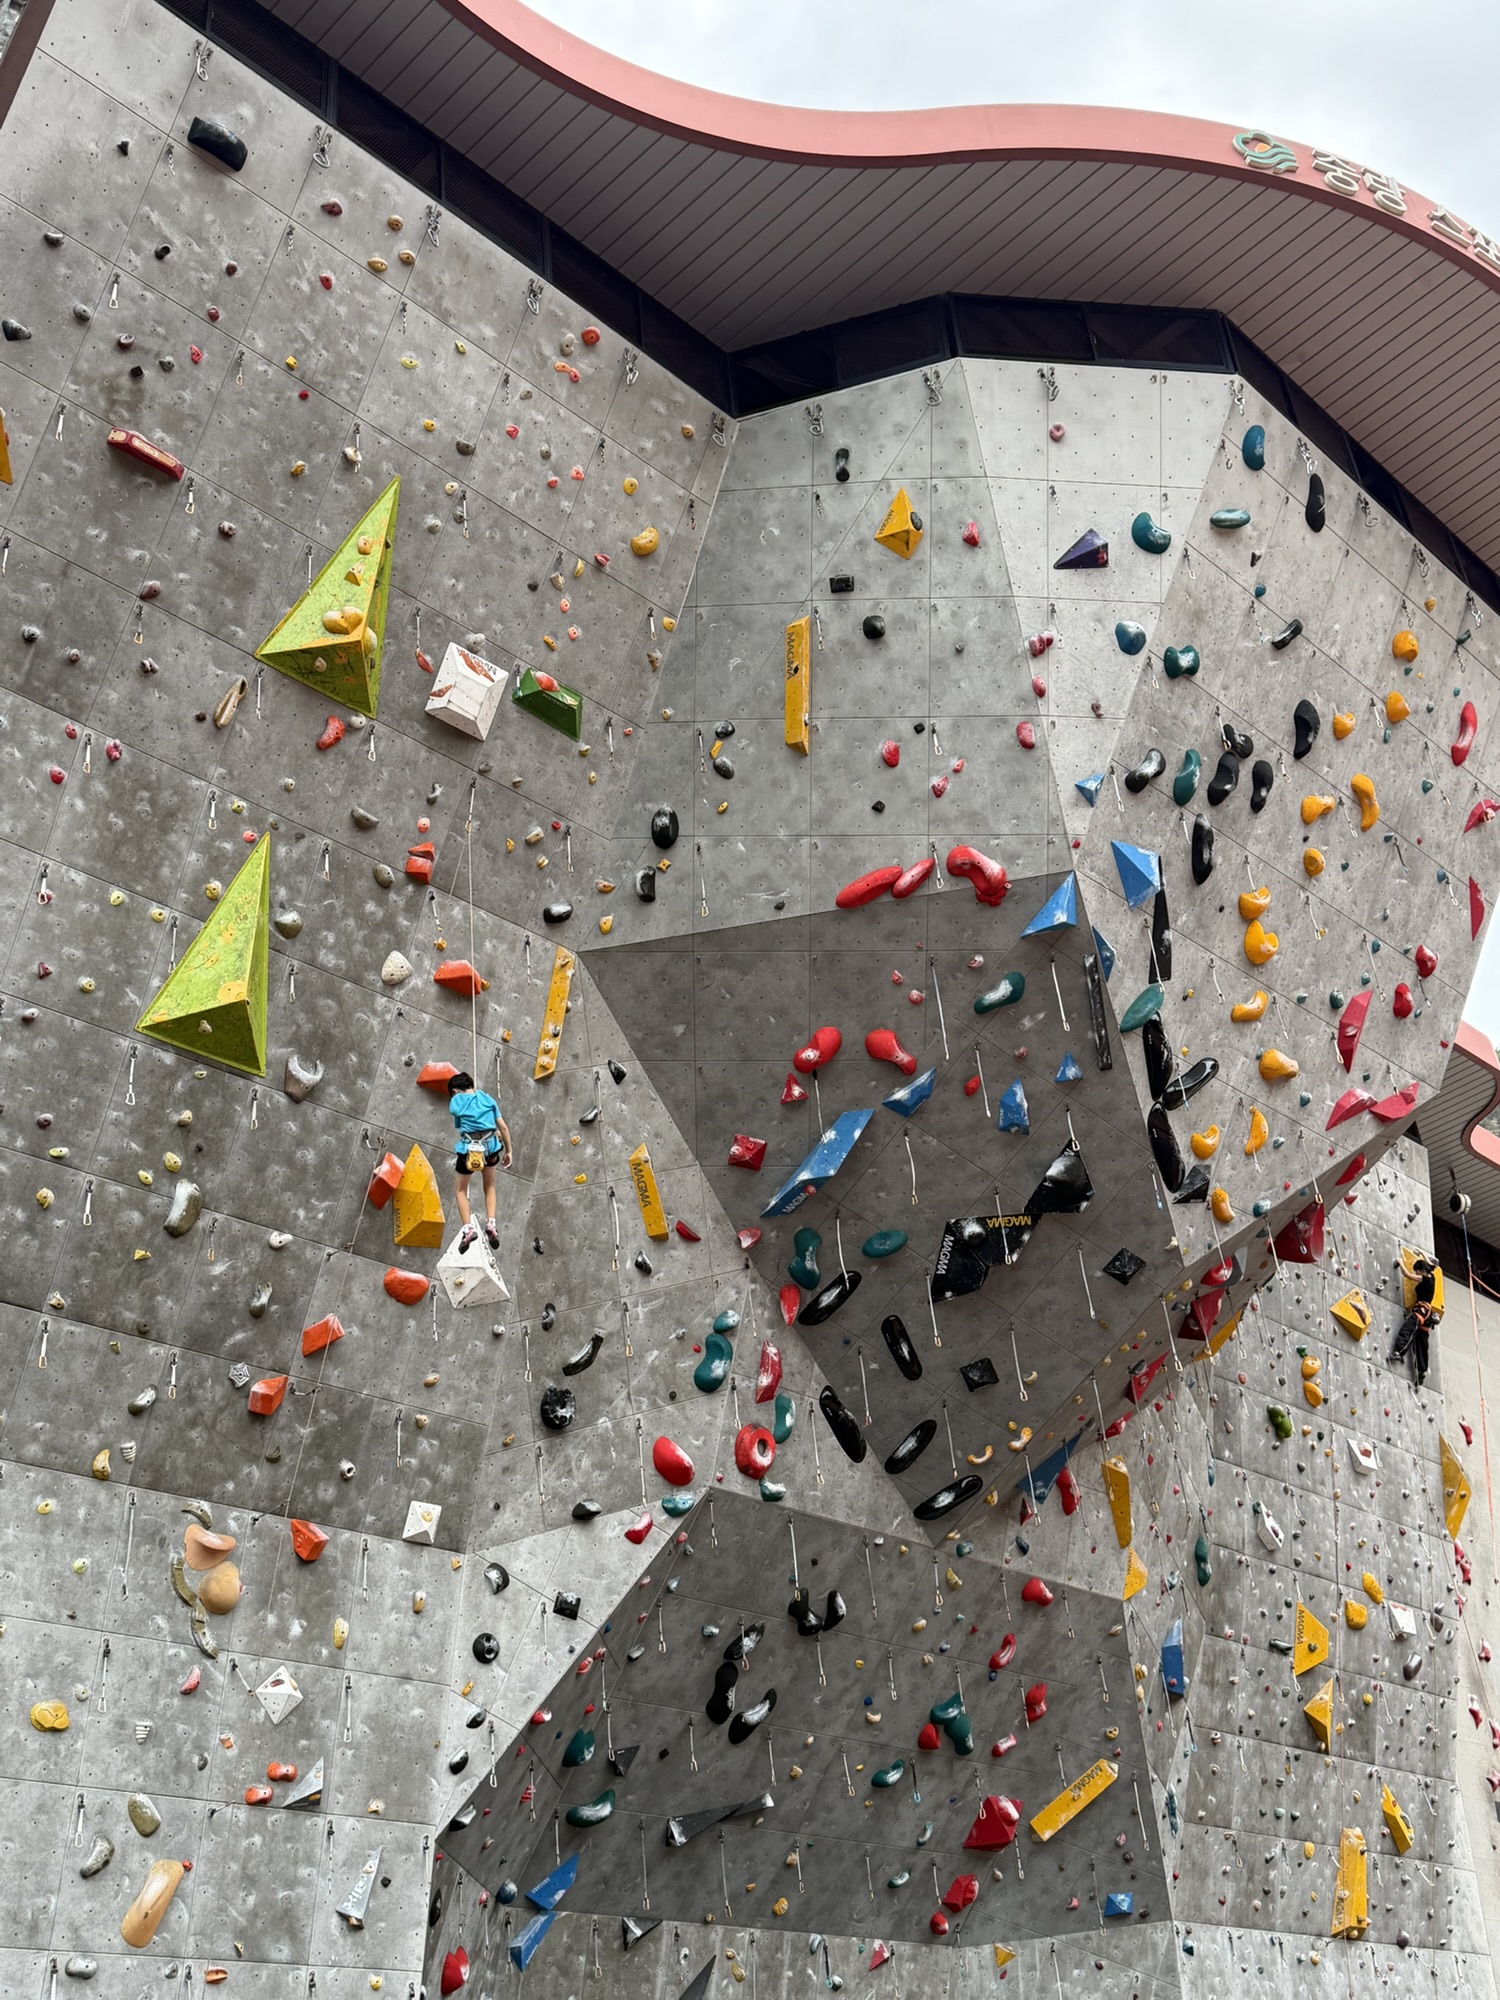
There’s also an outdoor climbing wall nearby. I stopped here for a few minutes too, so the first part of the route felt more like a park visit before the actual climb started.
Finding the Yongmabong Route
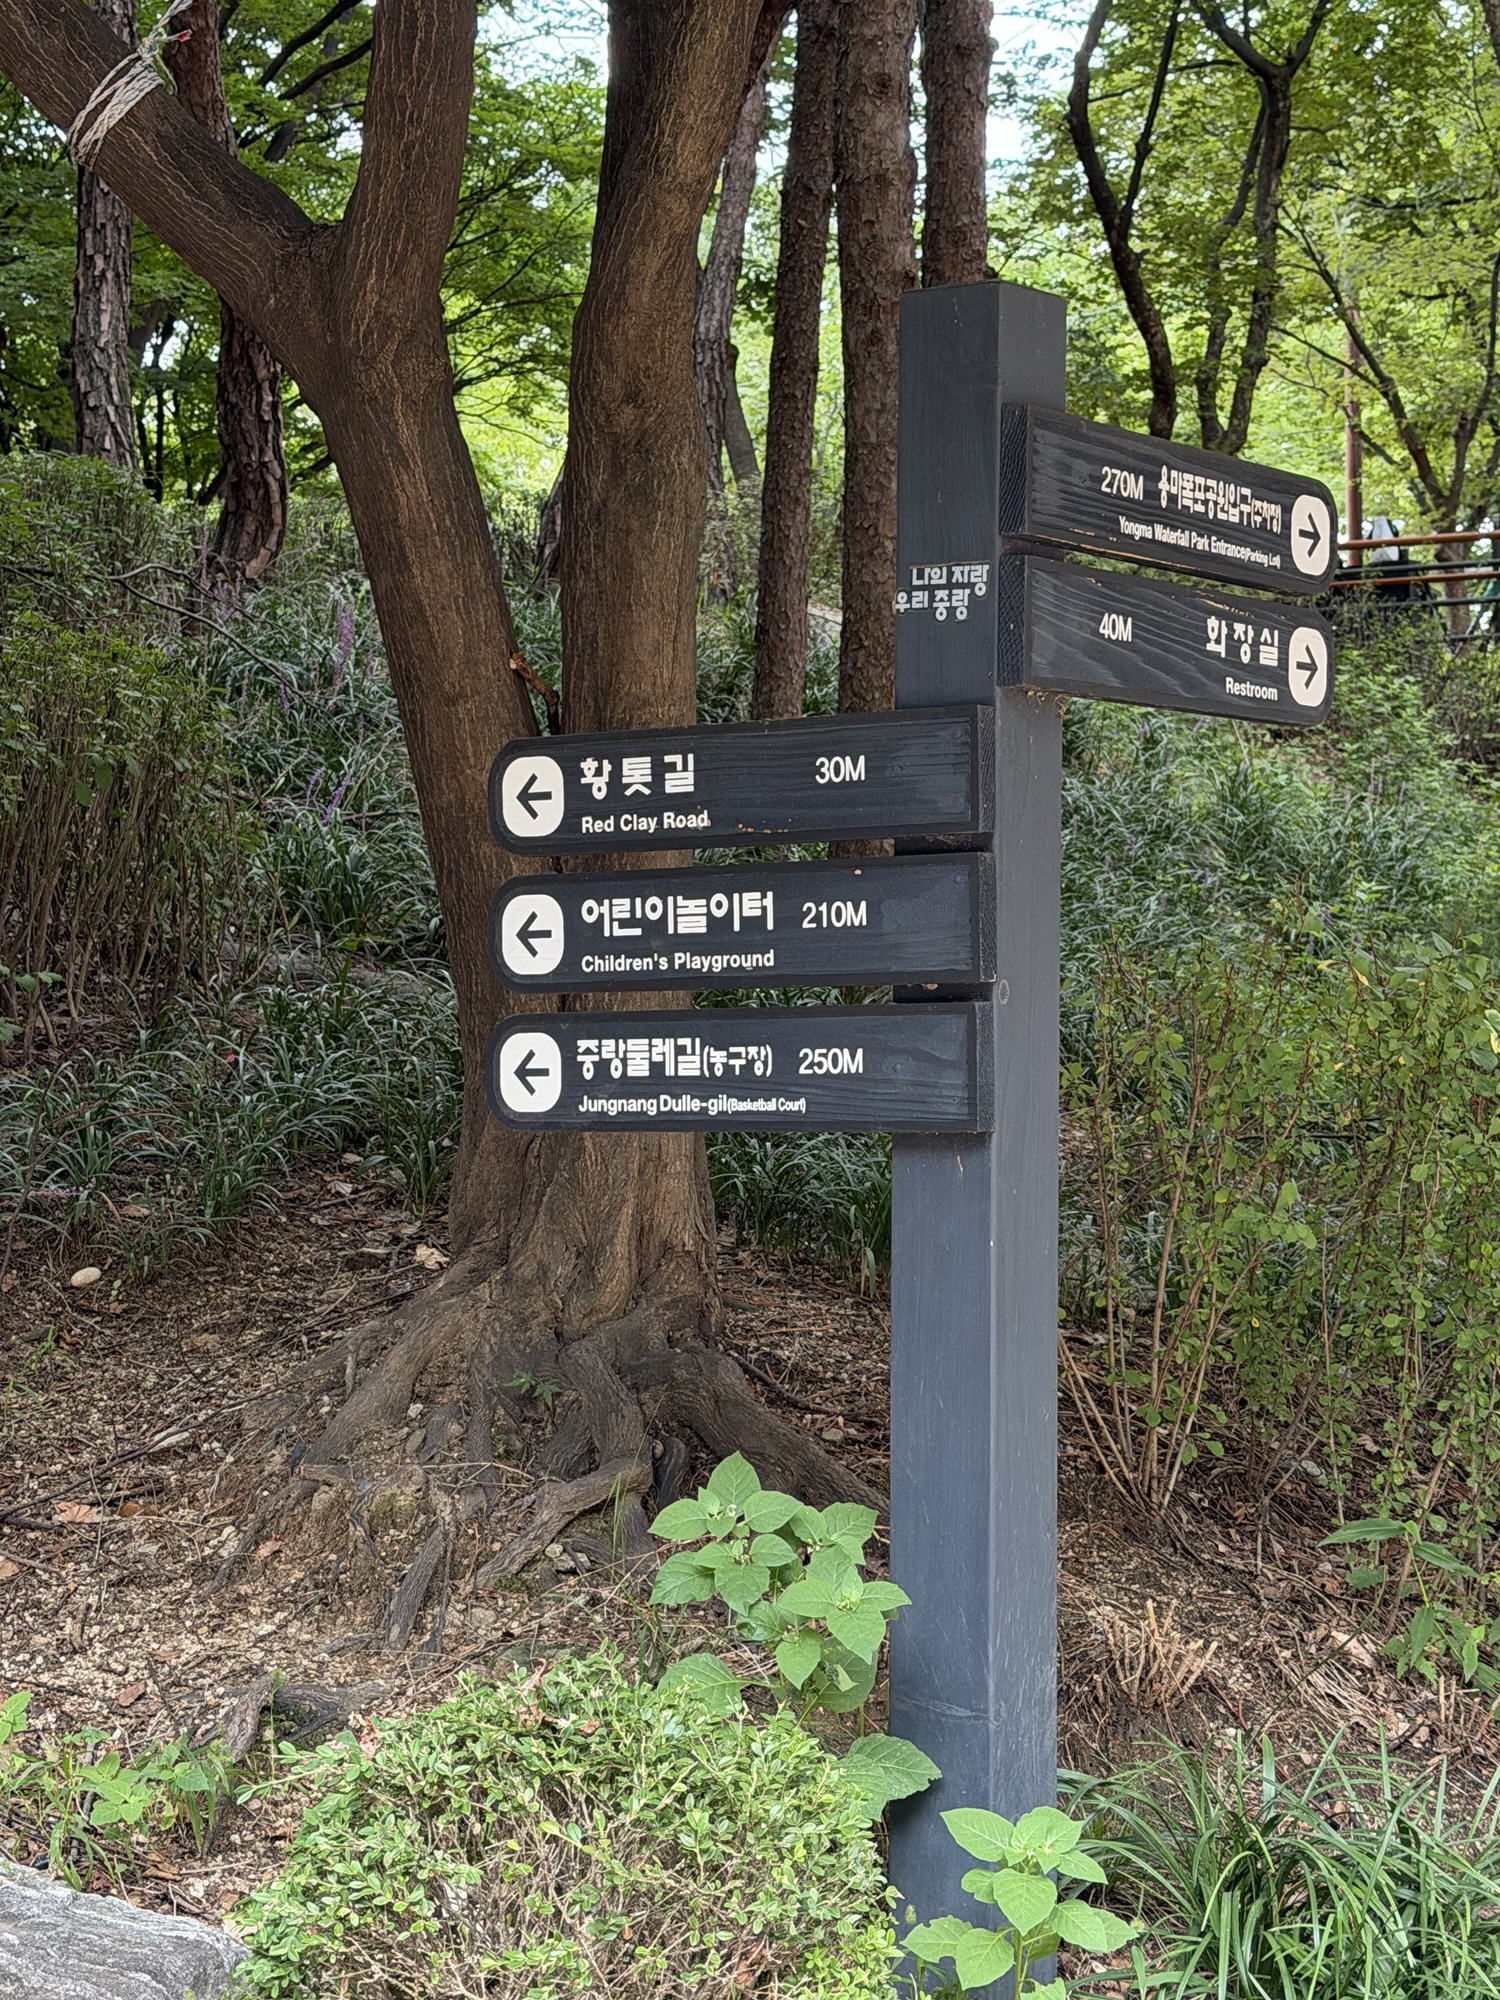
Facing the waterfall, go to the right side to start the hiking course. At first, follow the sign toward Red Clay Road (황톳길). After that, the route becomes simple.
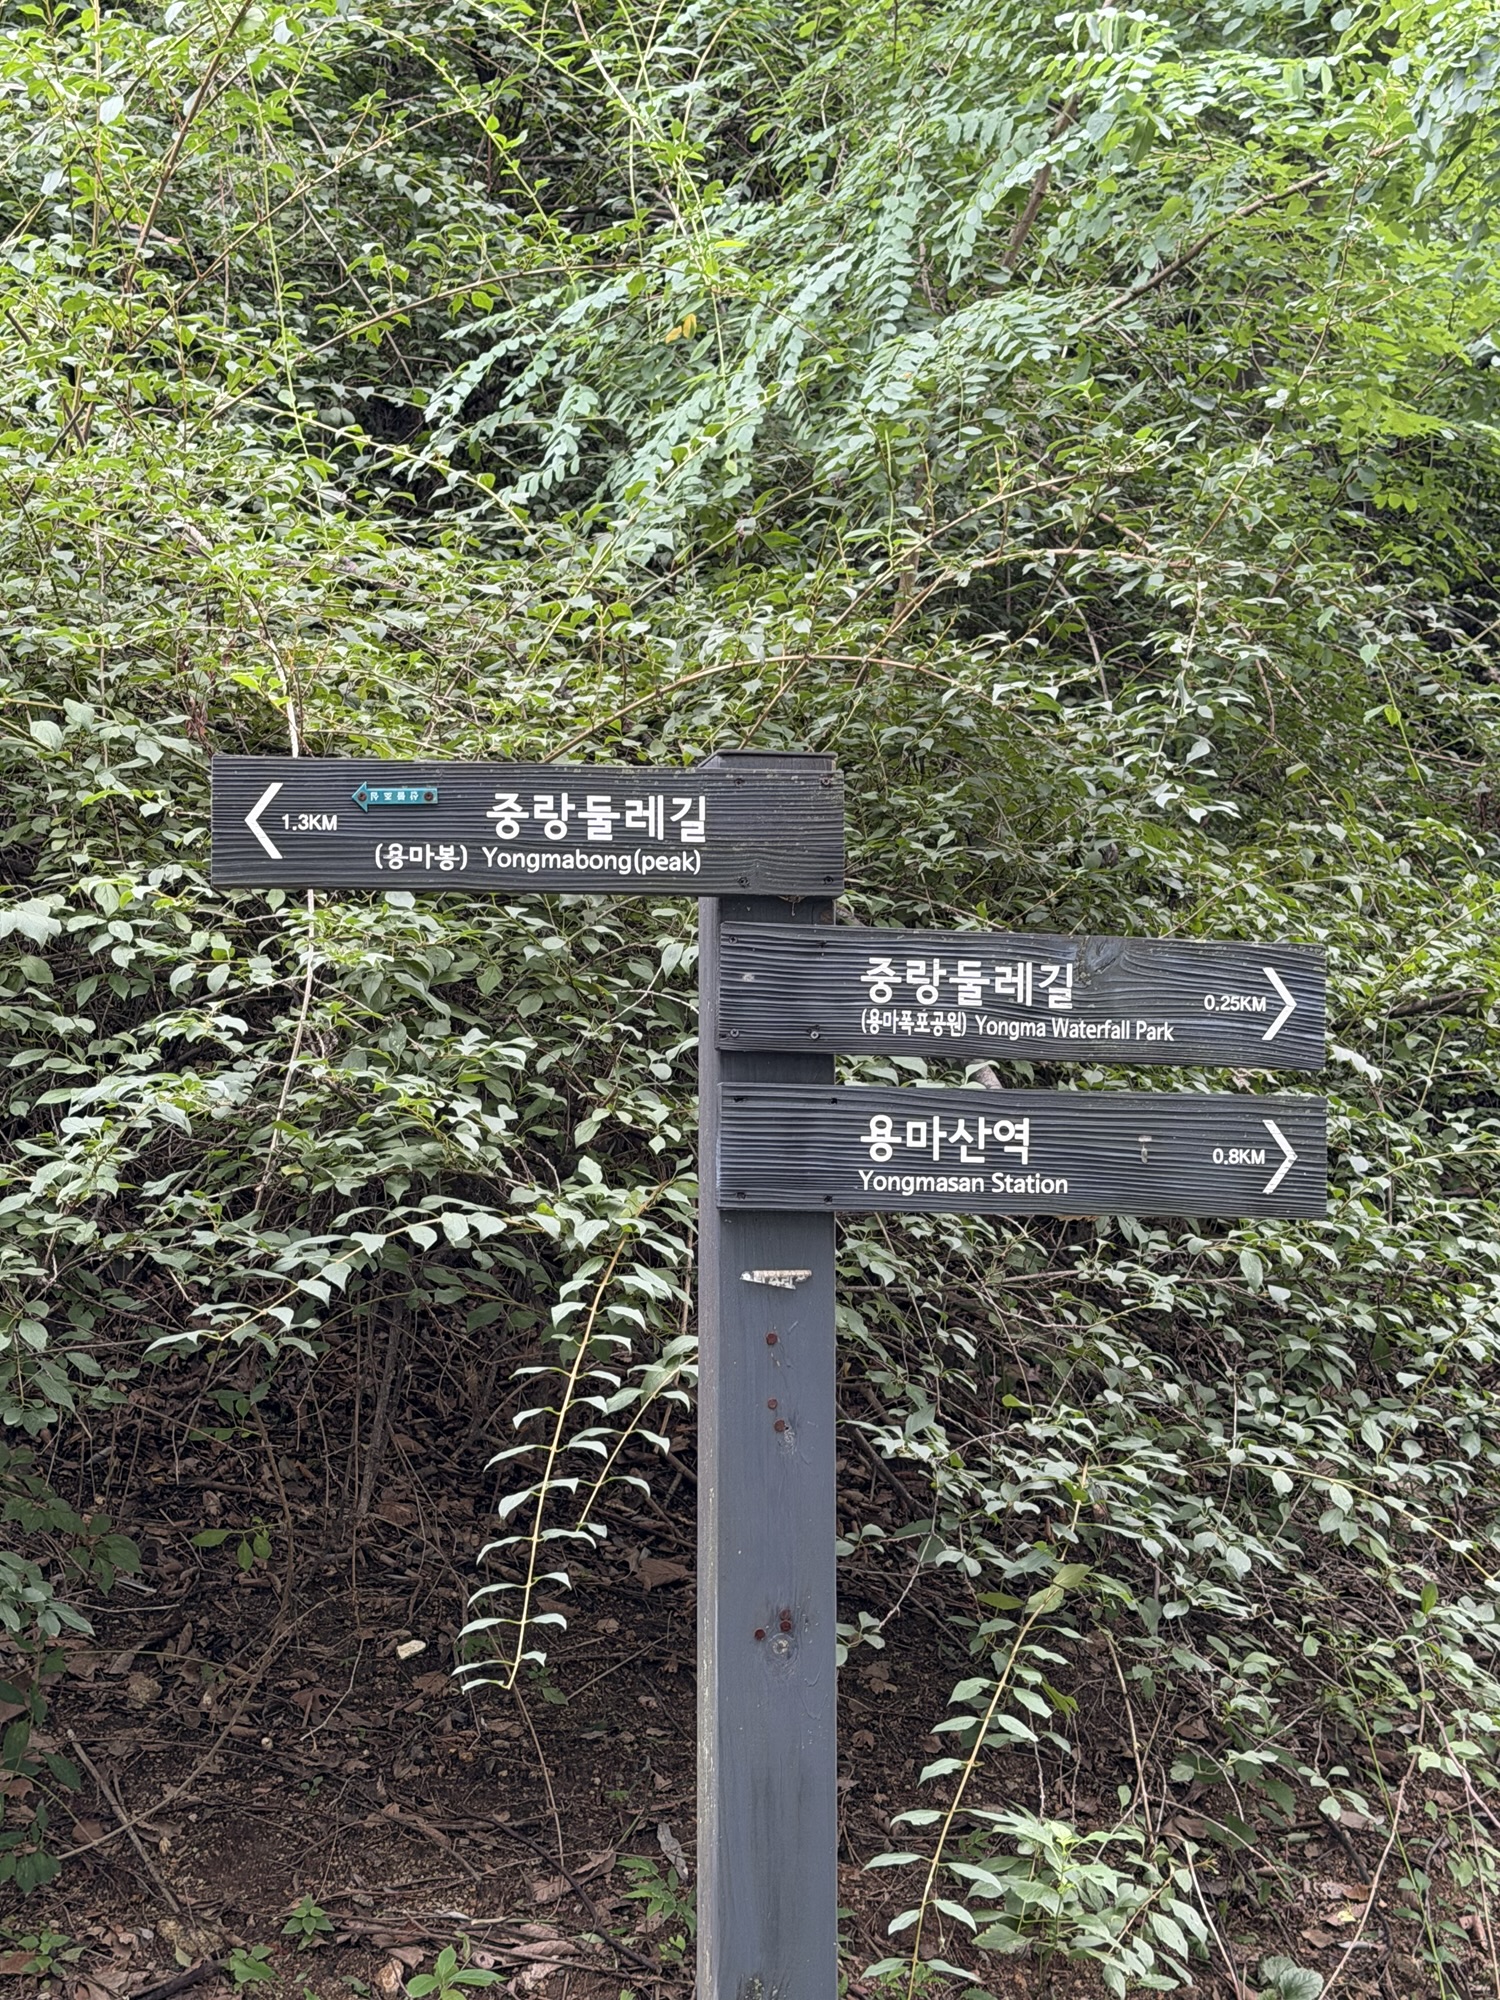
Once you start seeing Yongmabong signs, just keep following them. There were enough signs along the way that I didn’t have to worry much about choosing the wrong path.
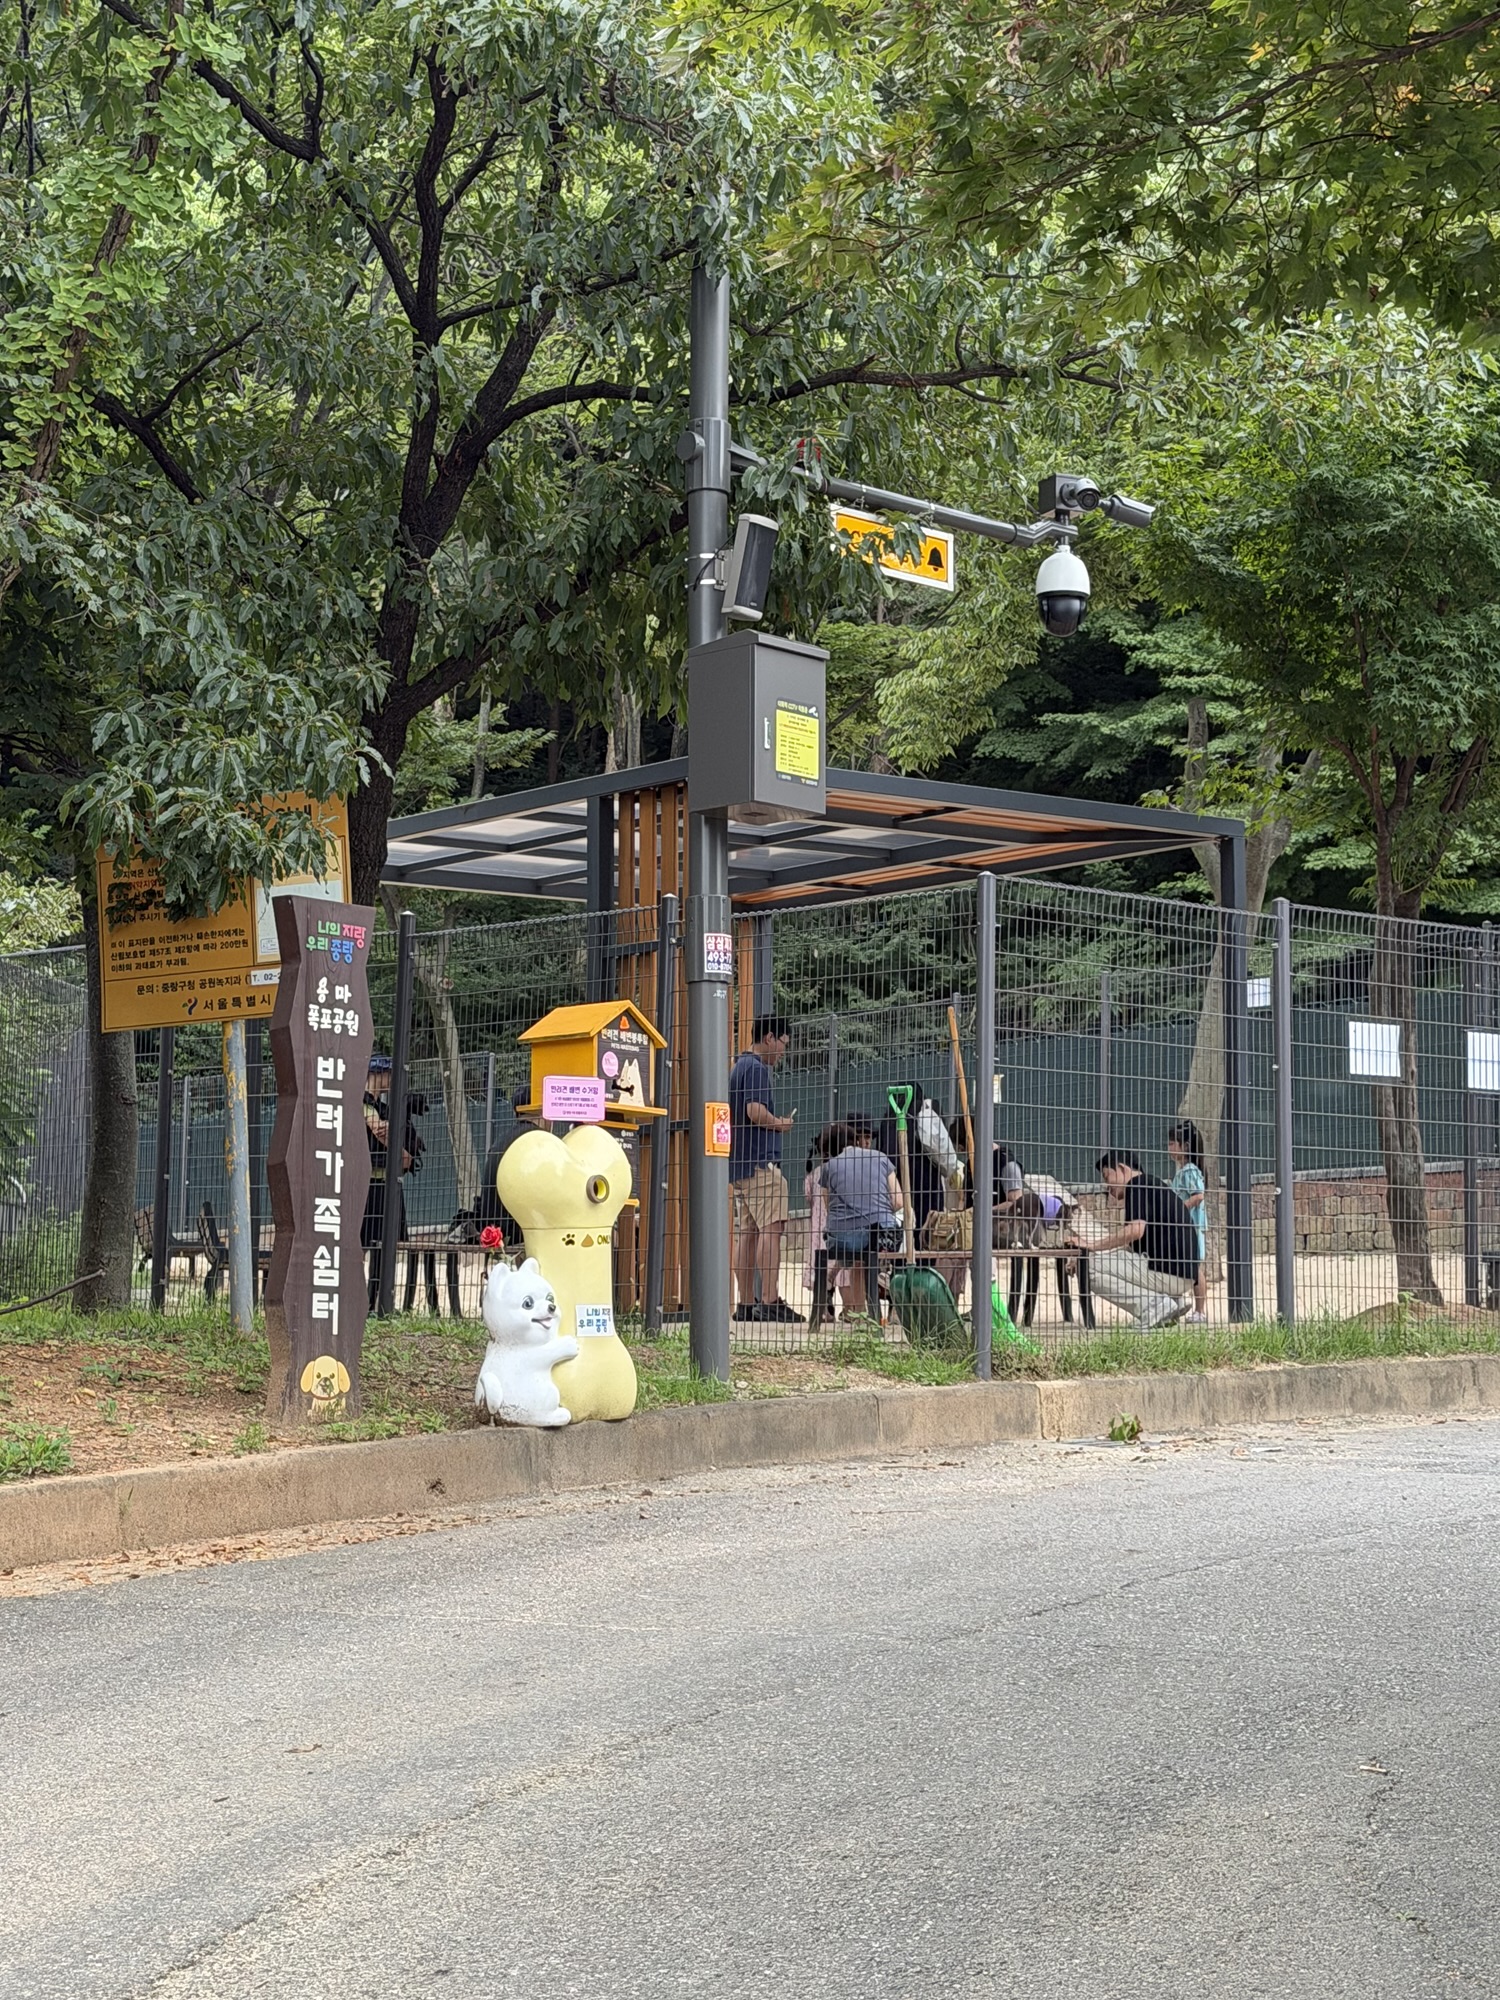
After a short paved section, you’ll pass a pet rest area. From there, continue in the opposite direction across the path.
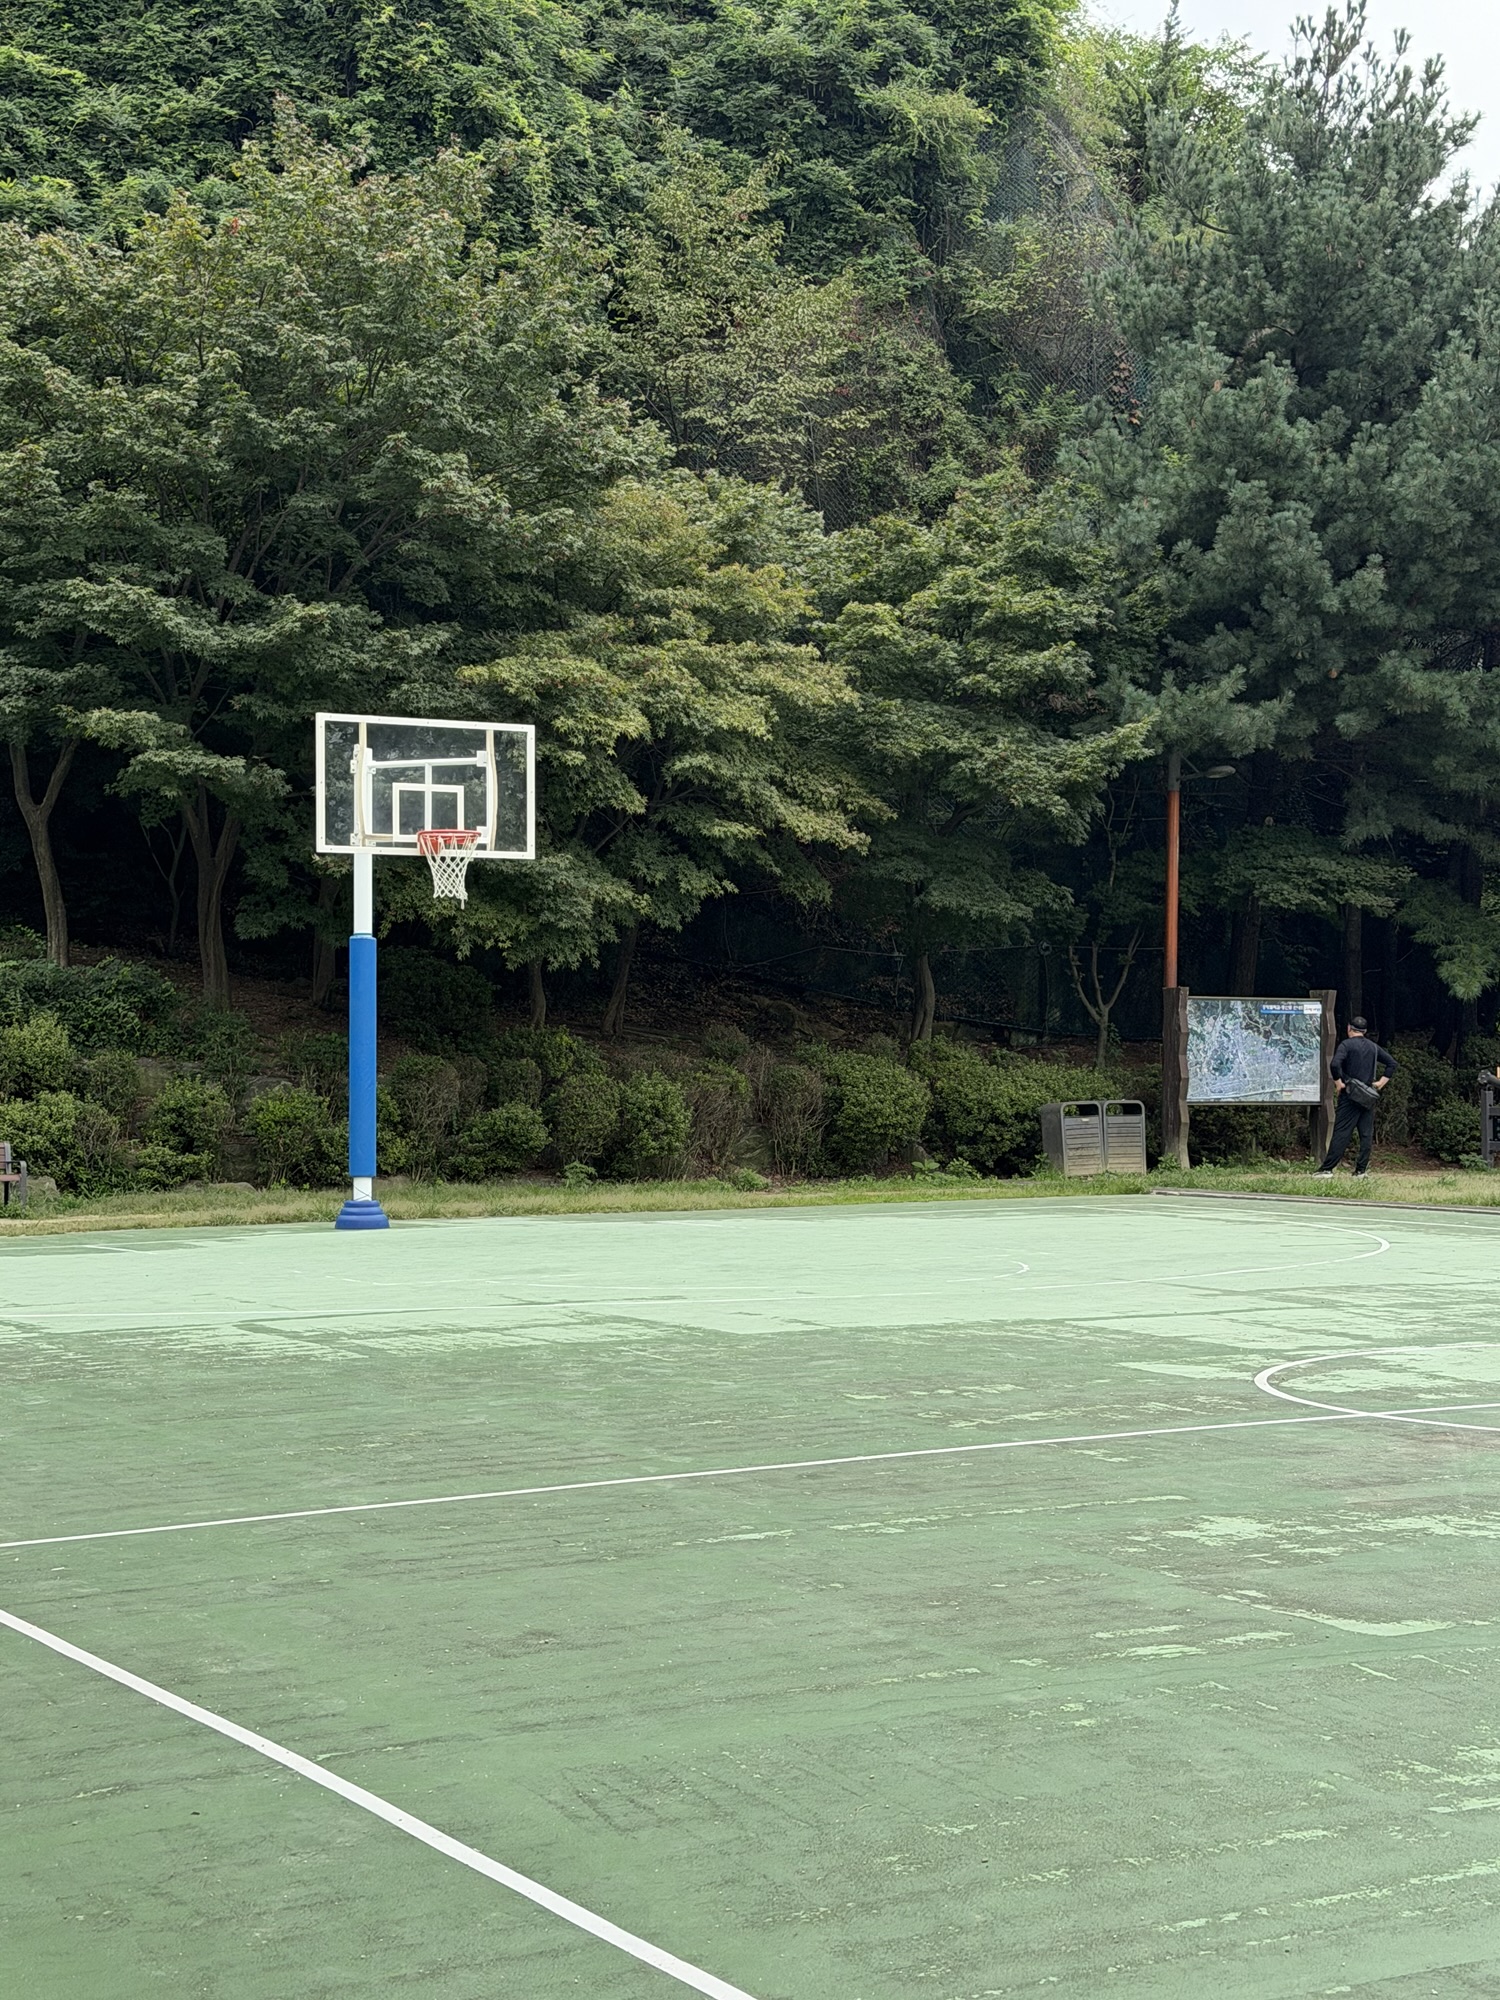
Then you’ll see a basketball court and outdoor exercise equipment. Walk straight through the path by the exercise area, and the trail continues from there.
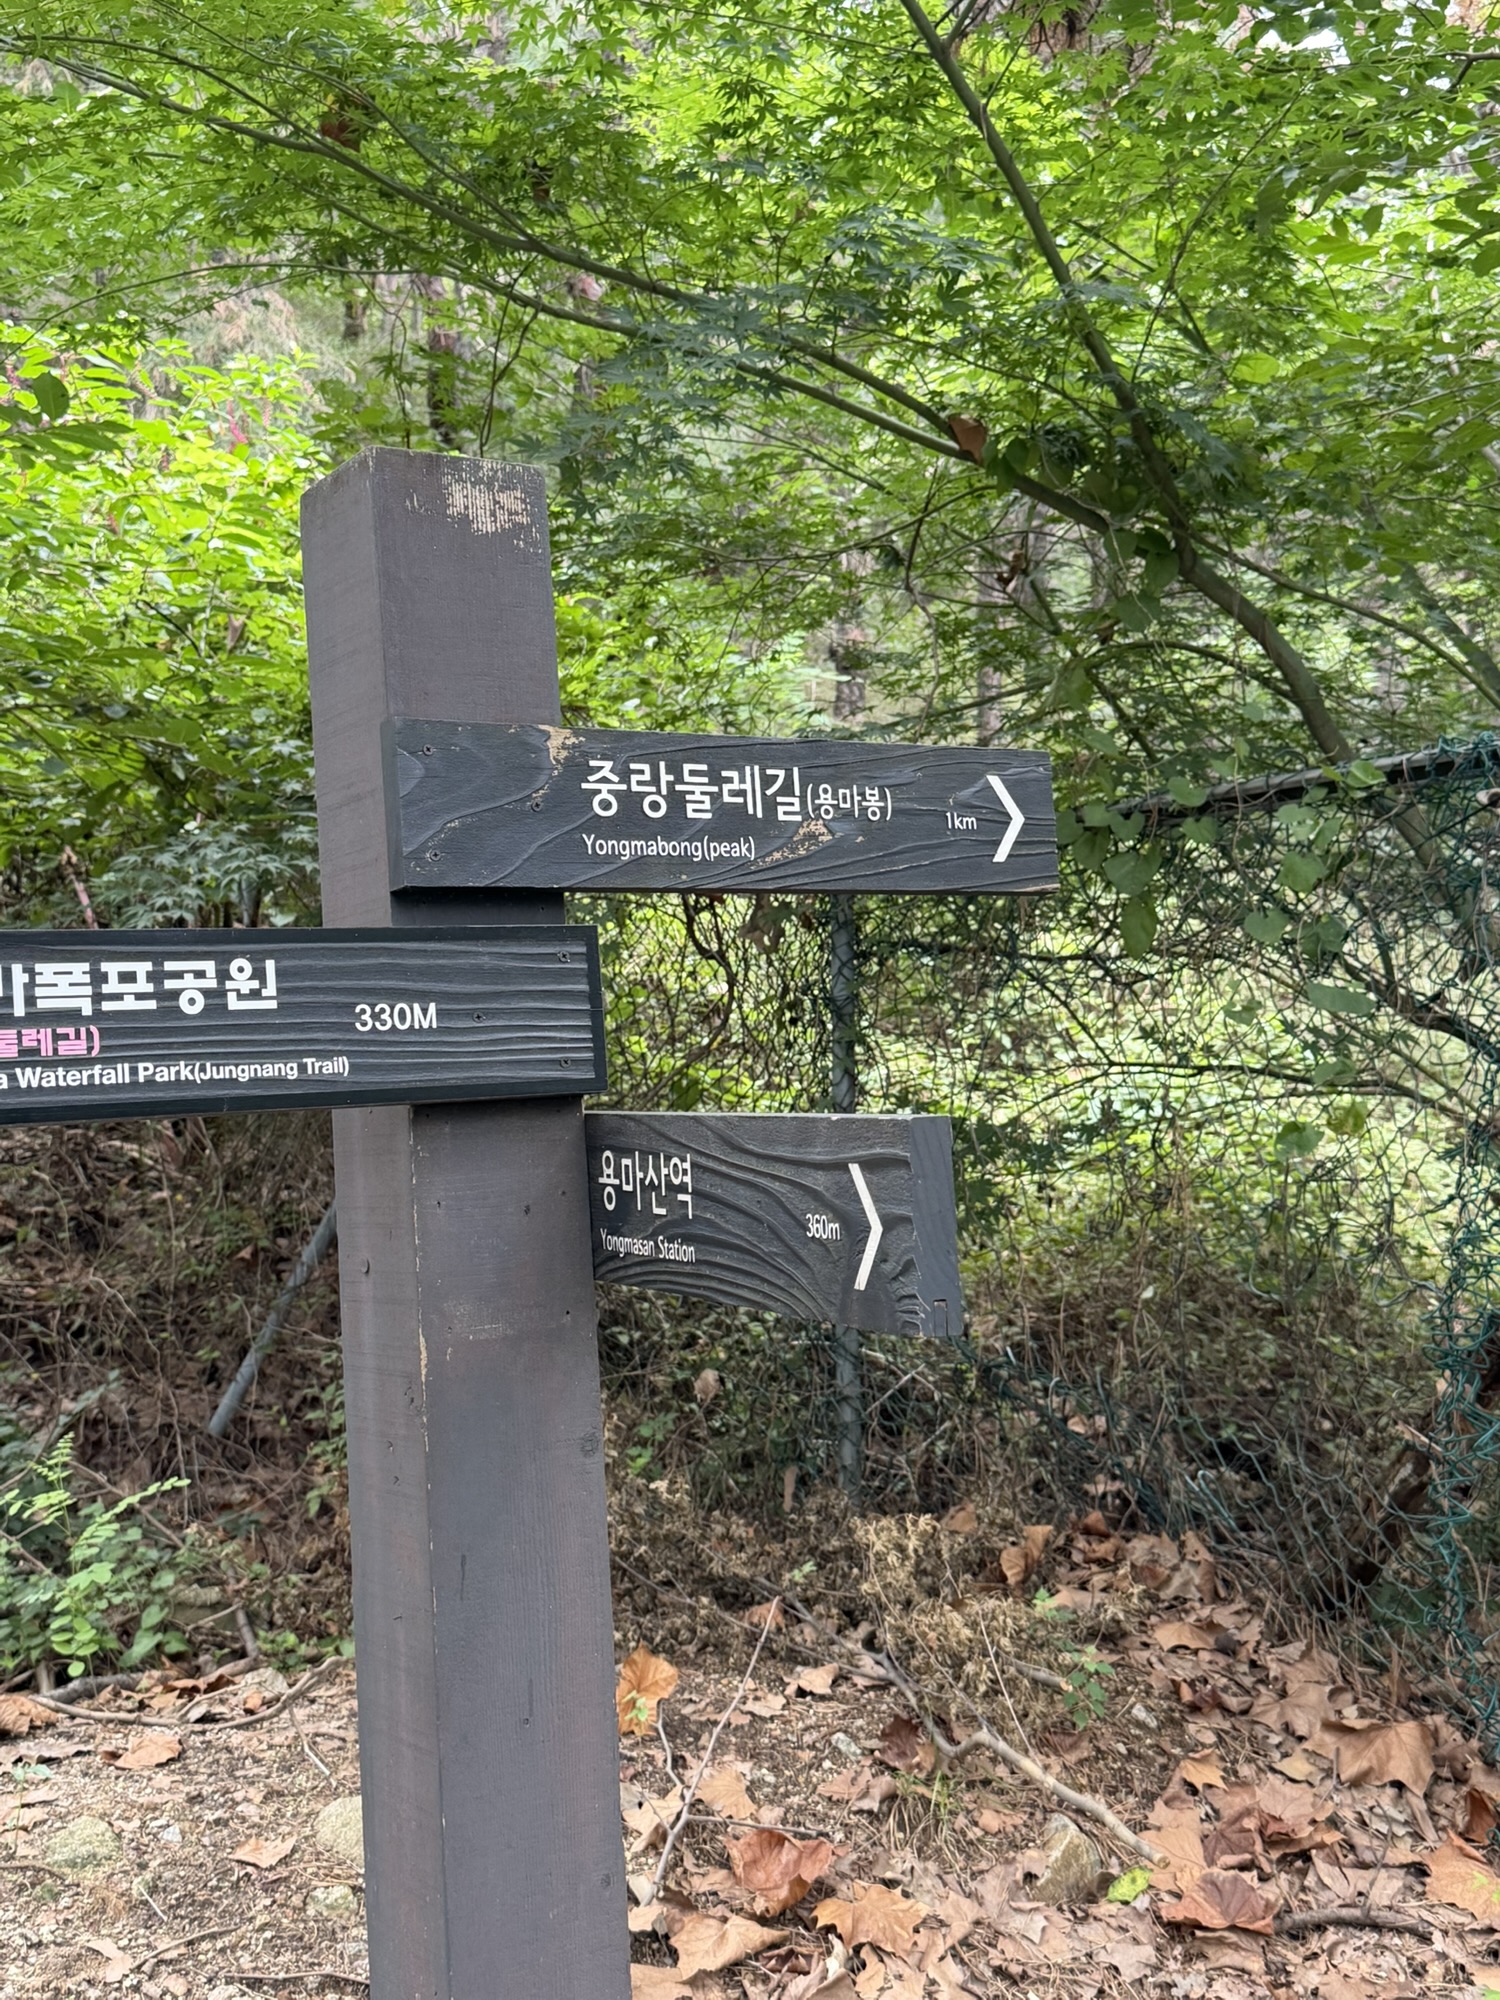
This was one of the things I liked about Yongmasan. The trail itself gets steep later, but the navigation is not stressful. The signs keep showing up at the right moments.
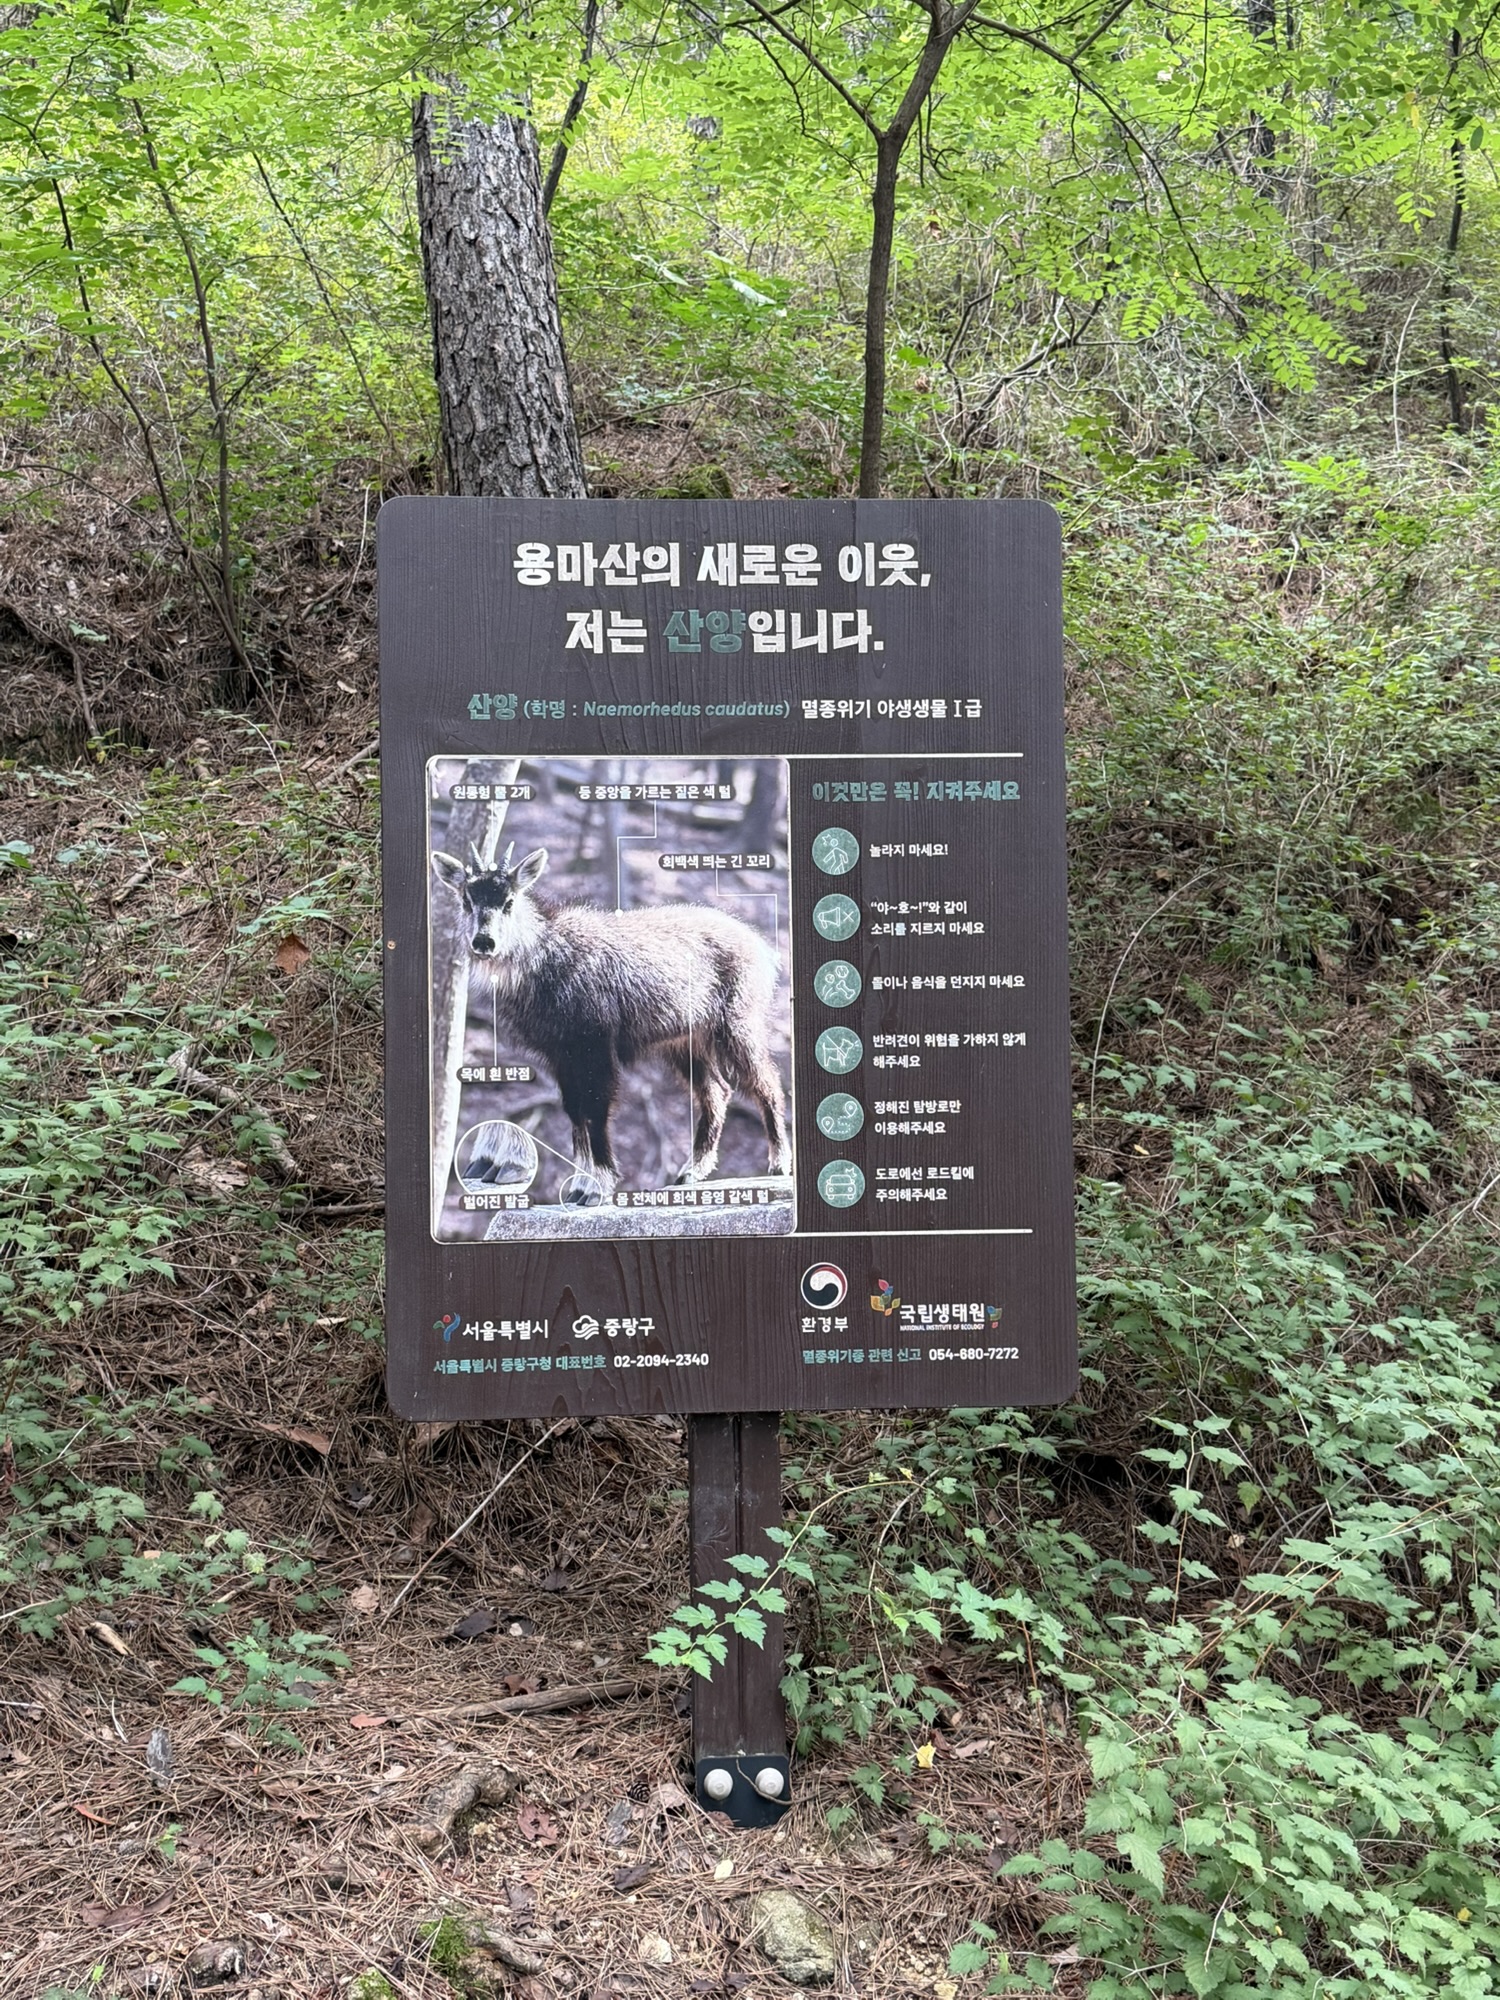
One of the signs mentioned mountain goats, which surprised me a little. I didn’t see any on the trail, but I did spot a small squirrel instead.
A Short Climb with Real Stairs
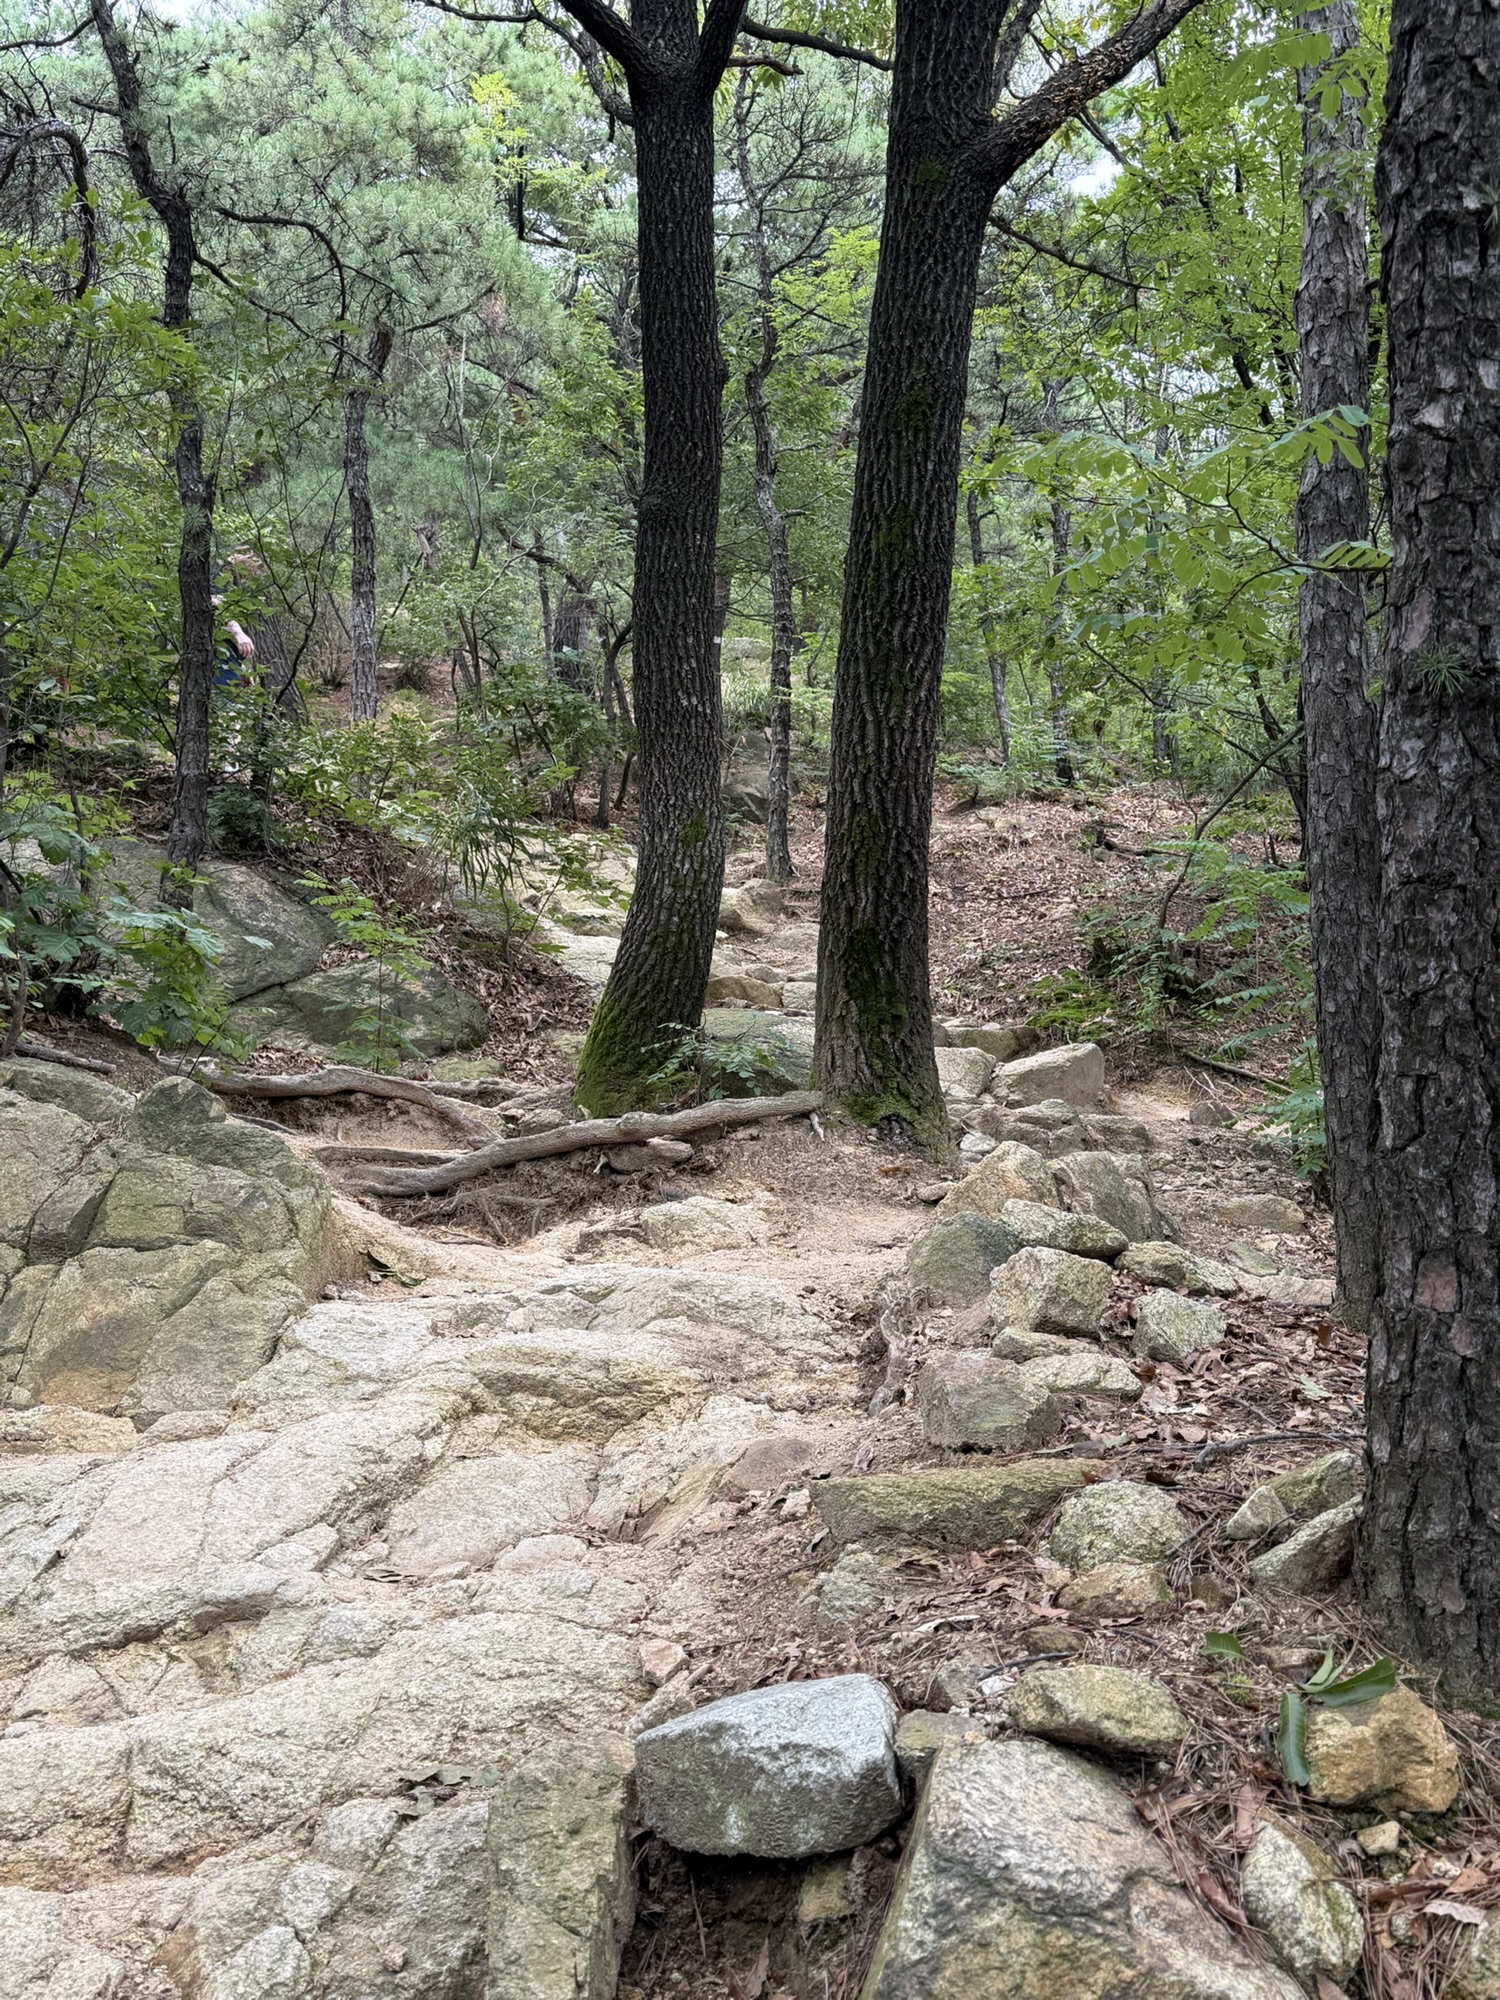
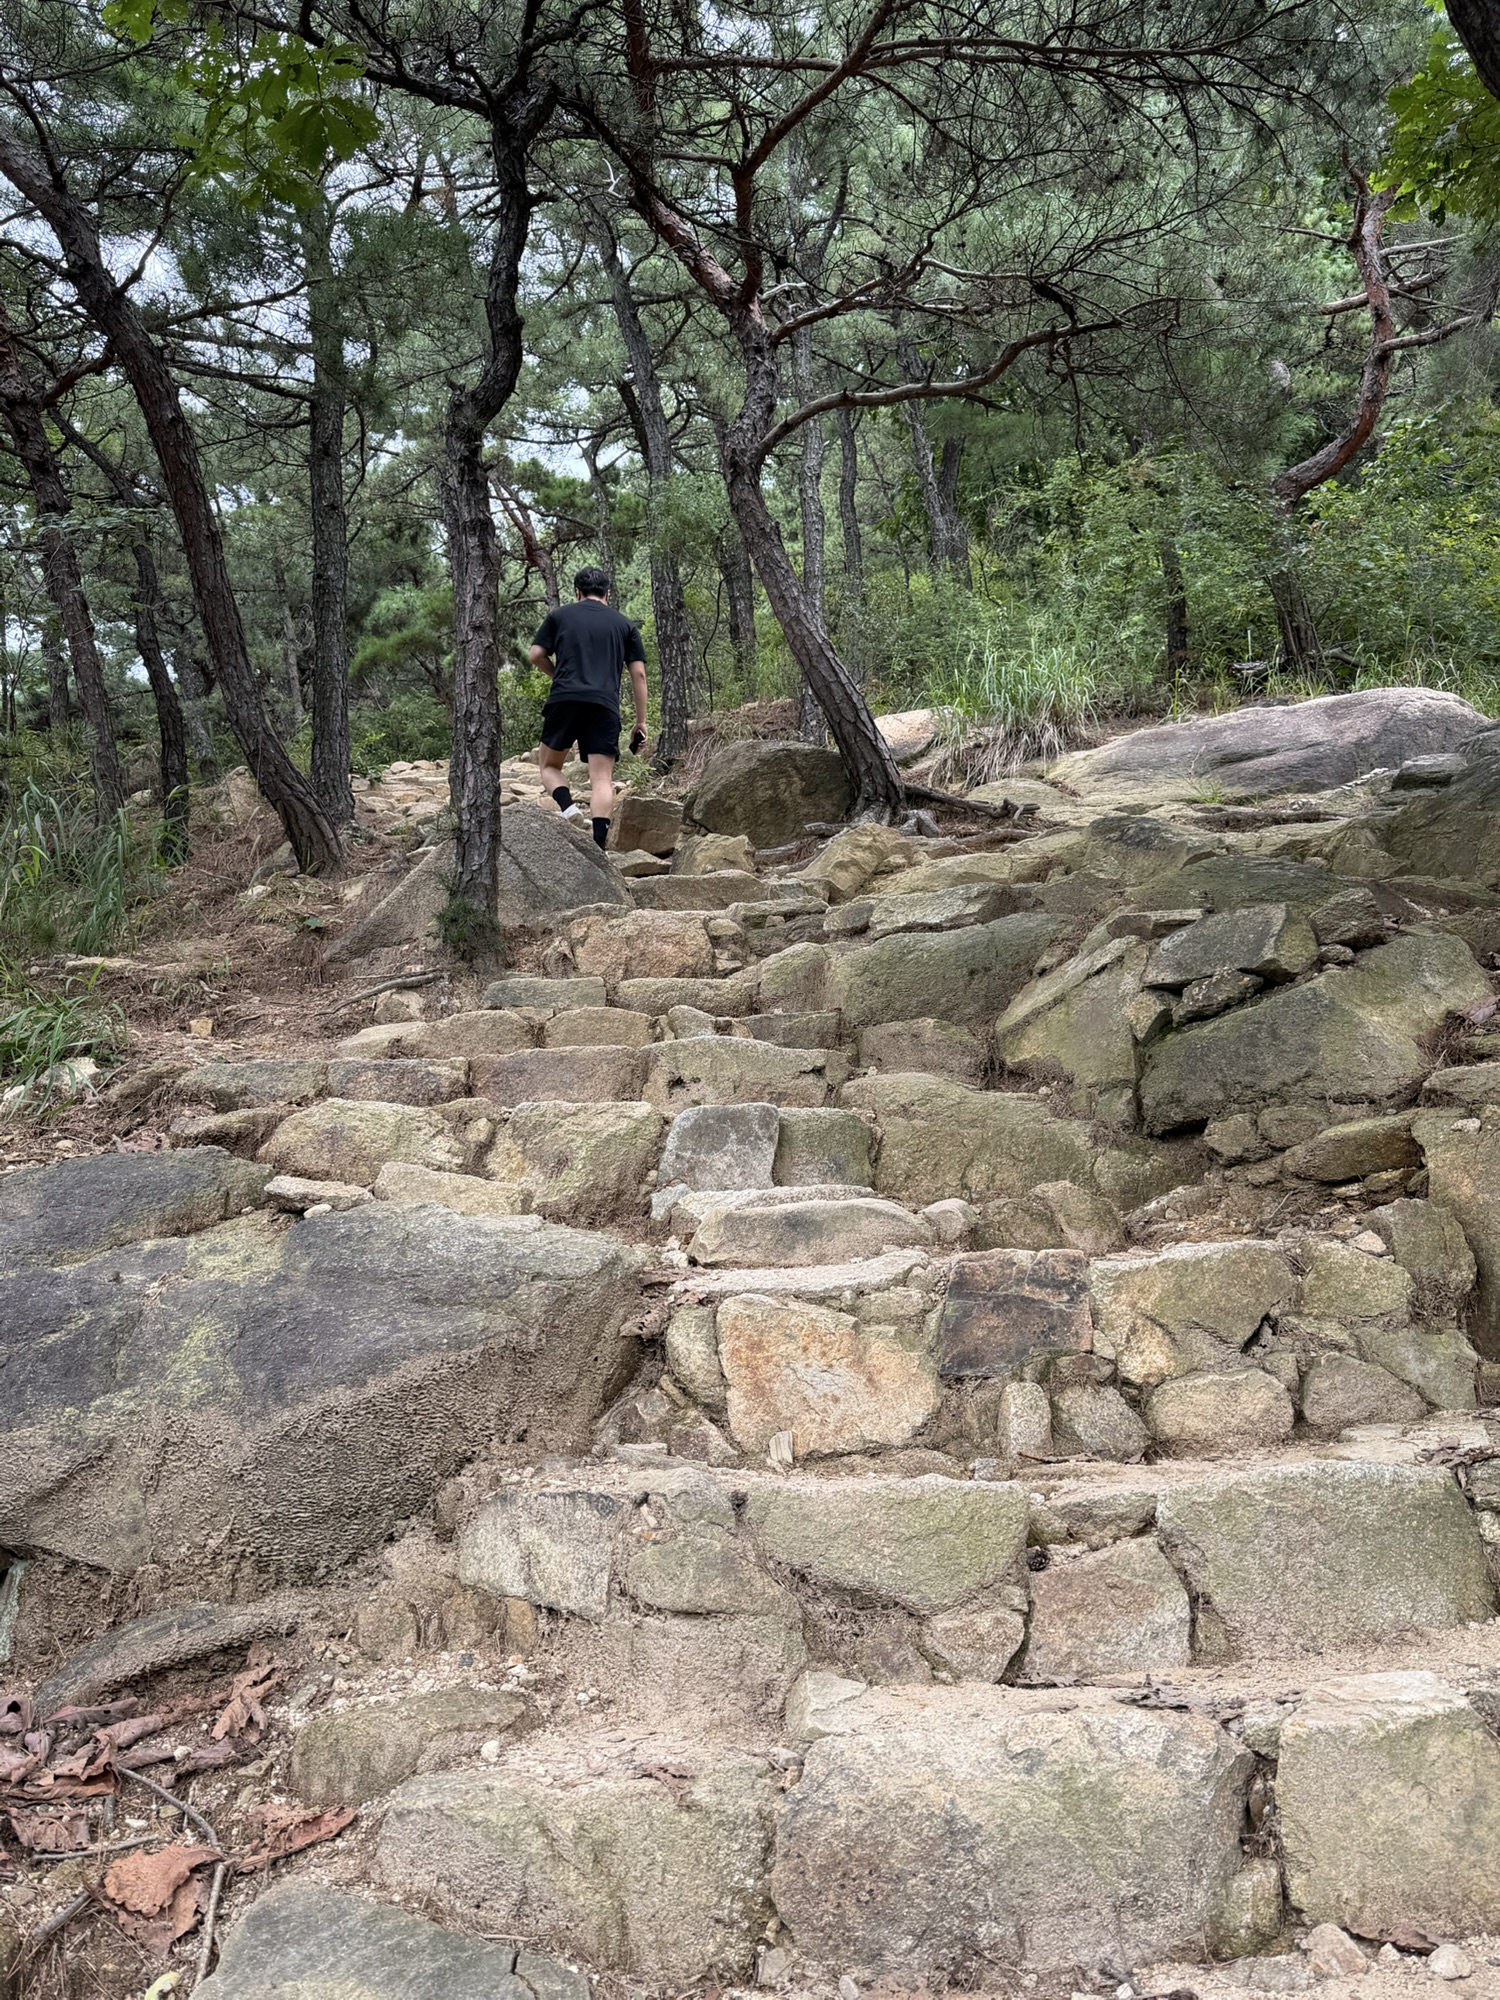
The climb starts properly with a steep rocky section. Because it appears fairly early, I was a little surprised, but at that point my energy was still fine. This is where I started realizing that 348 meters does not automatically mean a casual walk.
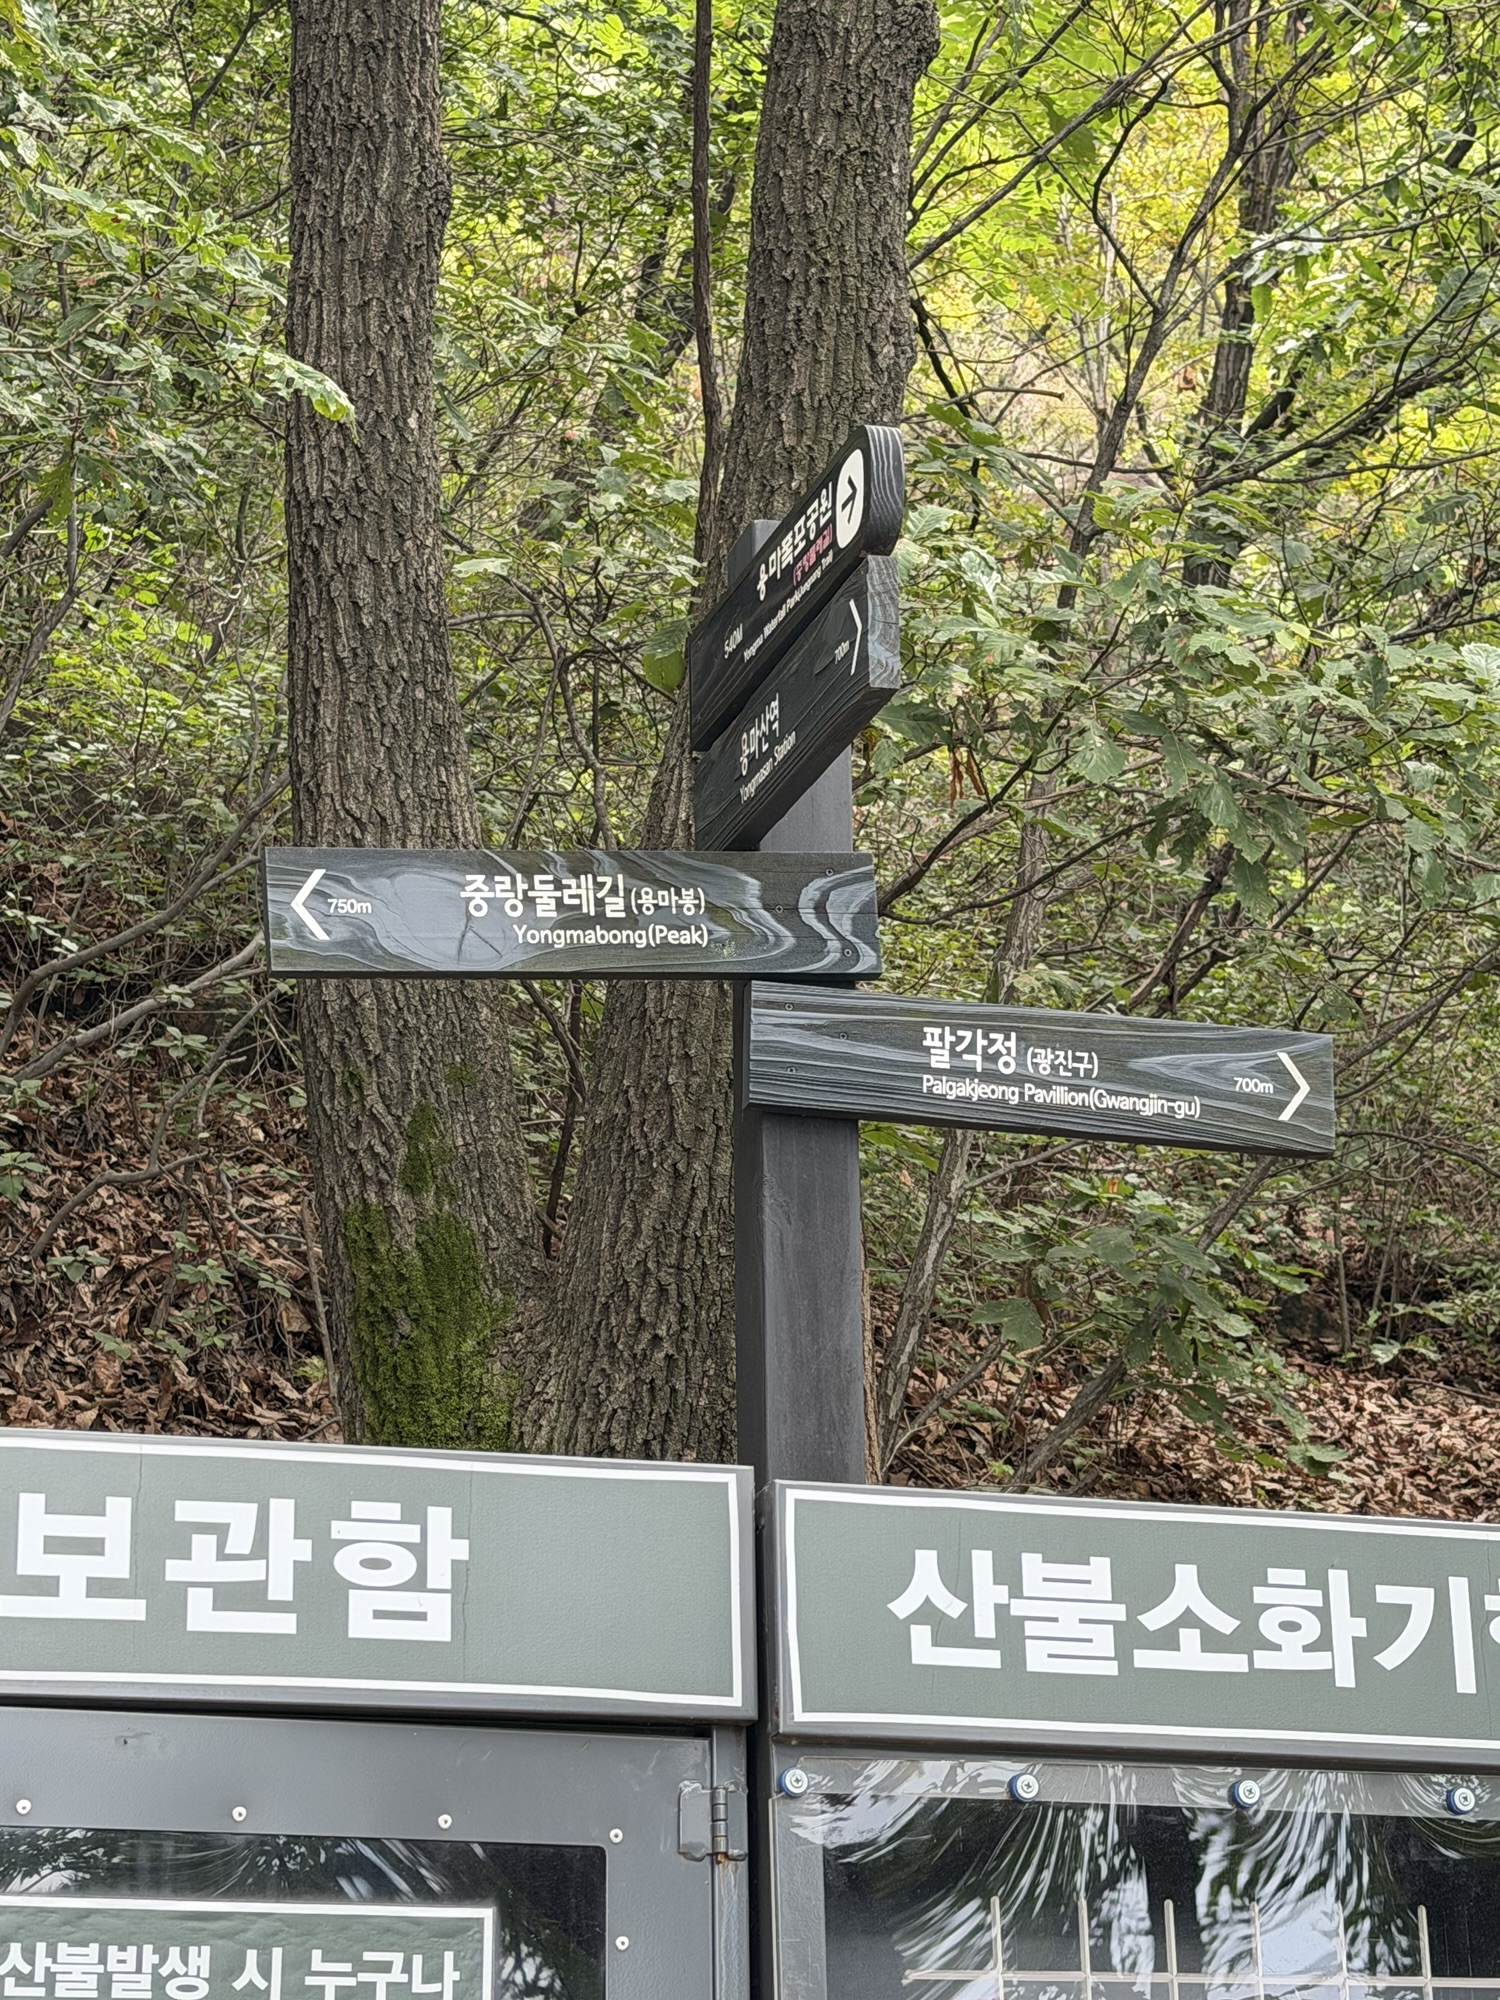
There are a few forks, but the rule stays the same: follow Yongmabong. I didn’t need a separate map app for most of the route because the signs were clear enough.
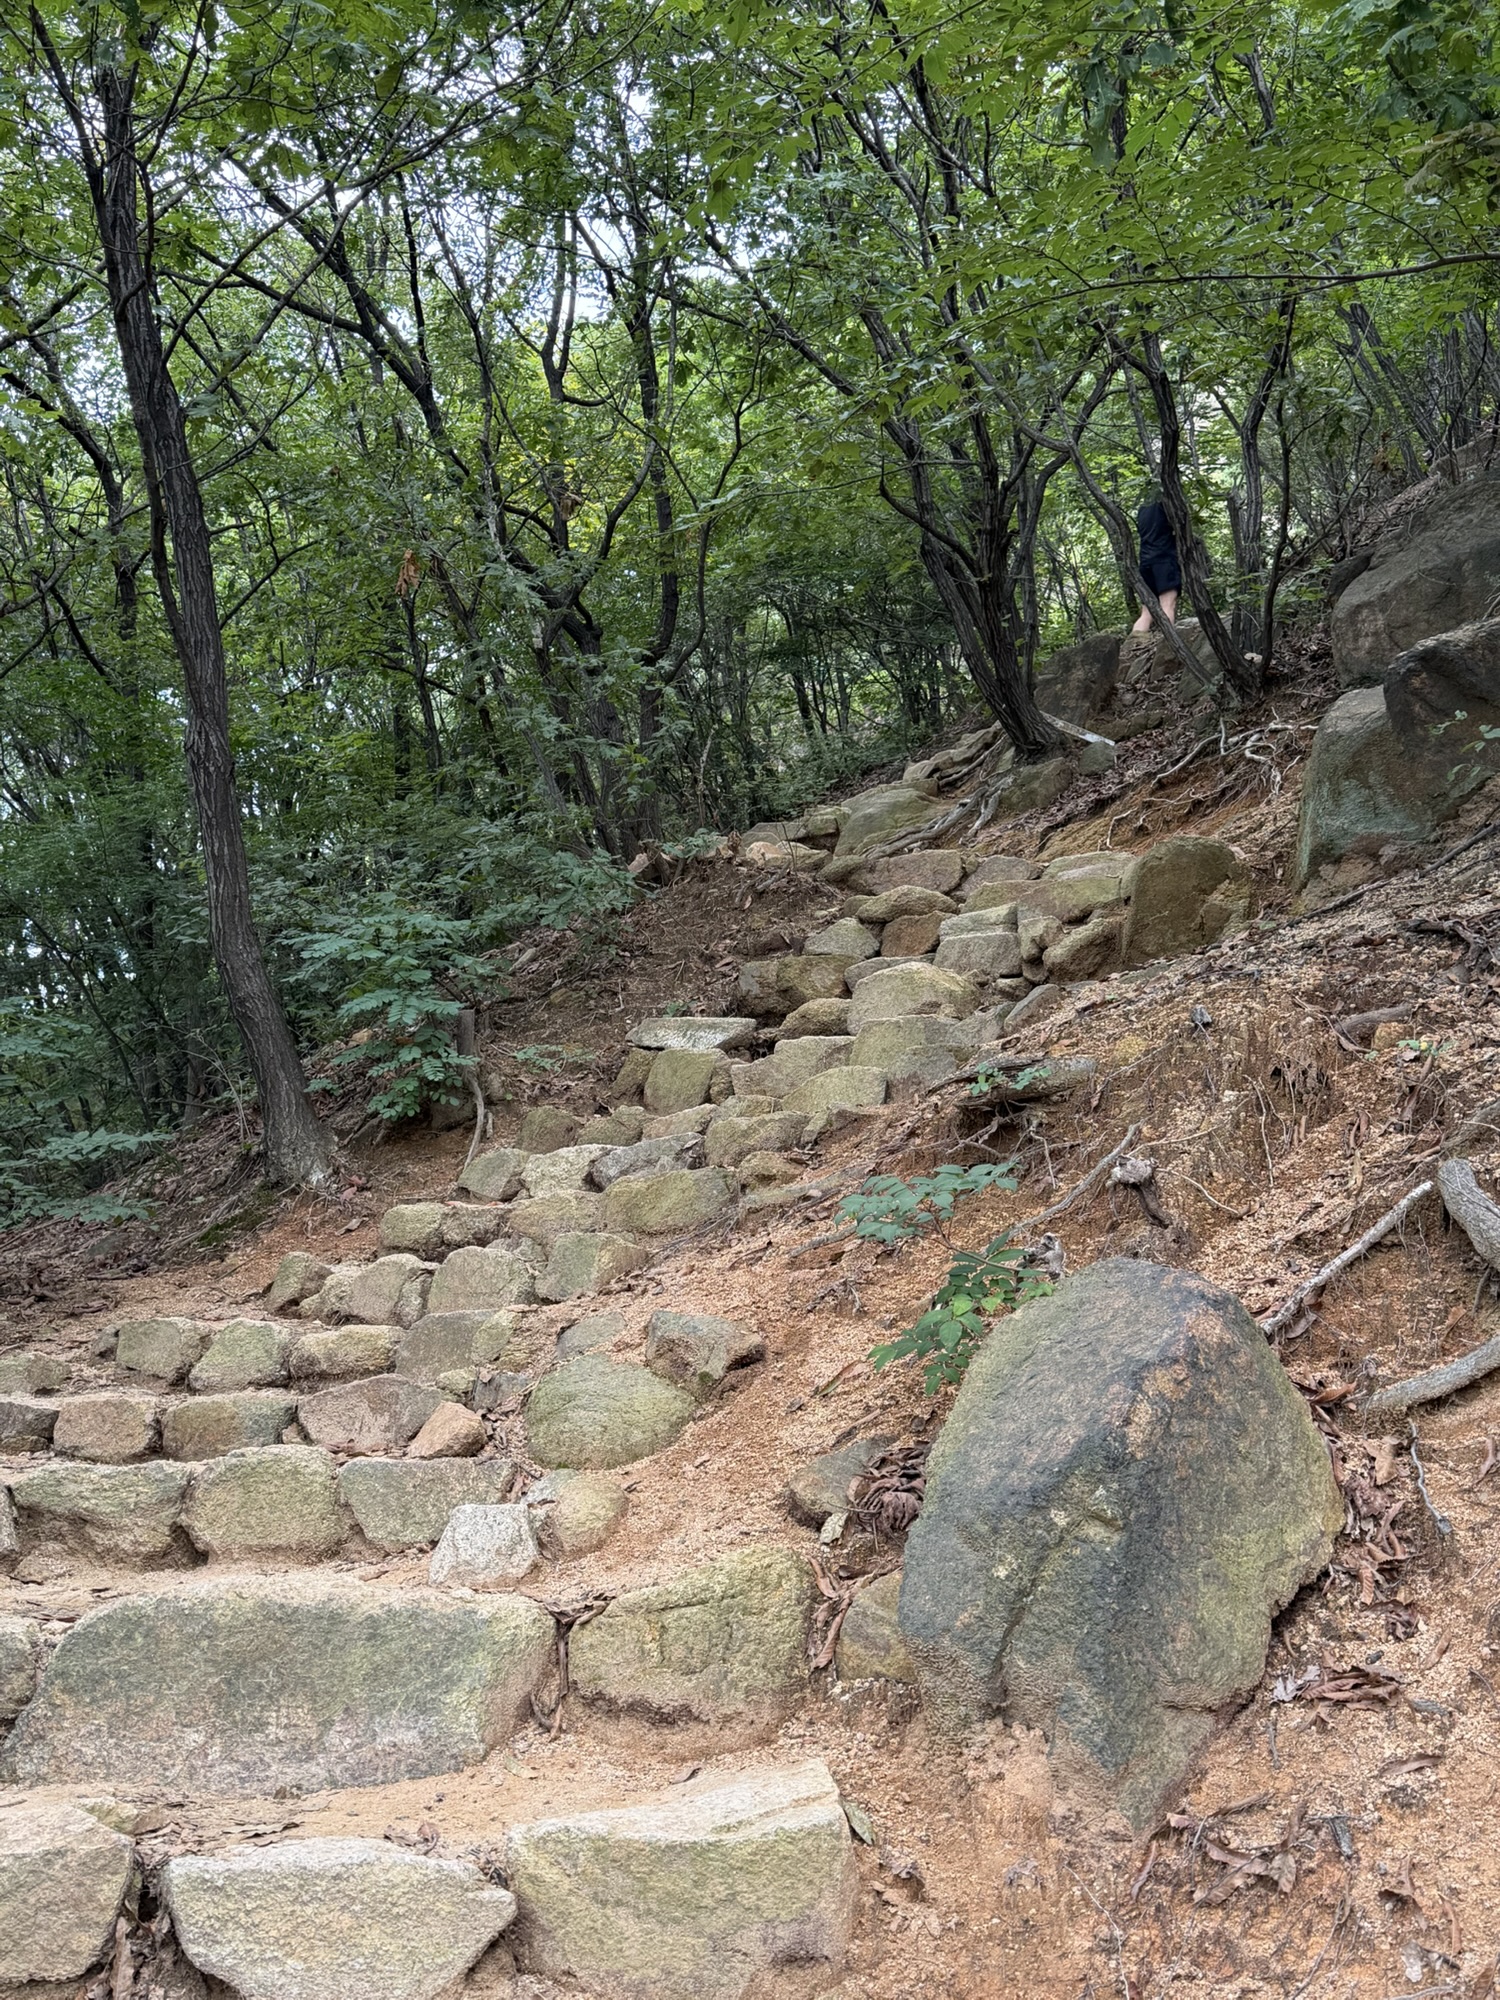
The rocky uphill continues for a while, so it’s better to start slower than you think you need to. The trail isn’t dangerous, but it does ask for steady legs, especially if you haven’t hiked in a while.
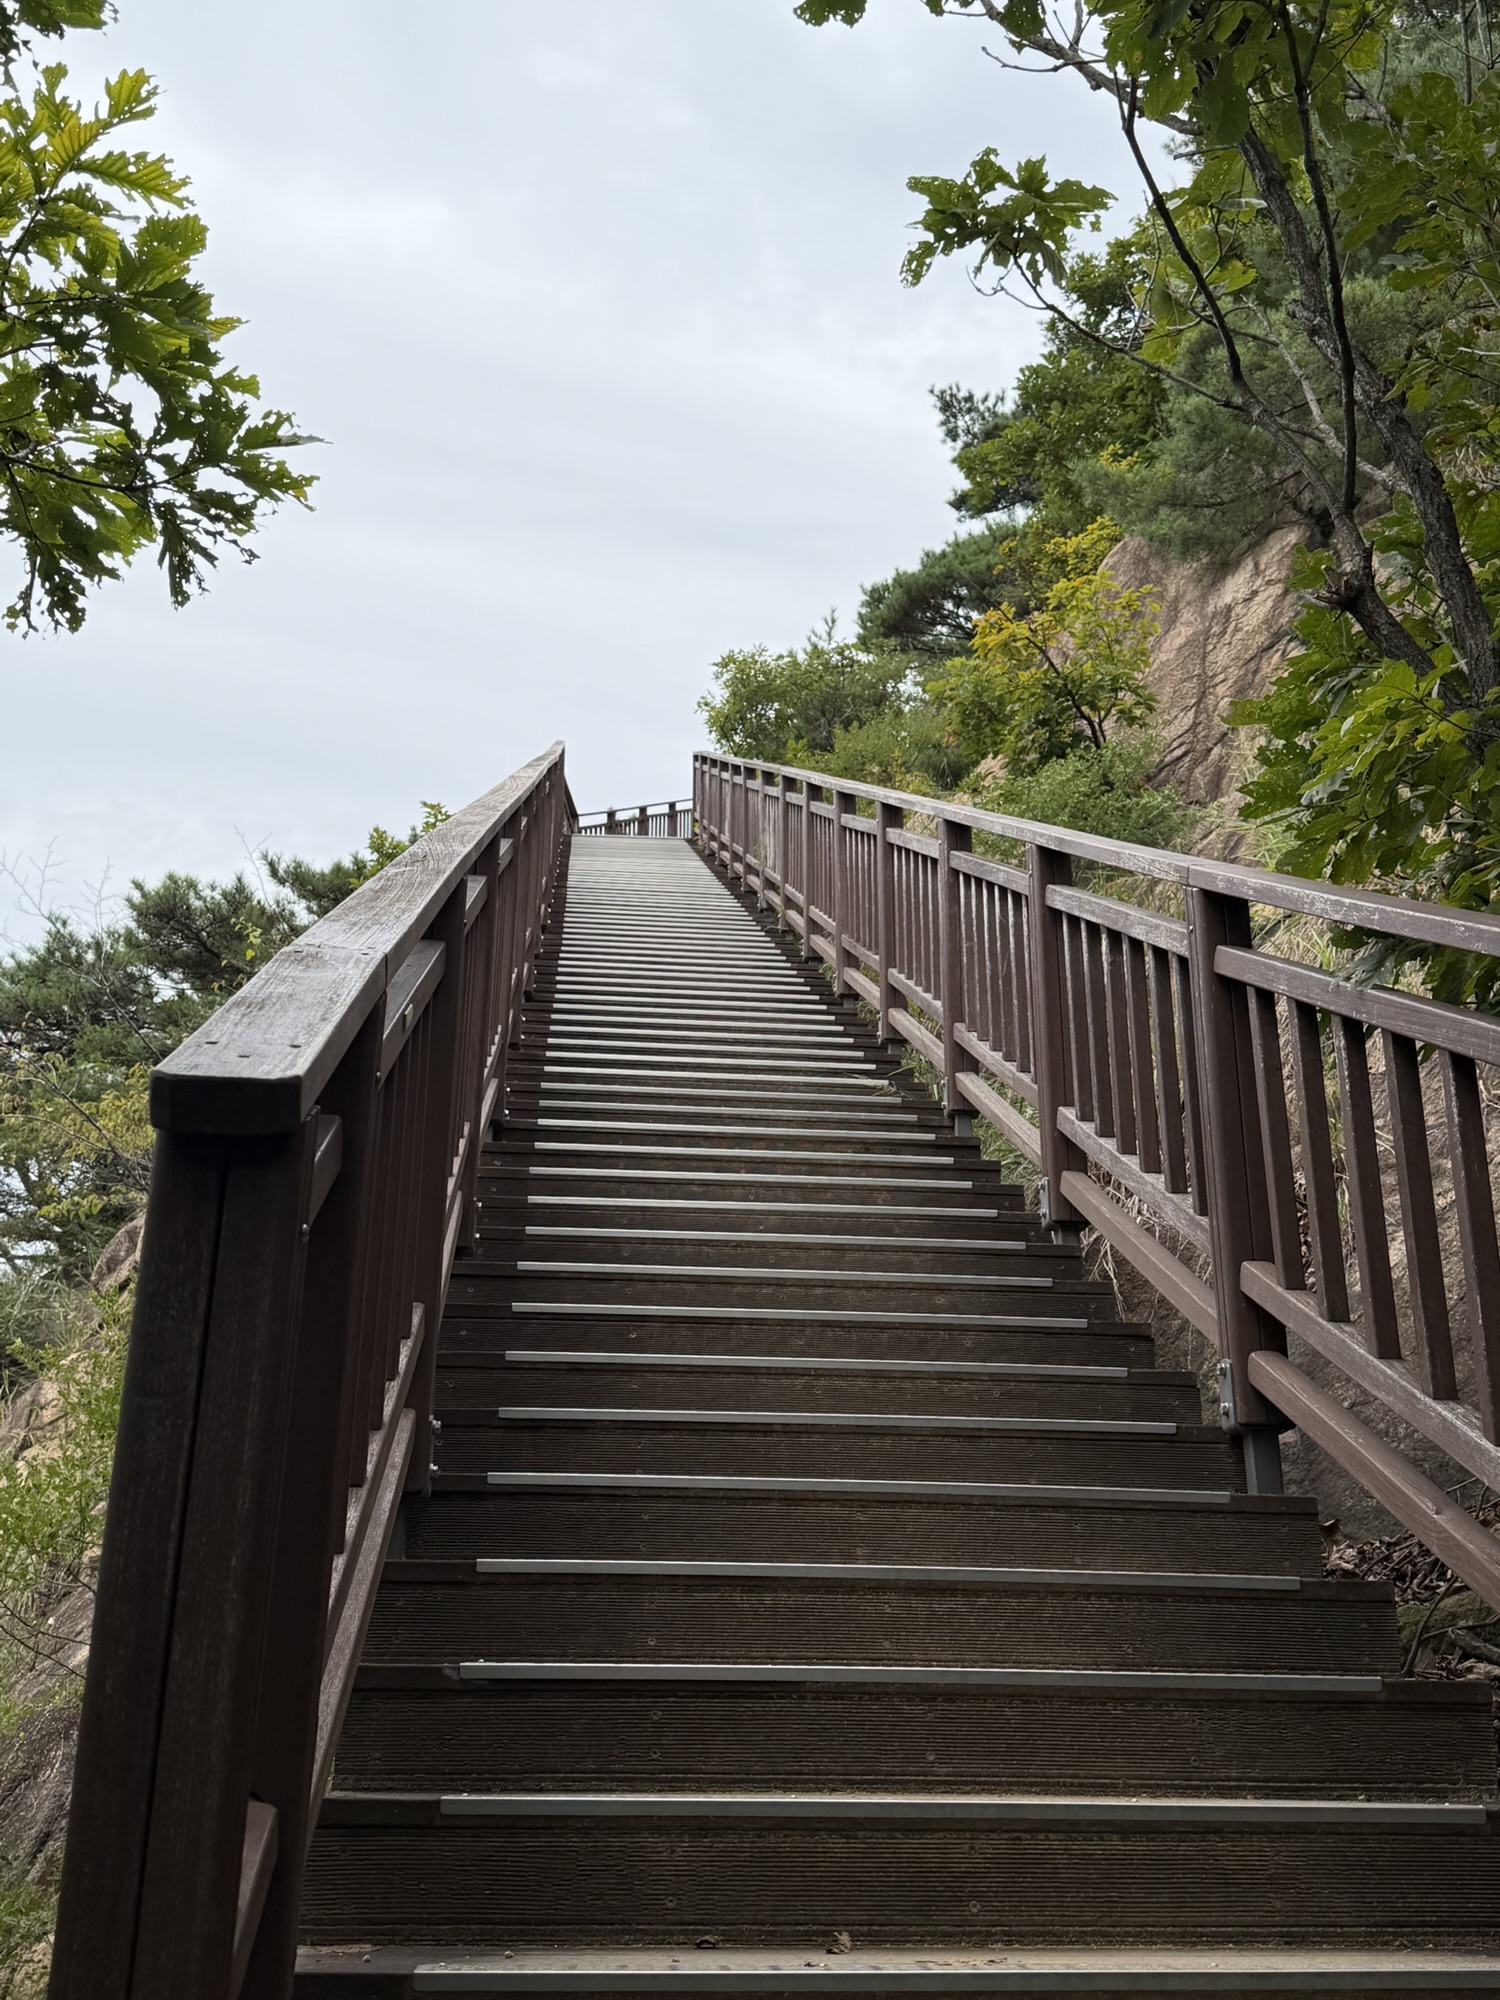
Then come the stairs. I made the classic mistake of thinking, “Once these stairs are over, the summit must be close.” It was not. Save a little energy here, because this is not the only stair section.
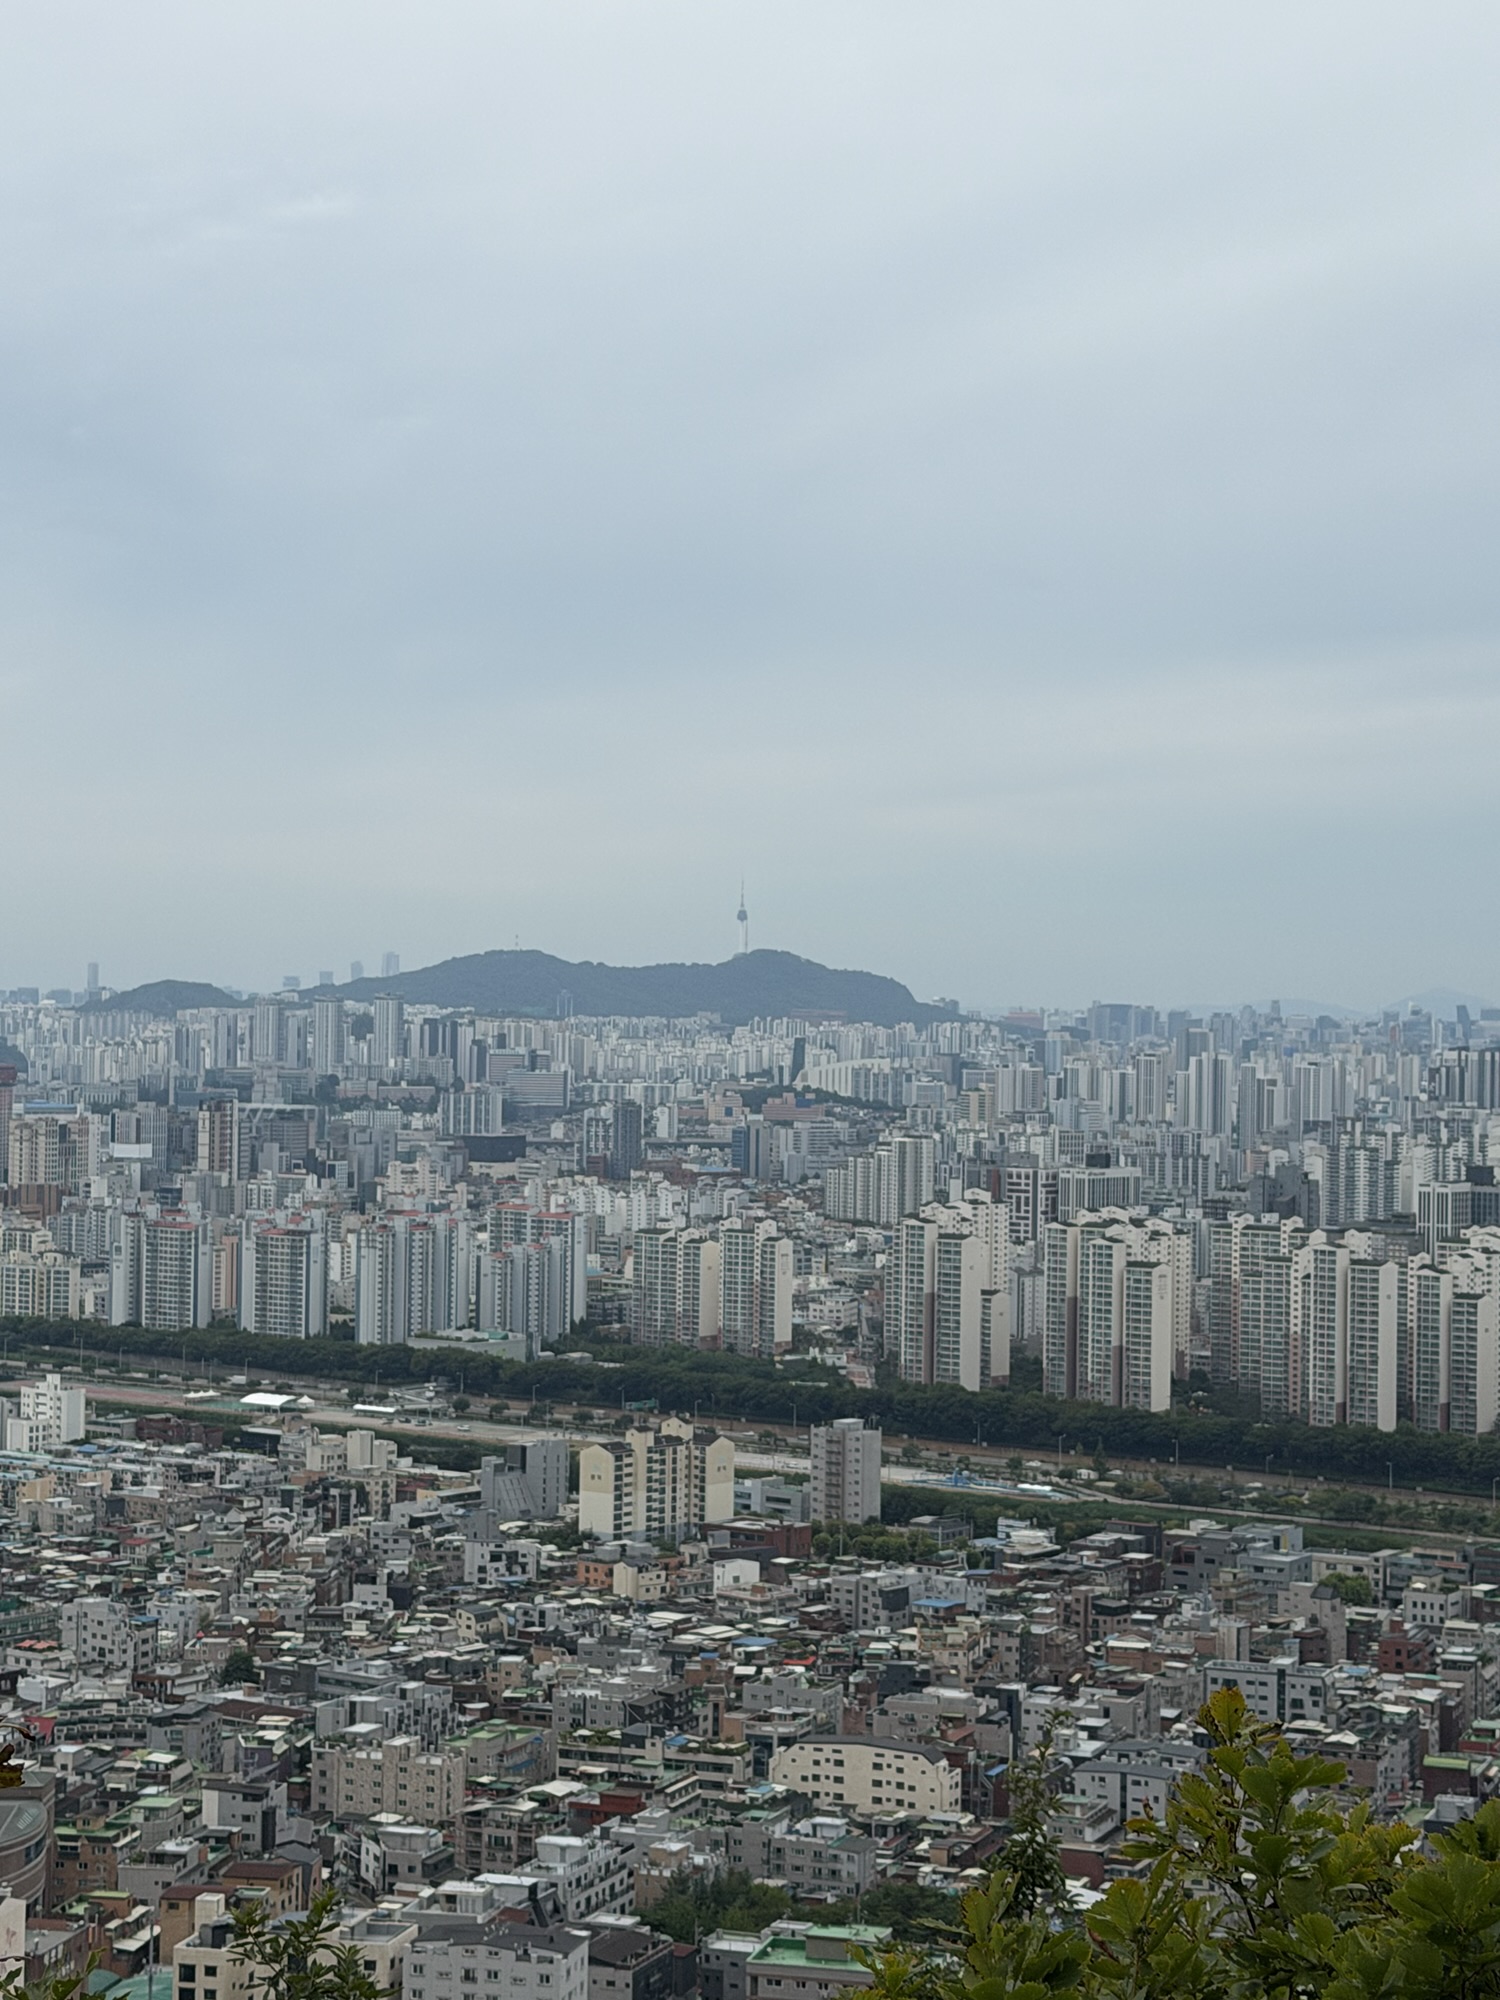
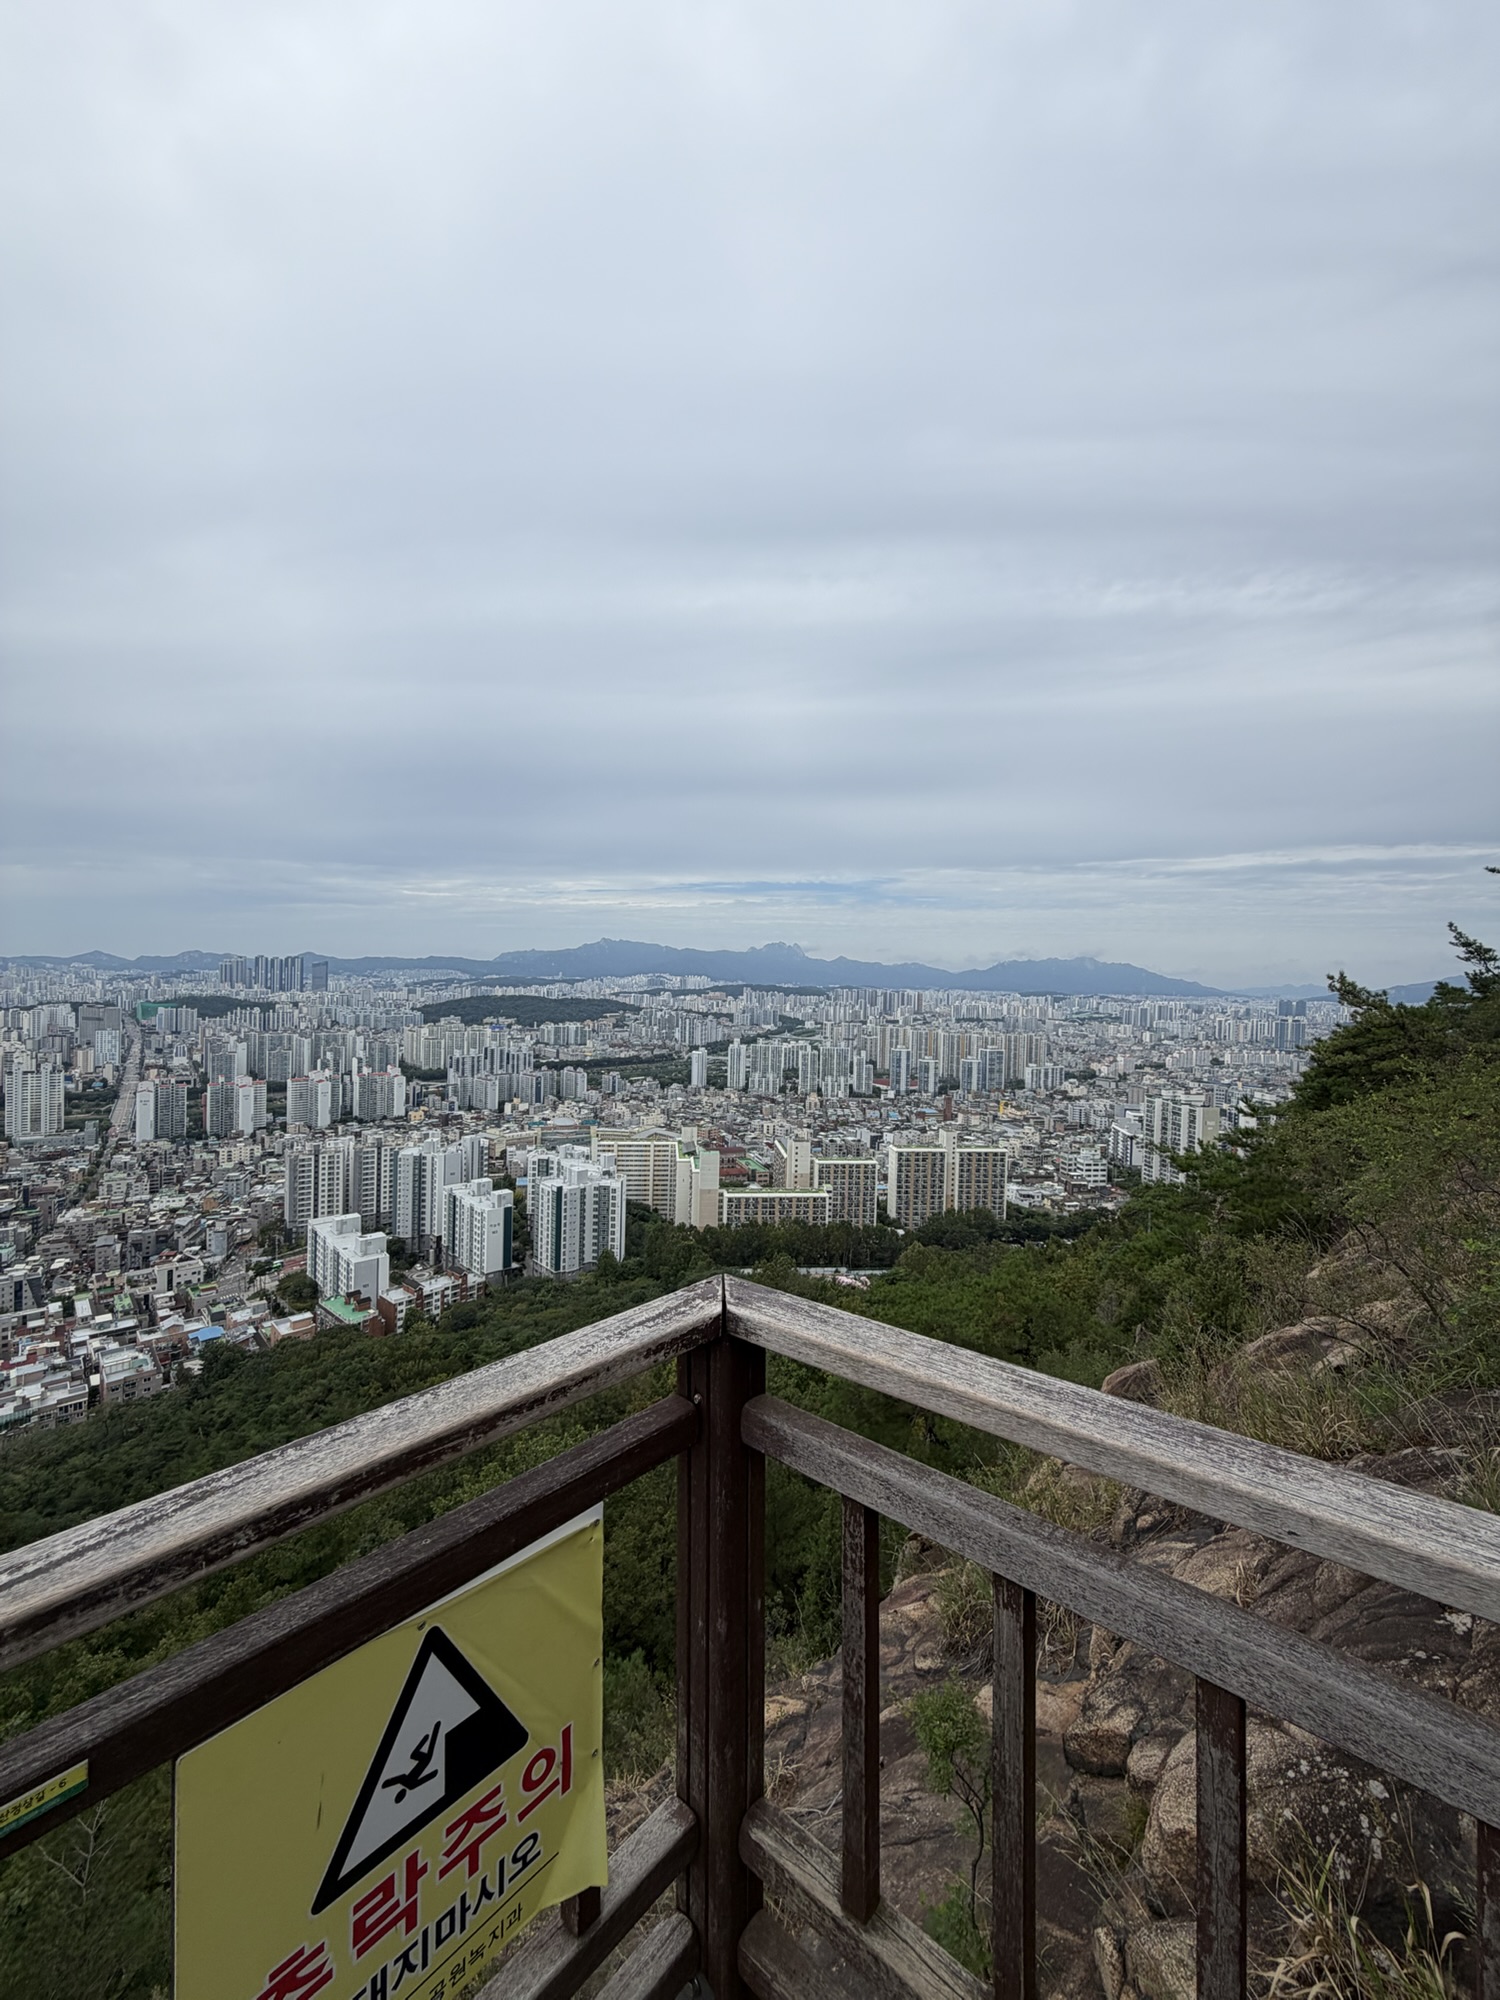
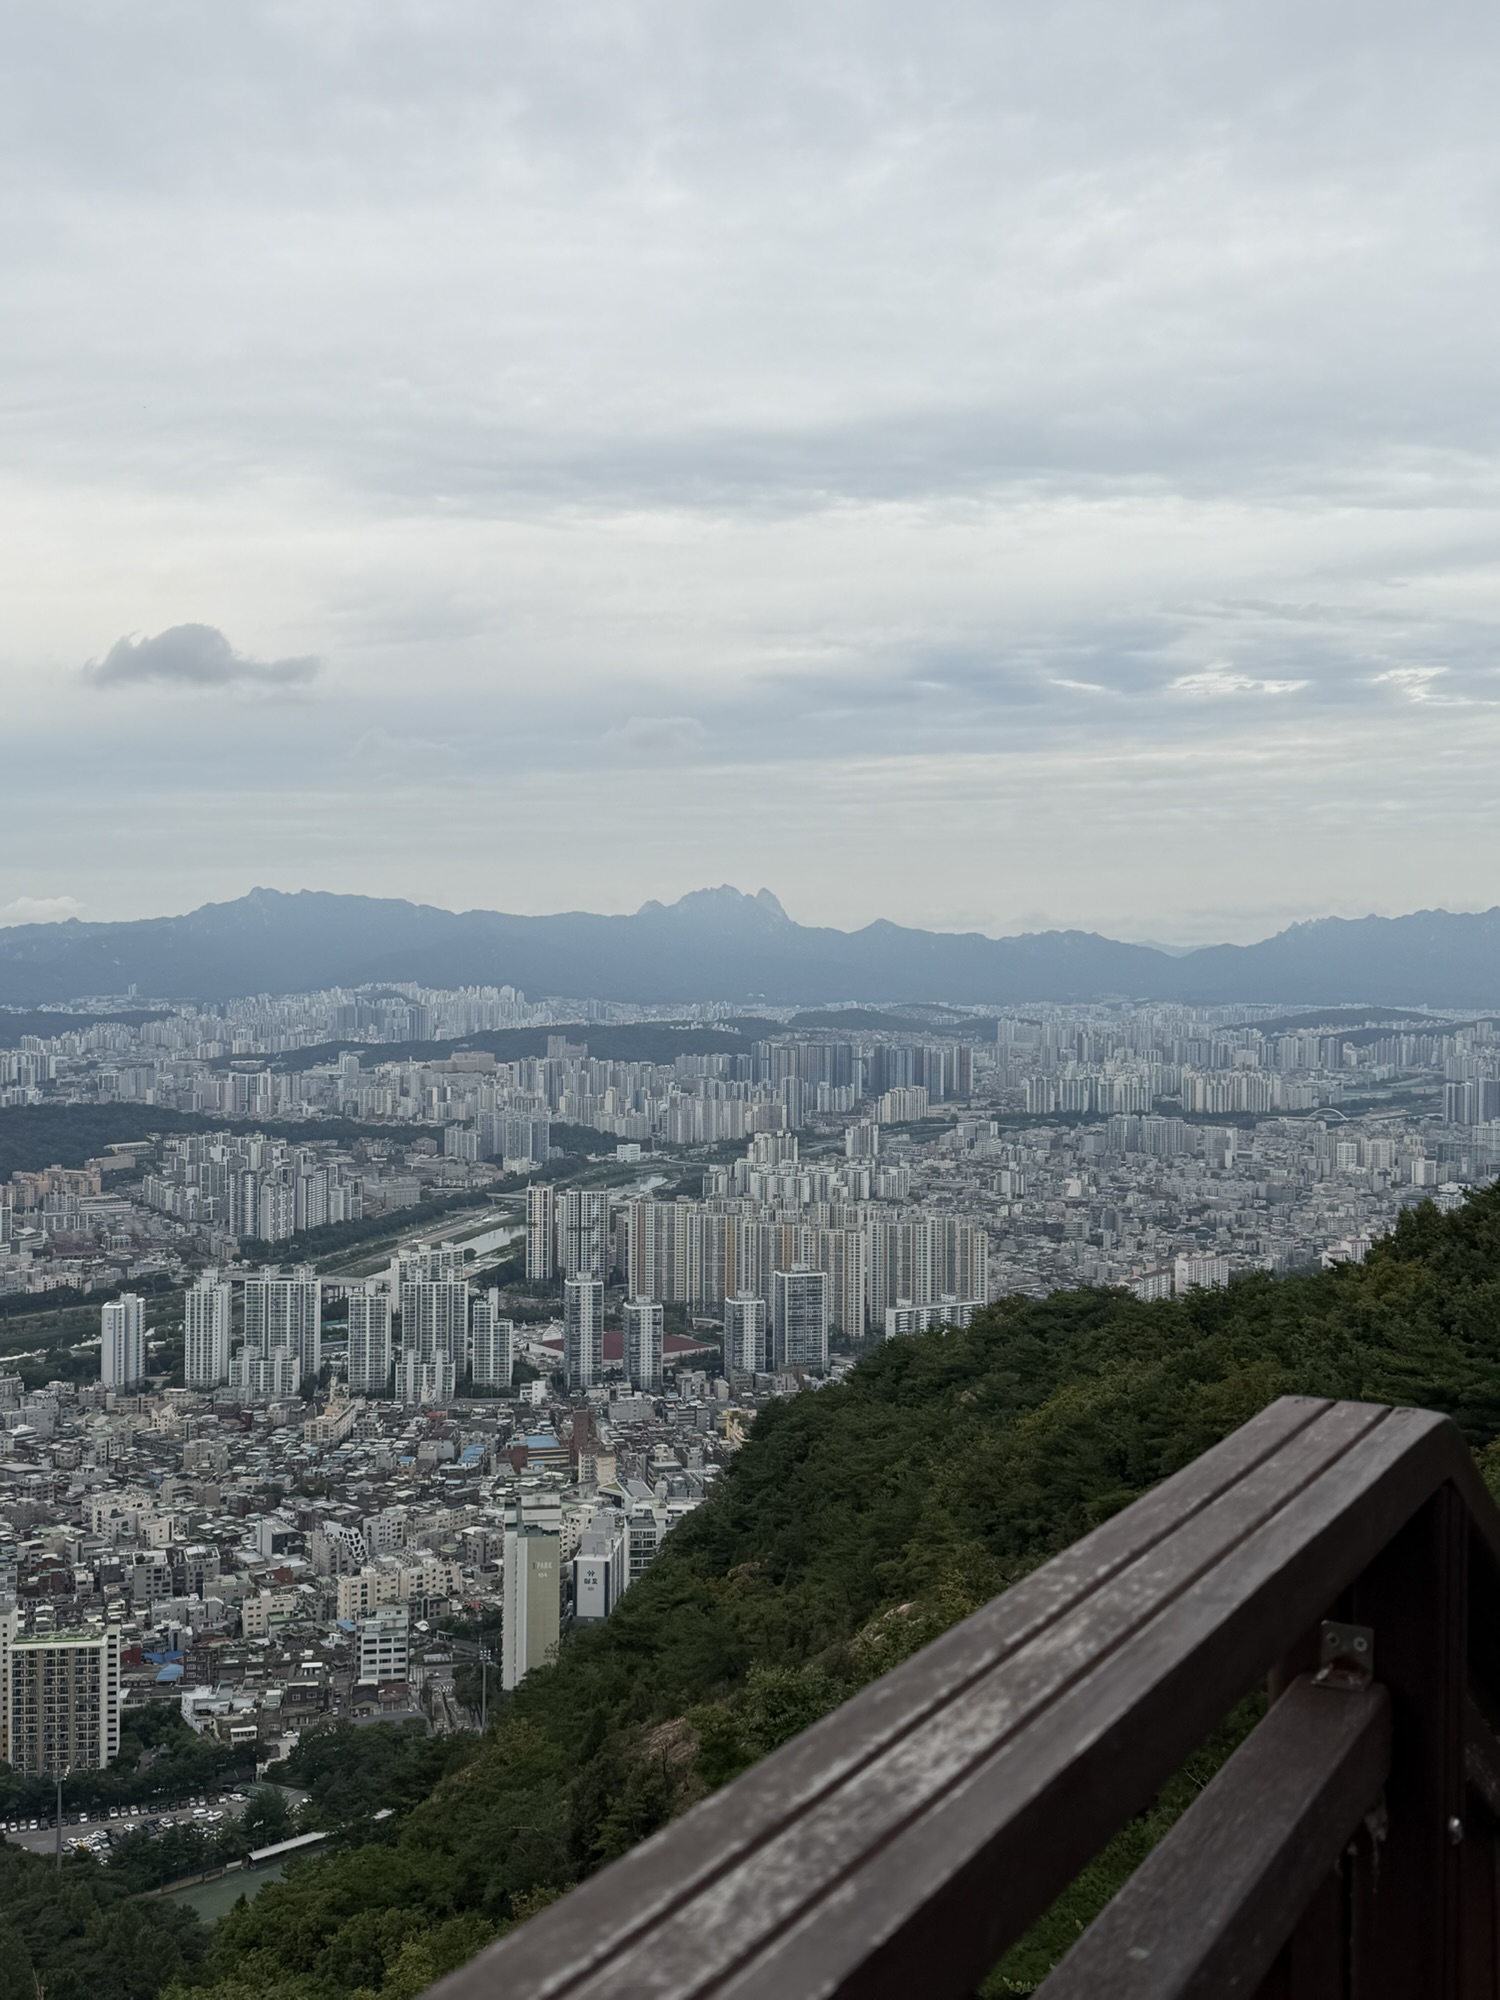
The good part about hiking in Seoul is that the city view opens up before you even reach the top. On Yongmasan, you get those open moments between the harder sections, which makes the climb feel less closed-in.
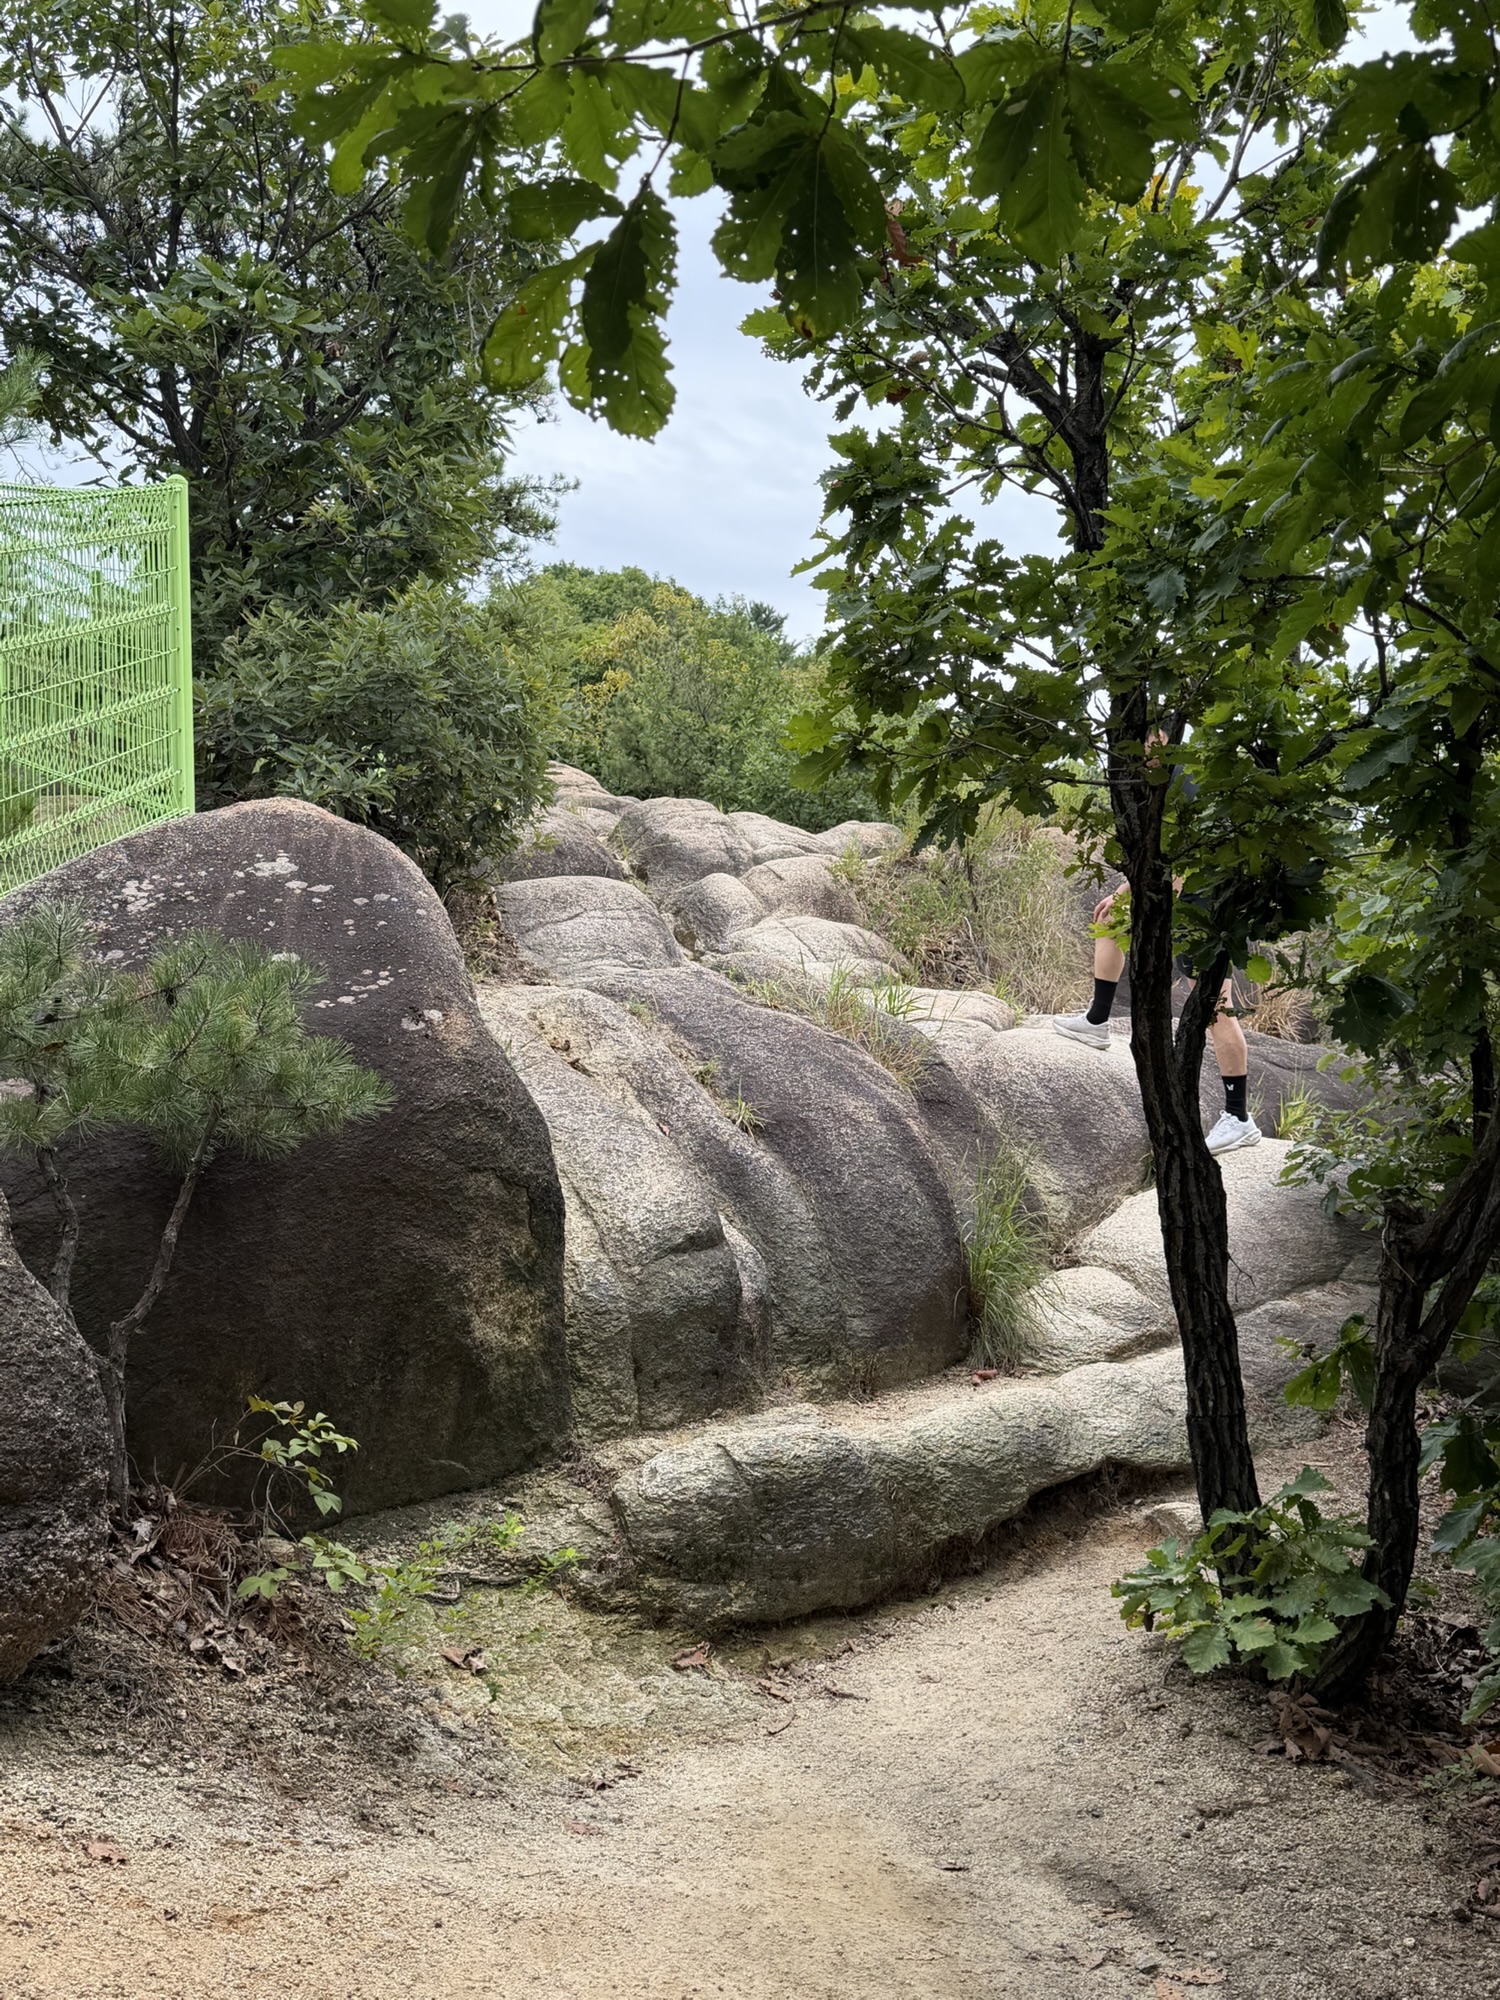
After that first big stair section, the rocky path starts again. At this point, I was only about halfway up. The basic pattern was rock, stairs, a little more rock, and then another version of the same thing before the summit.
The Part That Felt Less Beginner-Friendly
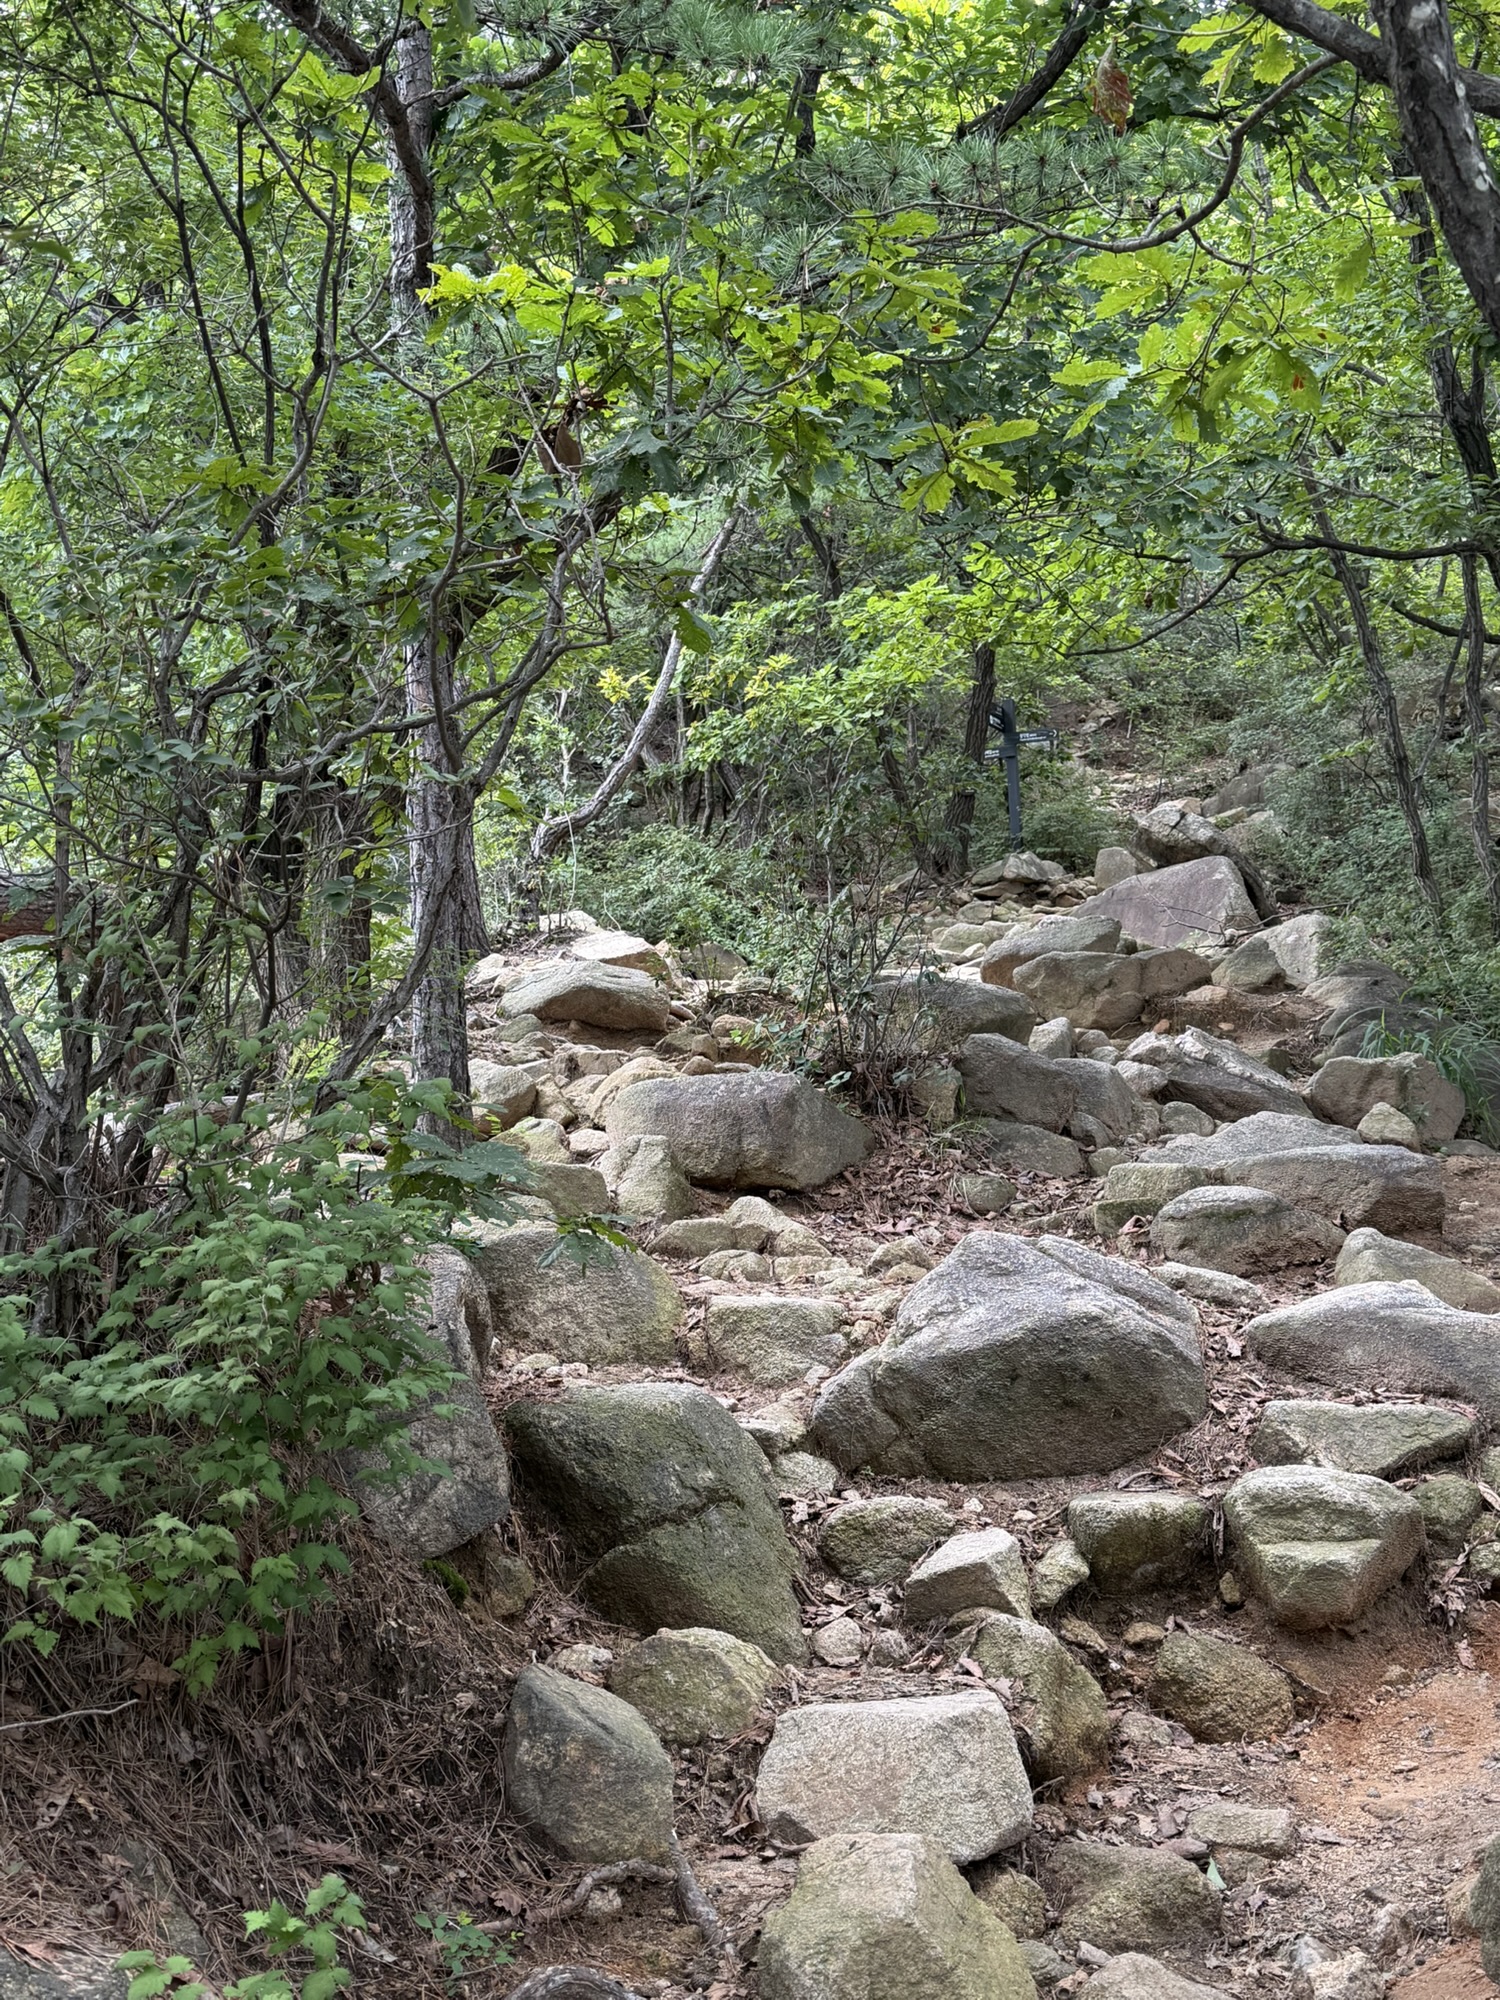
This was around the point where I stopped treating the hike like a light walk. The route was still clear, but I could feel the climb by then.
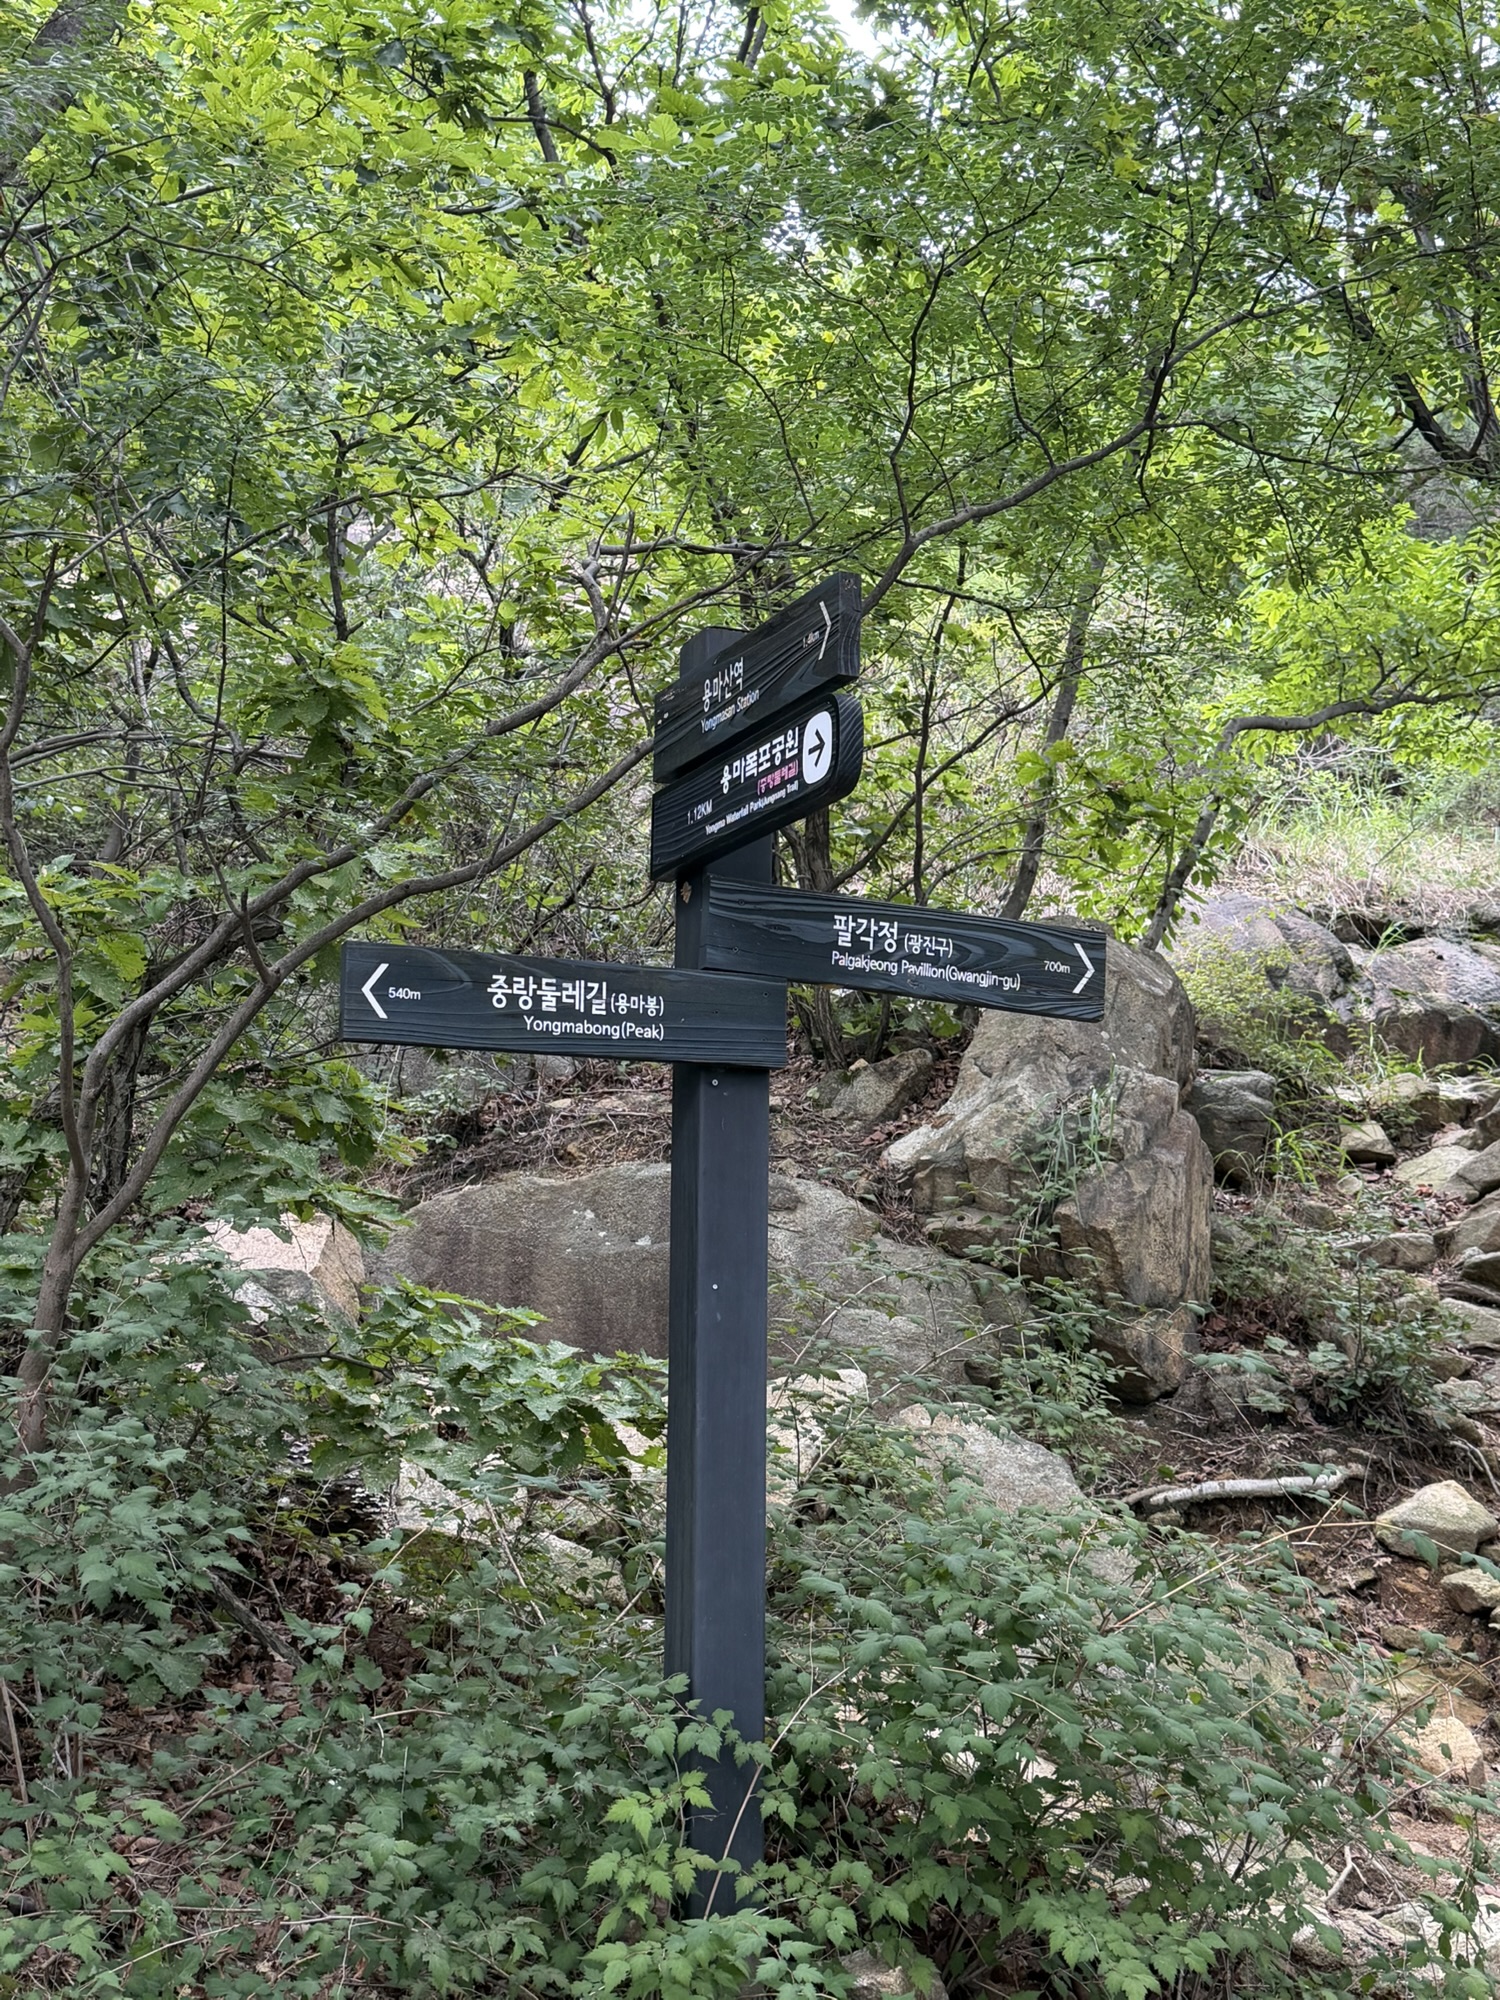
The Yongmabong signs kept appearing, which helped. At least I knew I was going the right way, even when the trail kept asking for a little more effort.
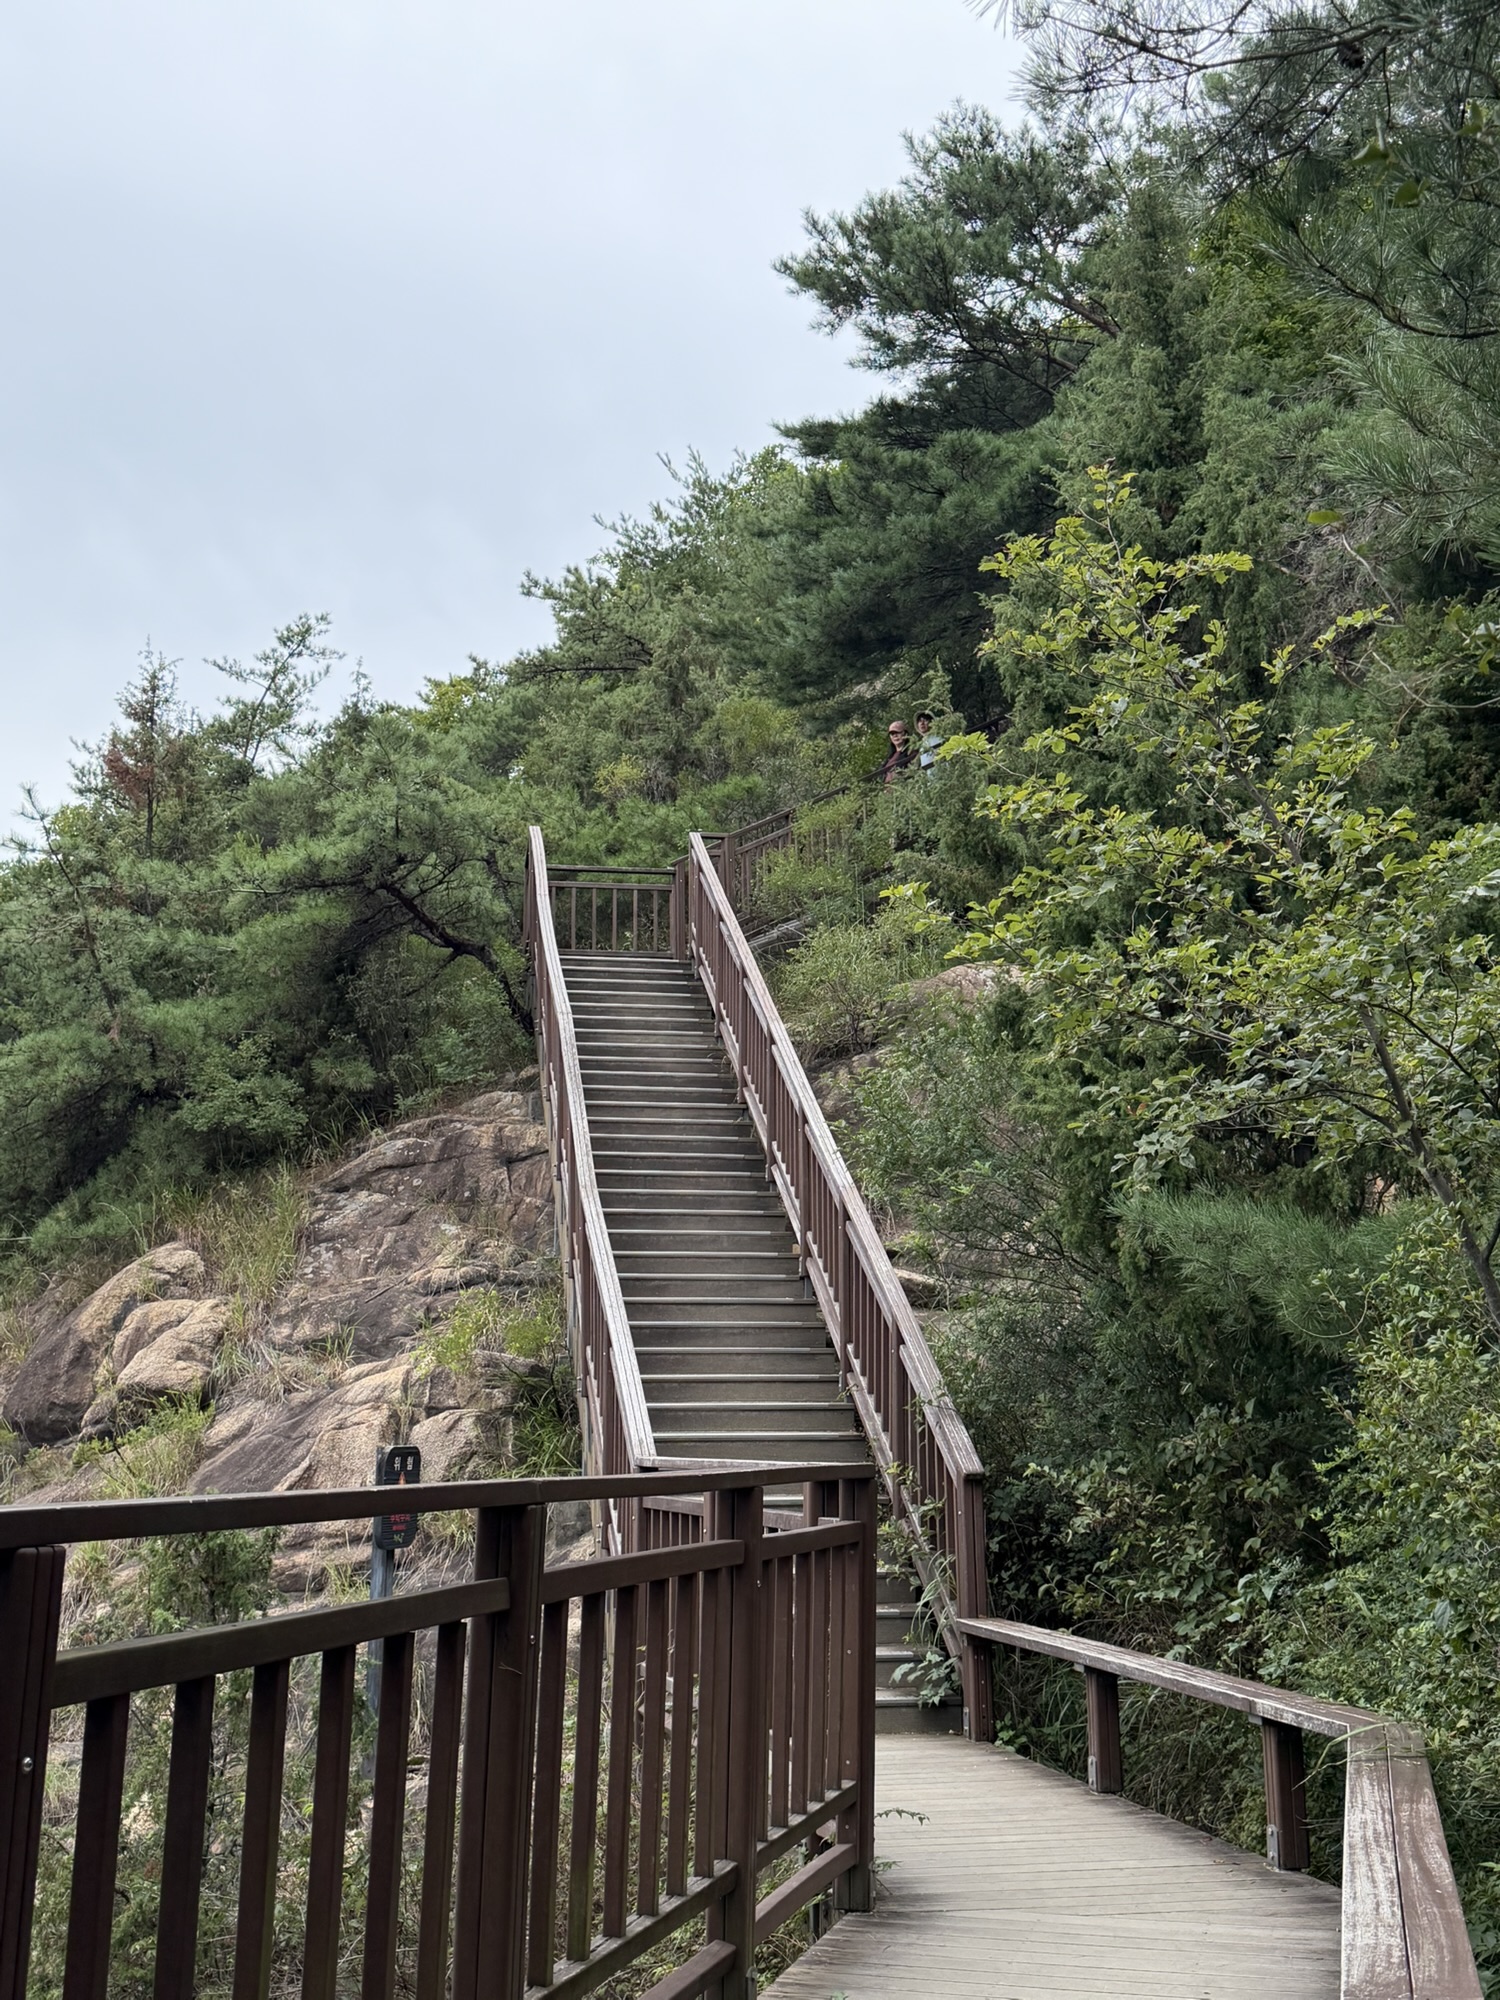
I use the stair machine at the gym for 30 minutes a couple of times a week, and I still felt these stairs. Real stairs on a mountain are different. The uneven height, the slope, the weather, the rocks before and after – it all adds up.
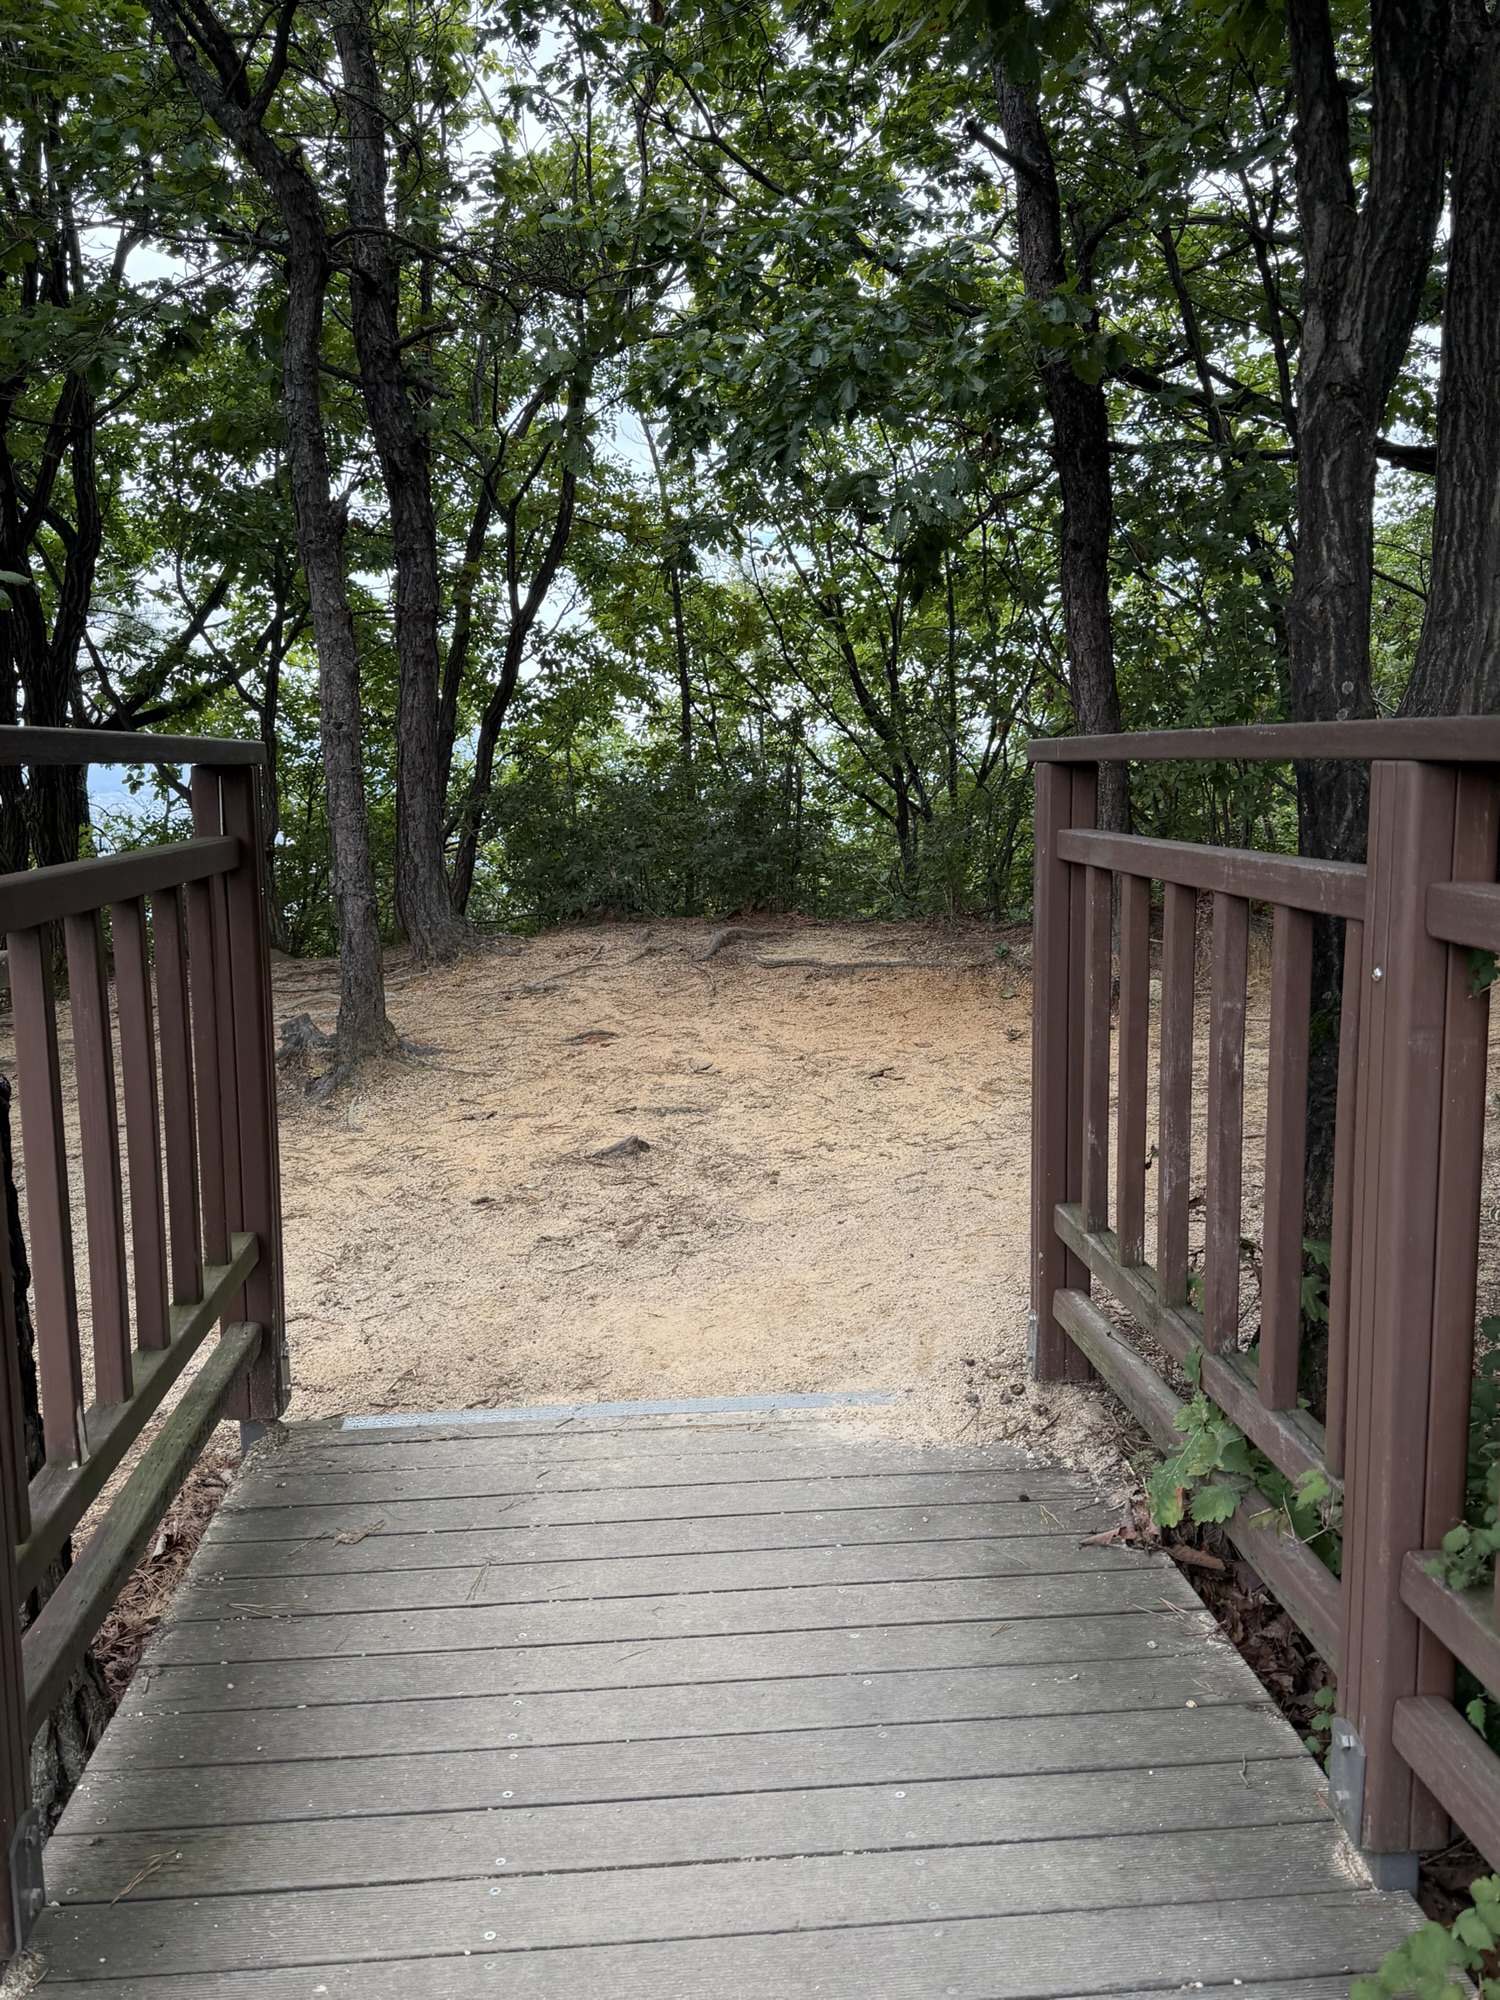
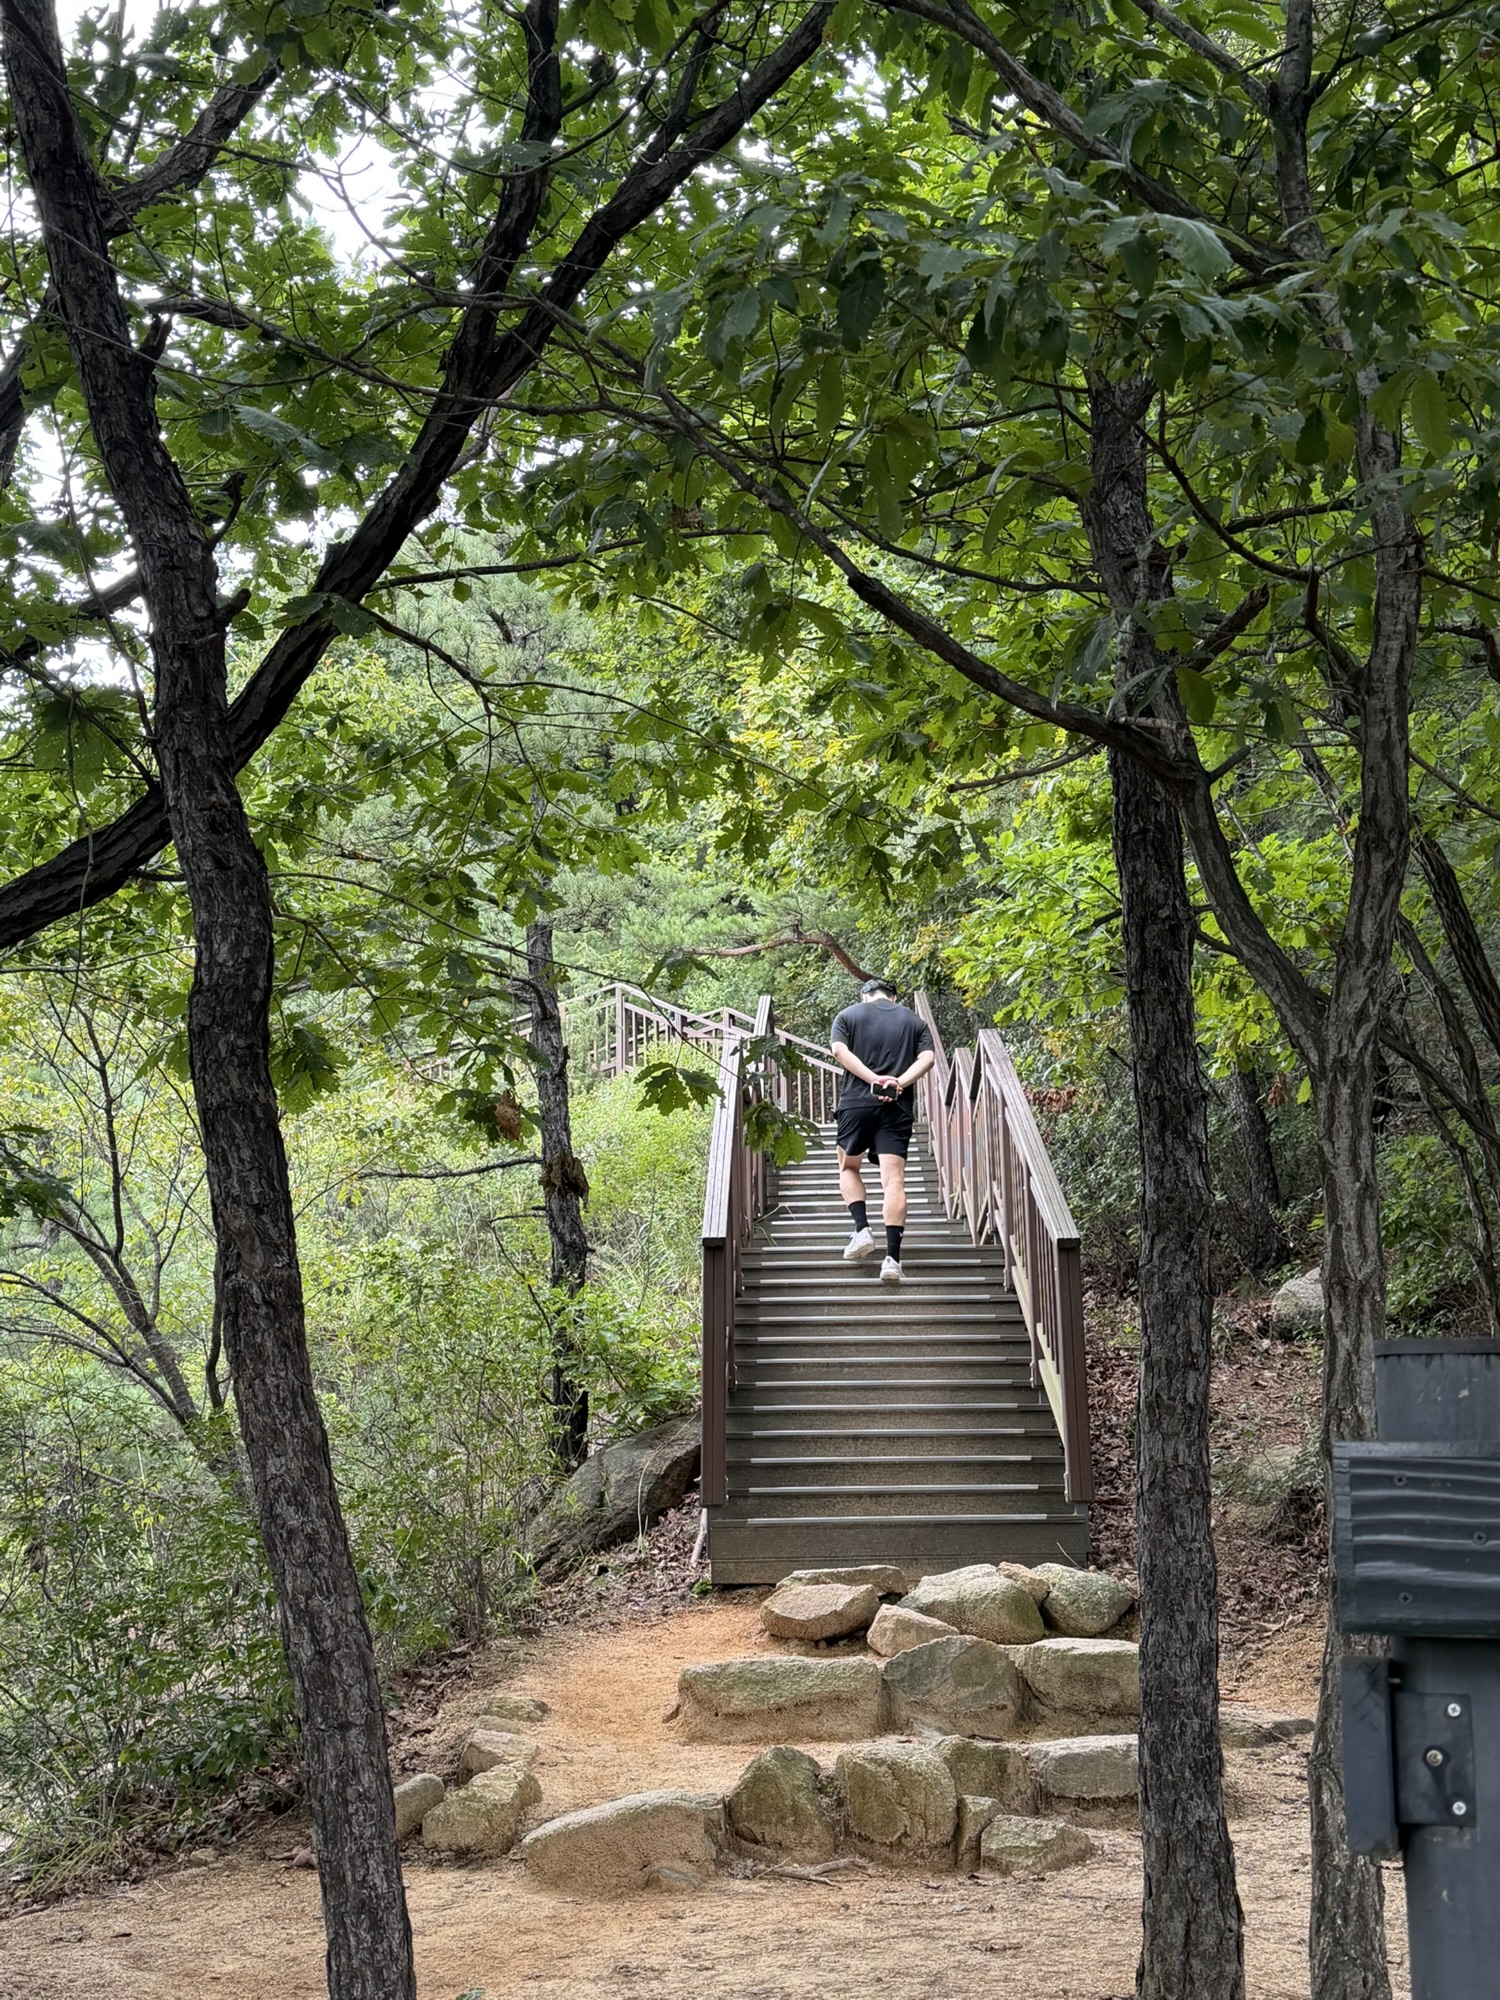
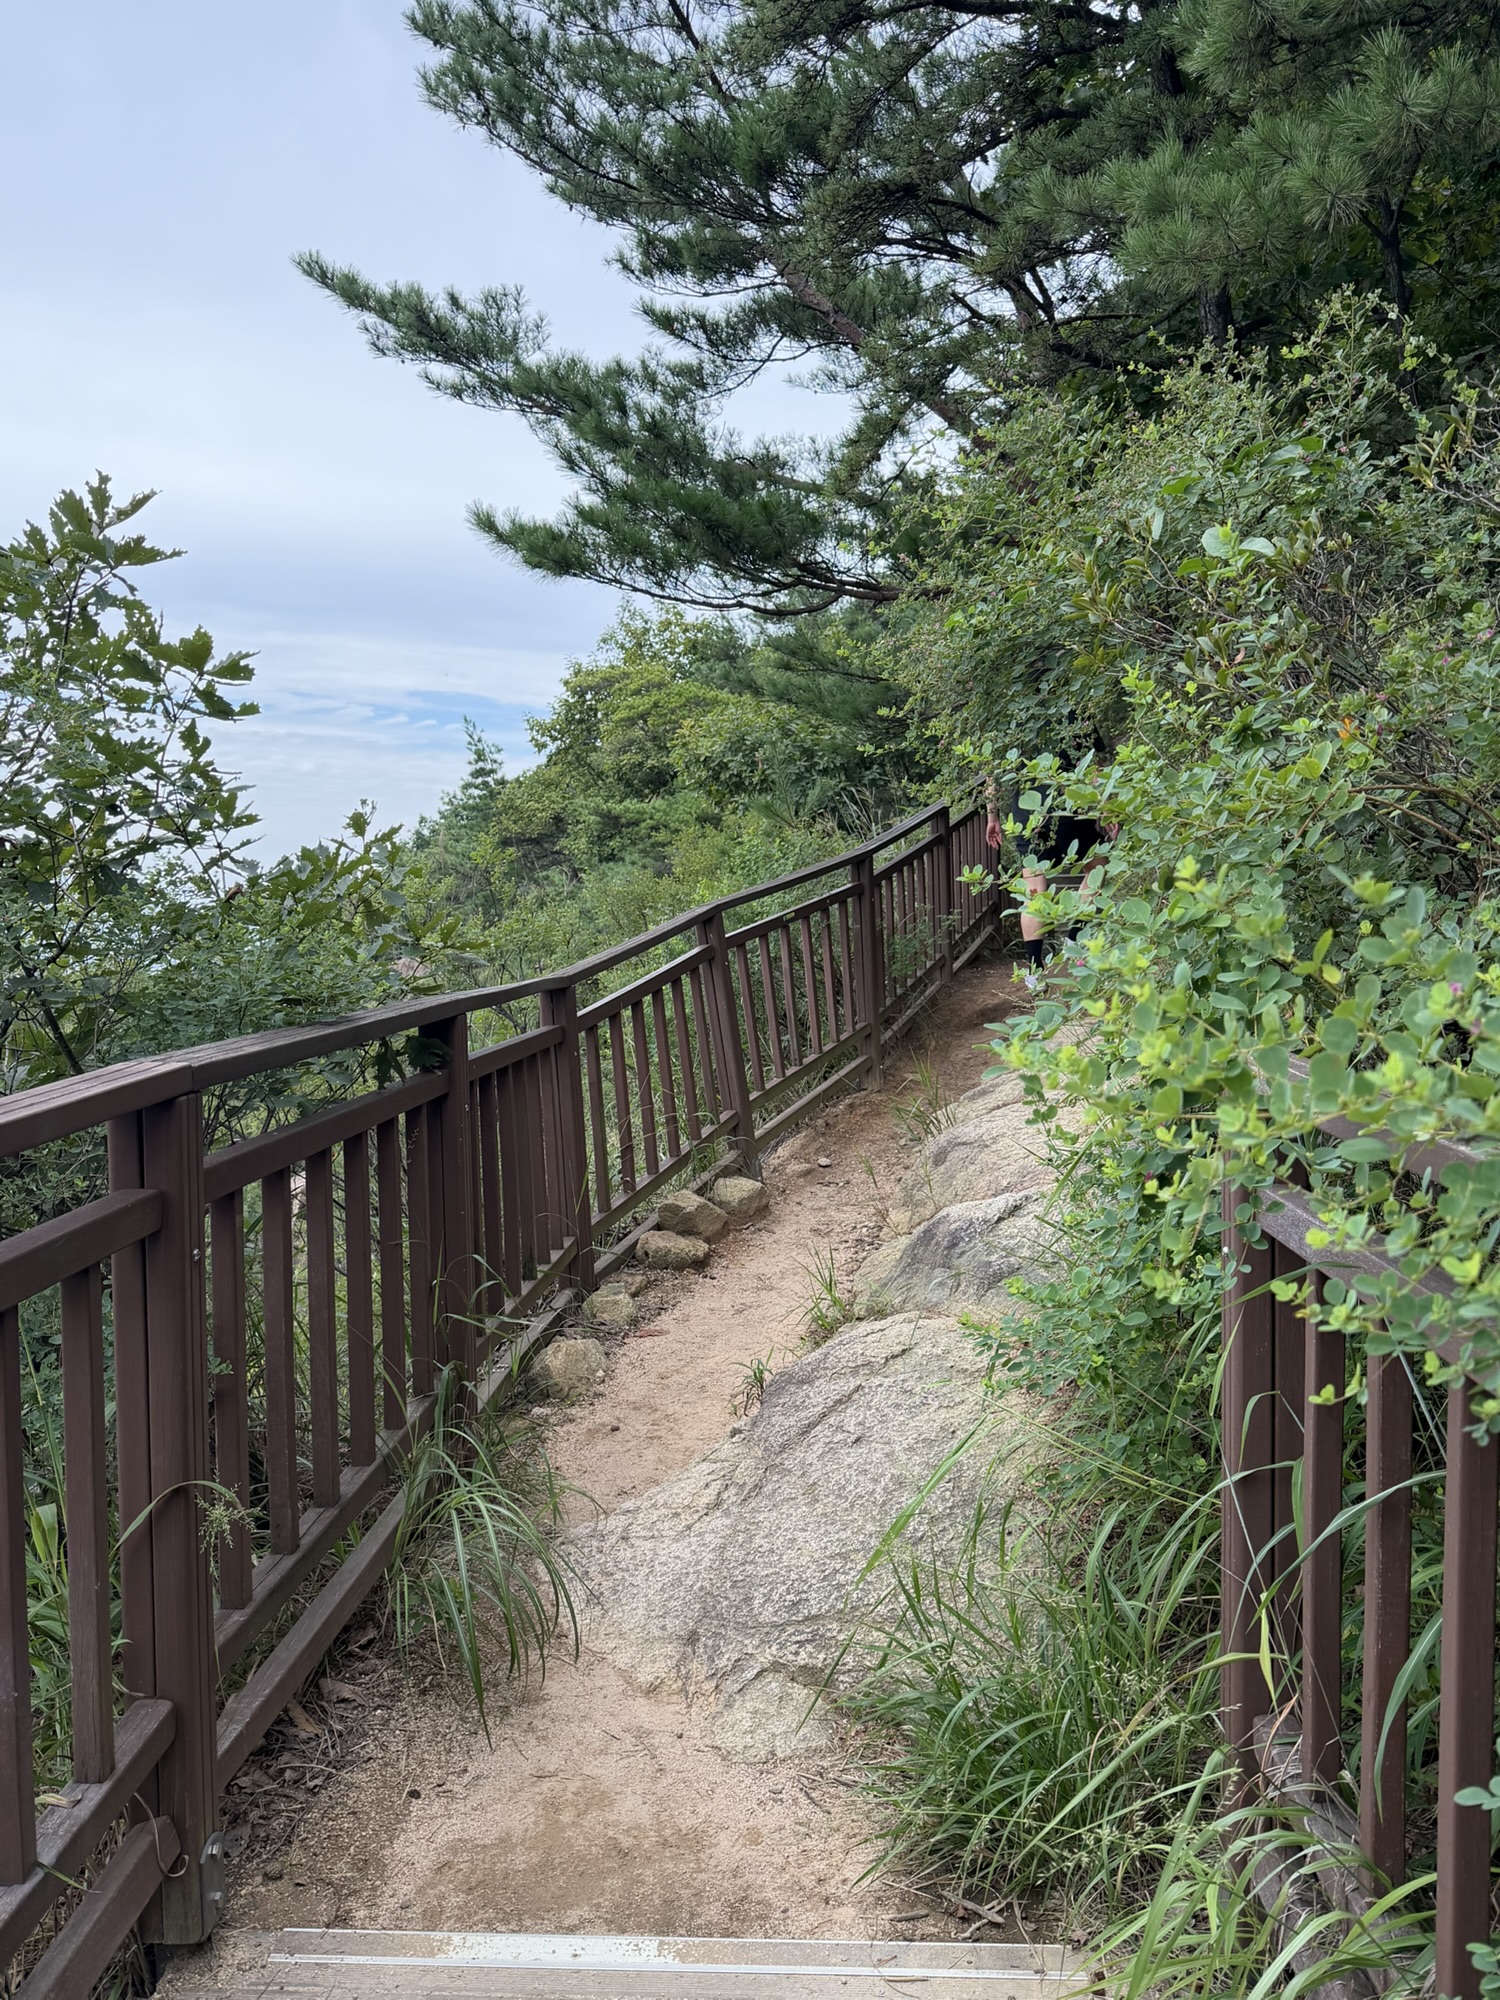
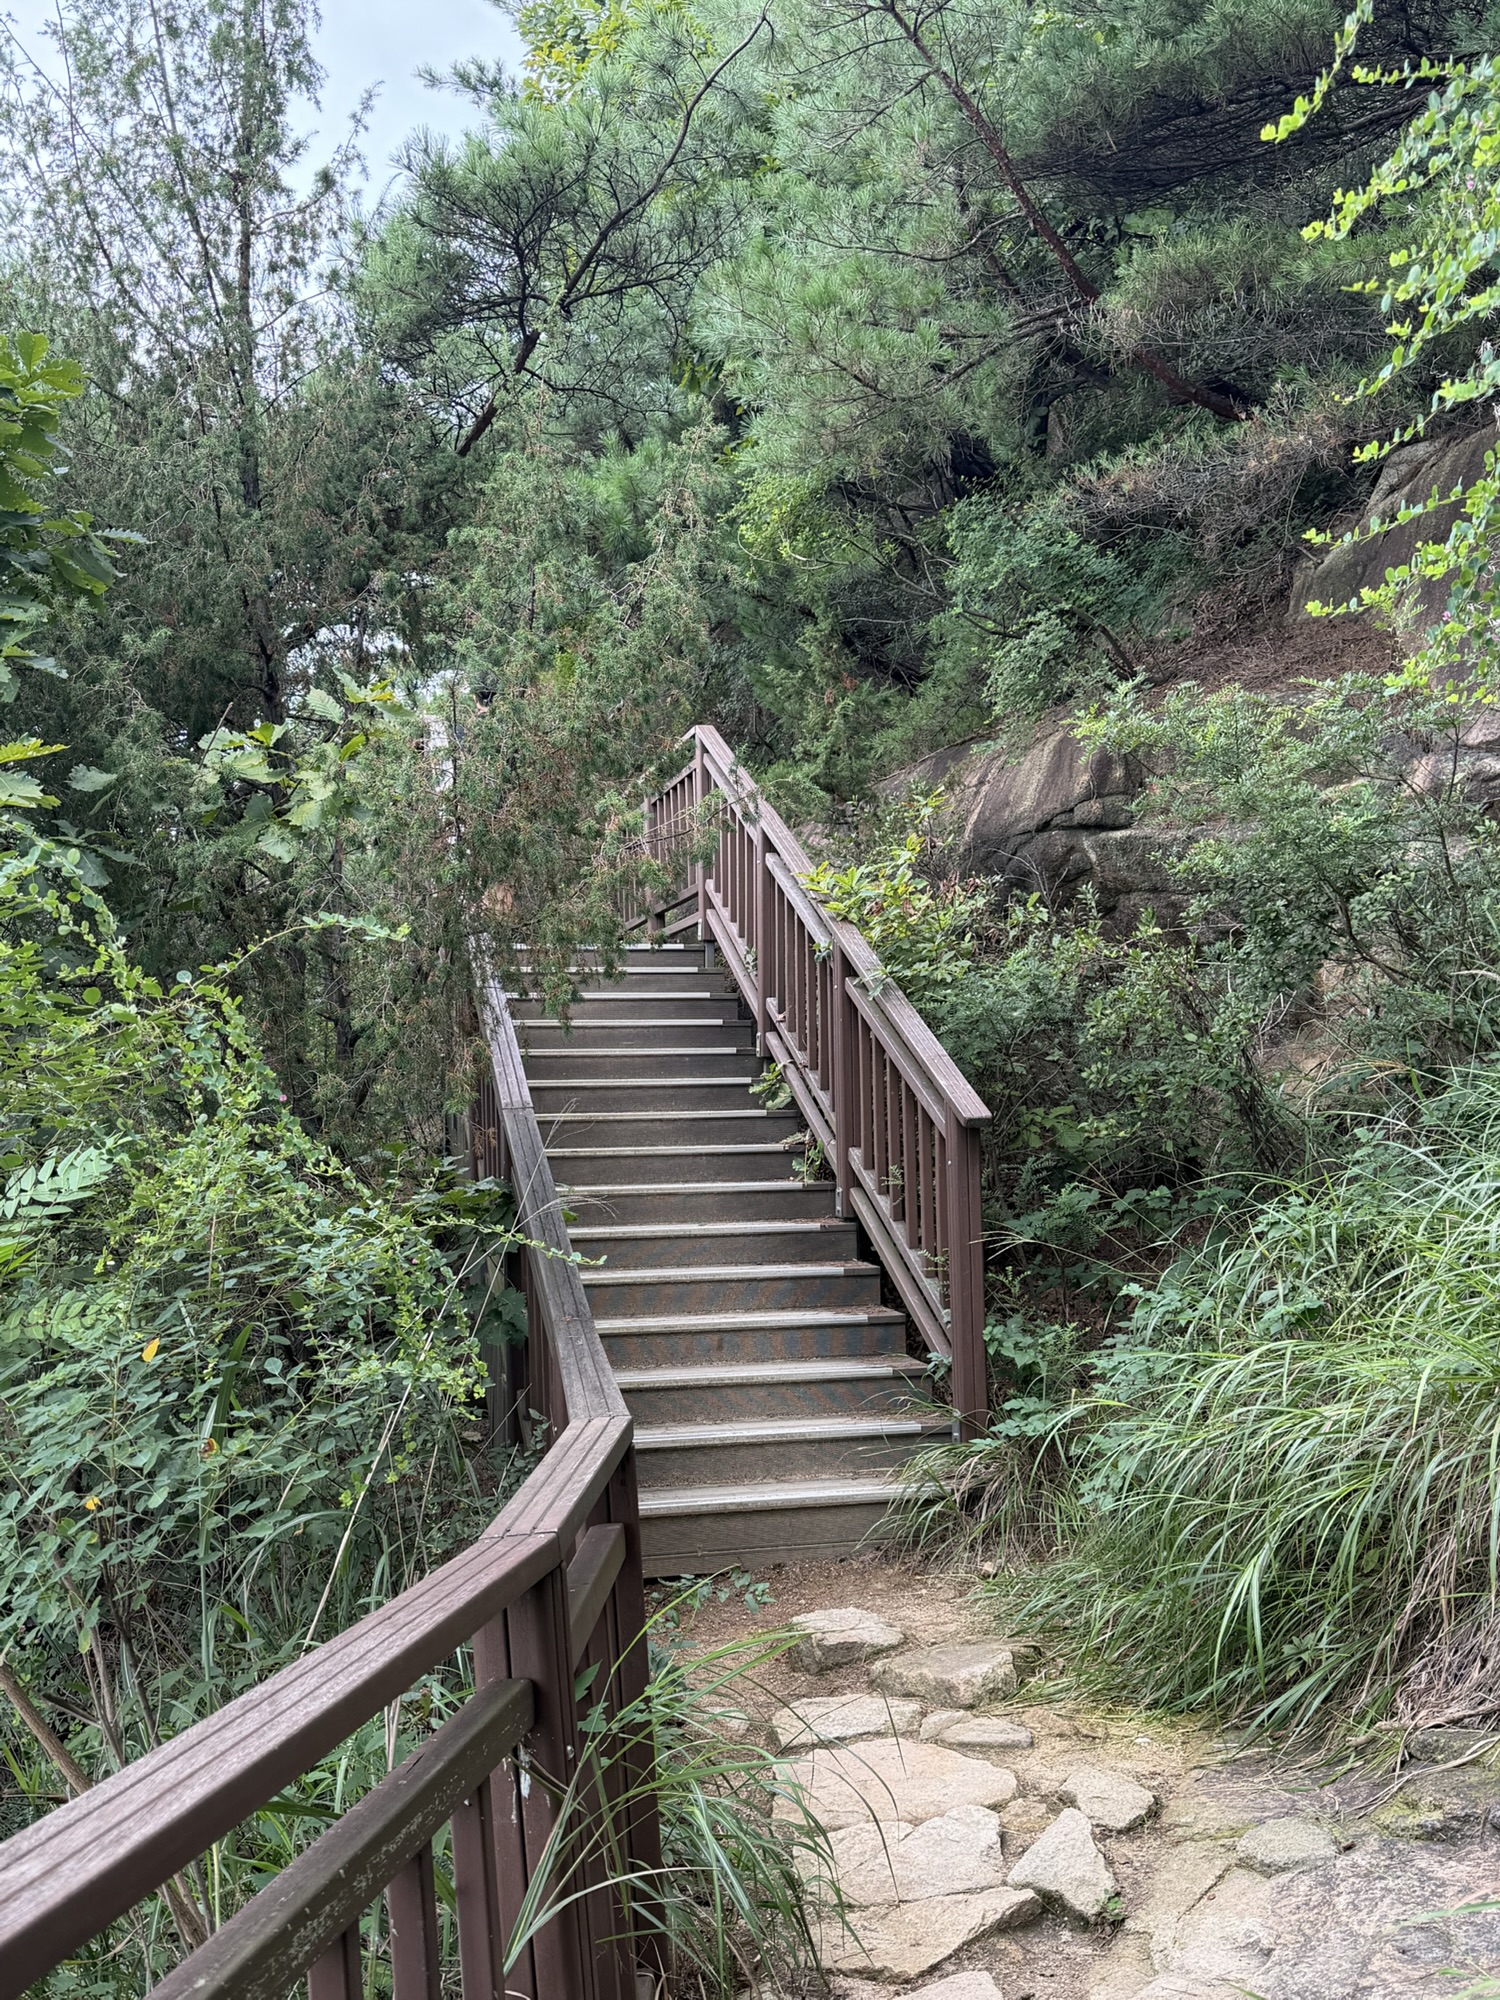
There were a couple of moments where I thought I was almost at the summit, and then the trail kept going. If you’ve read a lot of posts calling Yongmasan a beginner hike, this is the part where I would adjust expectations. It’s beginner-friendly in the sense that the route is clear and the distance is short. It’s not beginner-friendly in the sense of being flat or gentle.
I usually read a few hiking reviews before I go, and because everyone made Yongmasan sound so easy, I came with more of a walking mindset. That part was my mistake. Comfortable shoes and a real hiking pace would have made the climb feel much better.
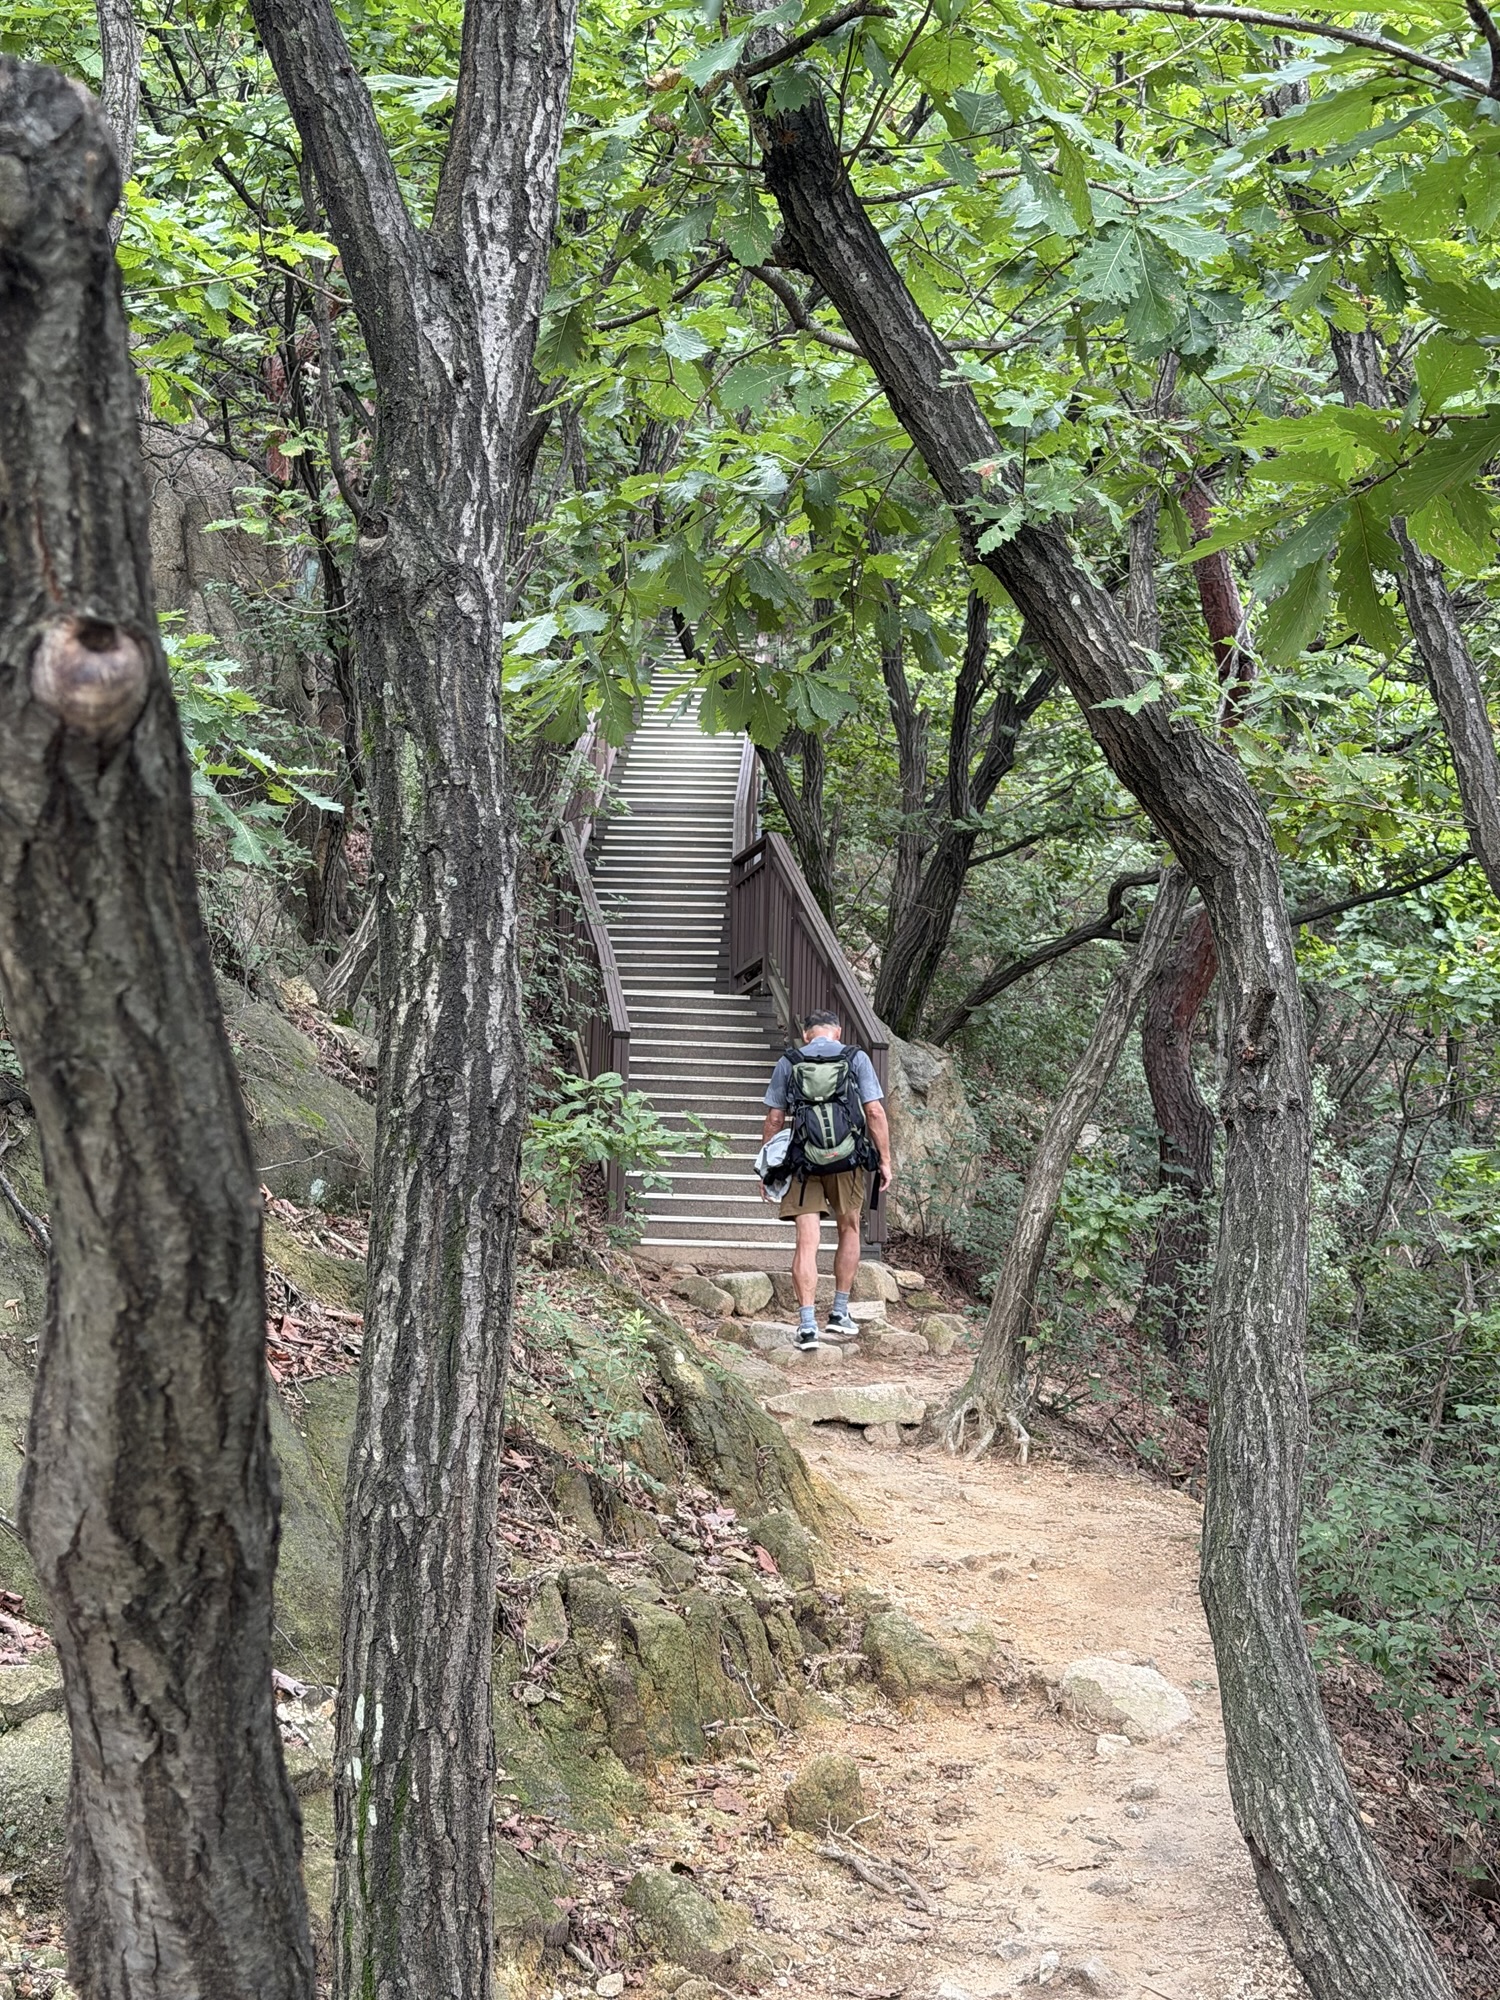
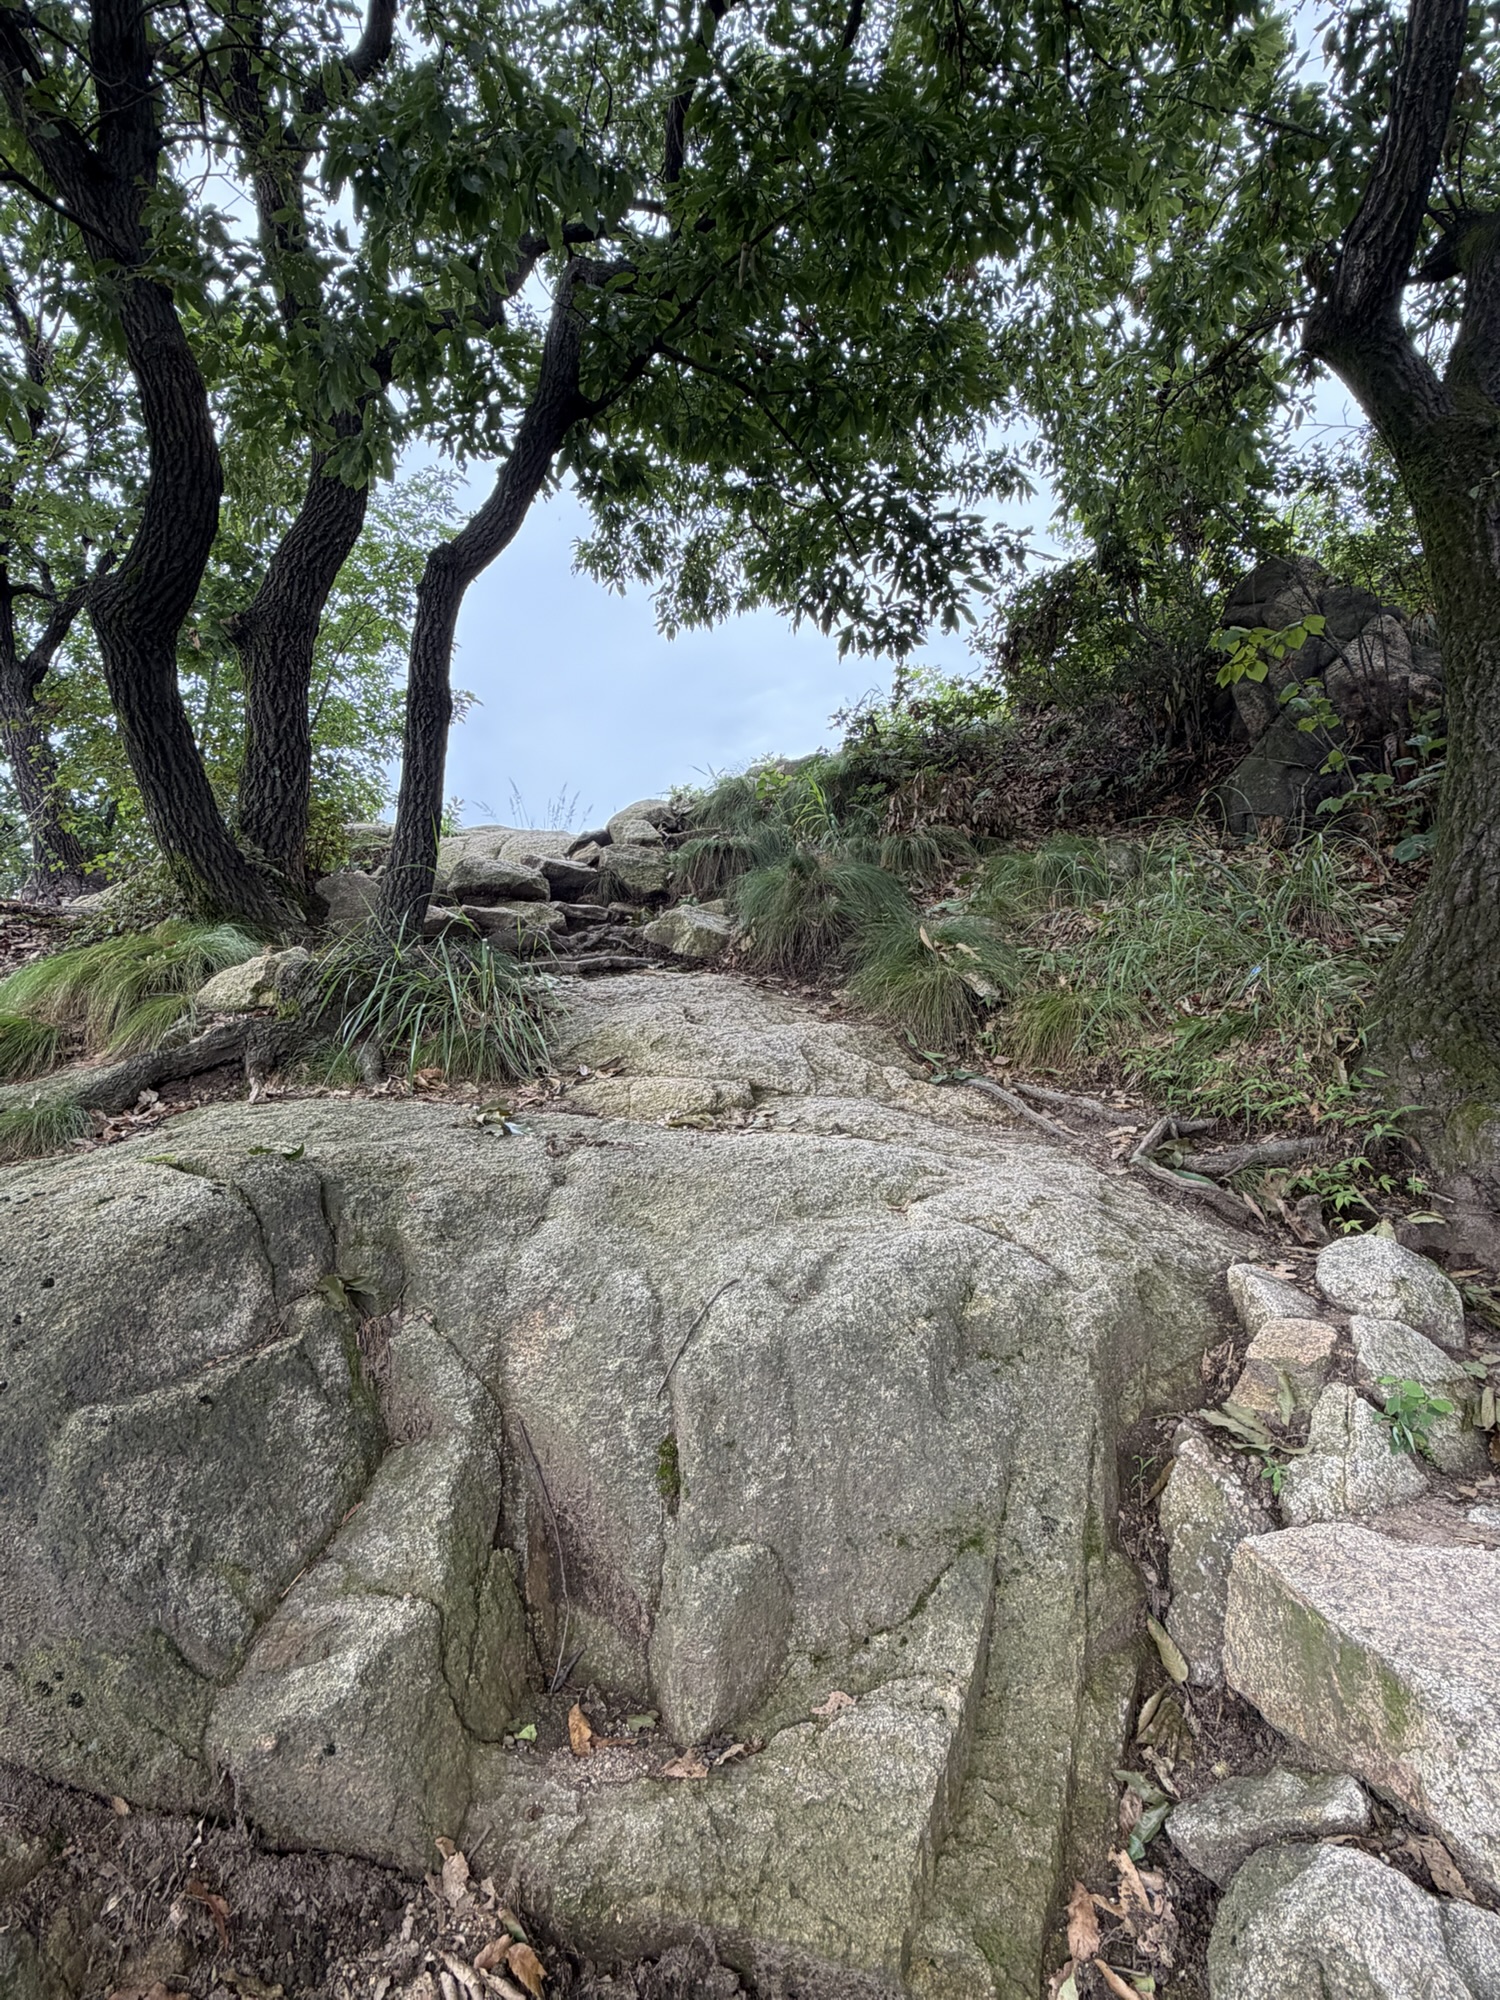
After what felt like the last stair section and one more rocky push, the summit finally came into reach.
Yongmabong Summit
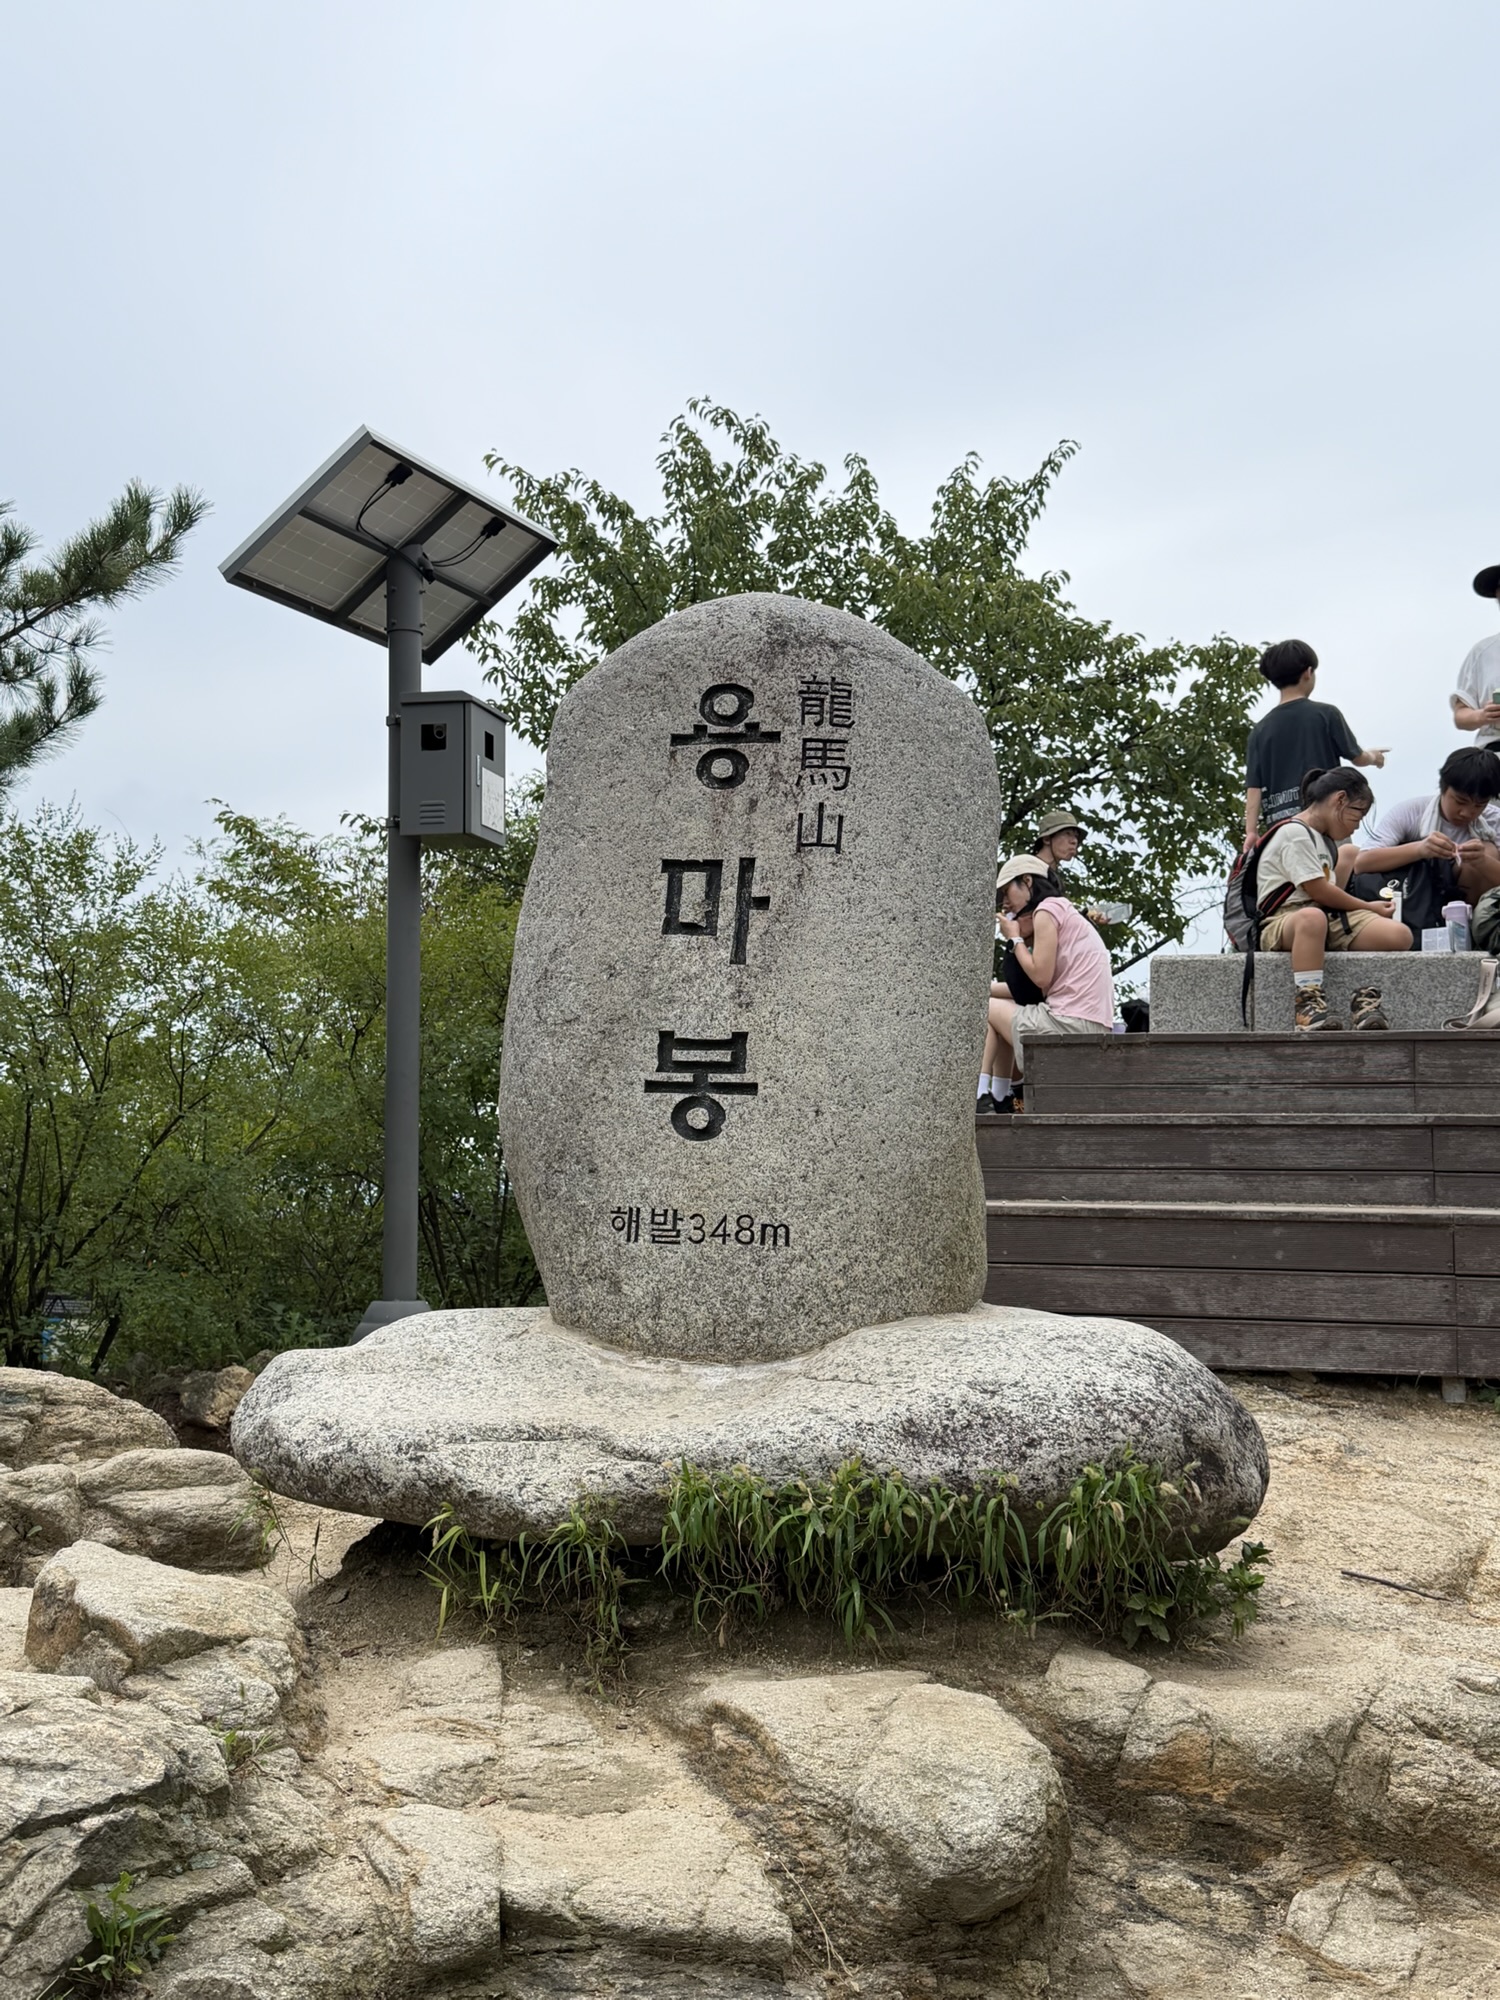
From the parking lot to Yongmabong, it took right around one hour for me. The nice thing about summit stones is that they really do reset your mood. A few minutes earlier, I was questioning every stair. Once I saw the marker, the whole climb suddenly felt worth it.
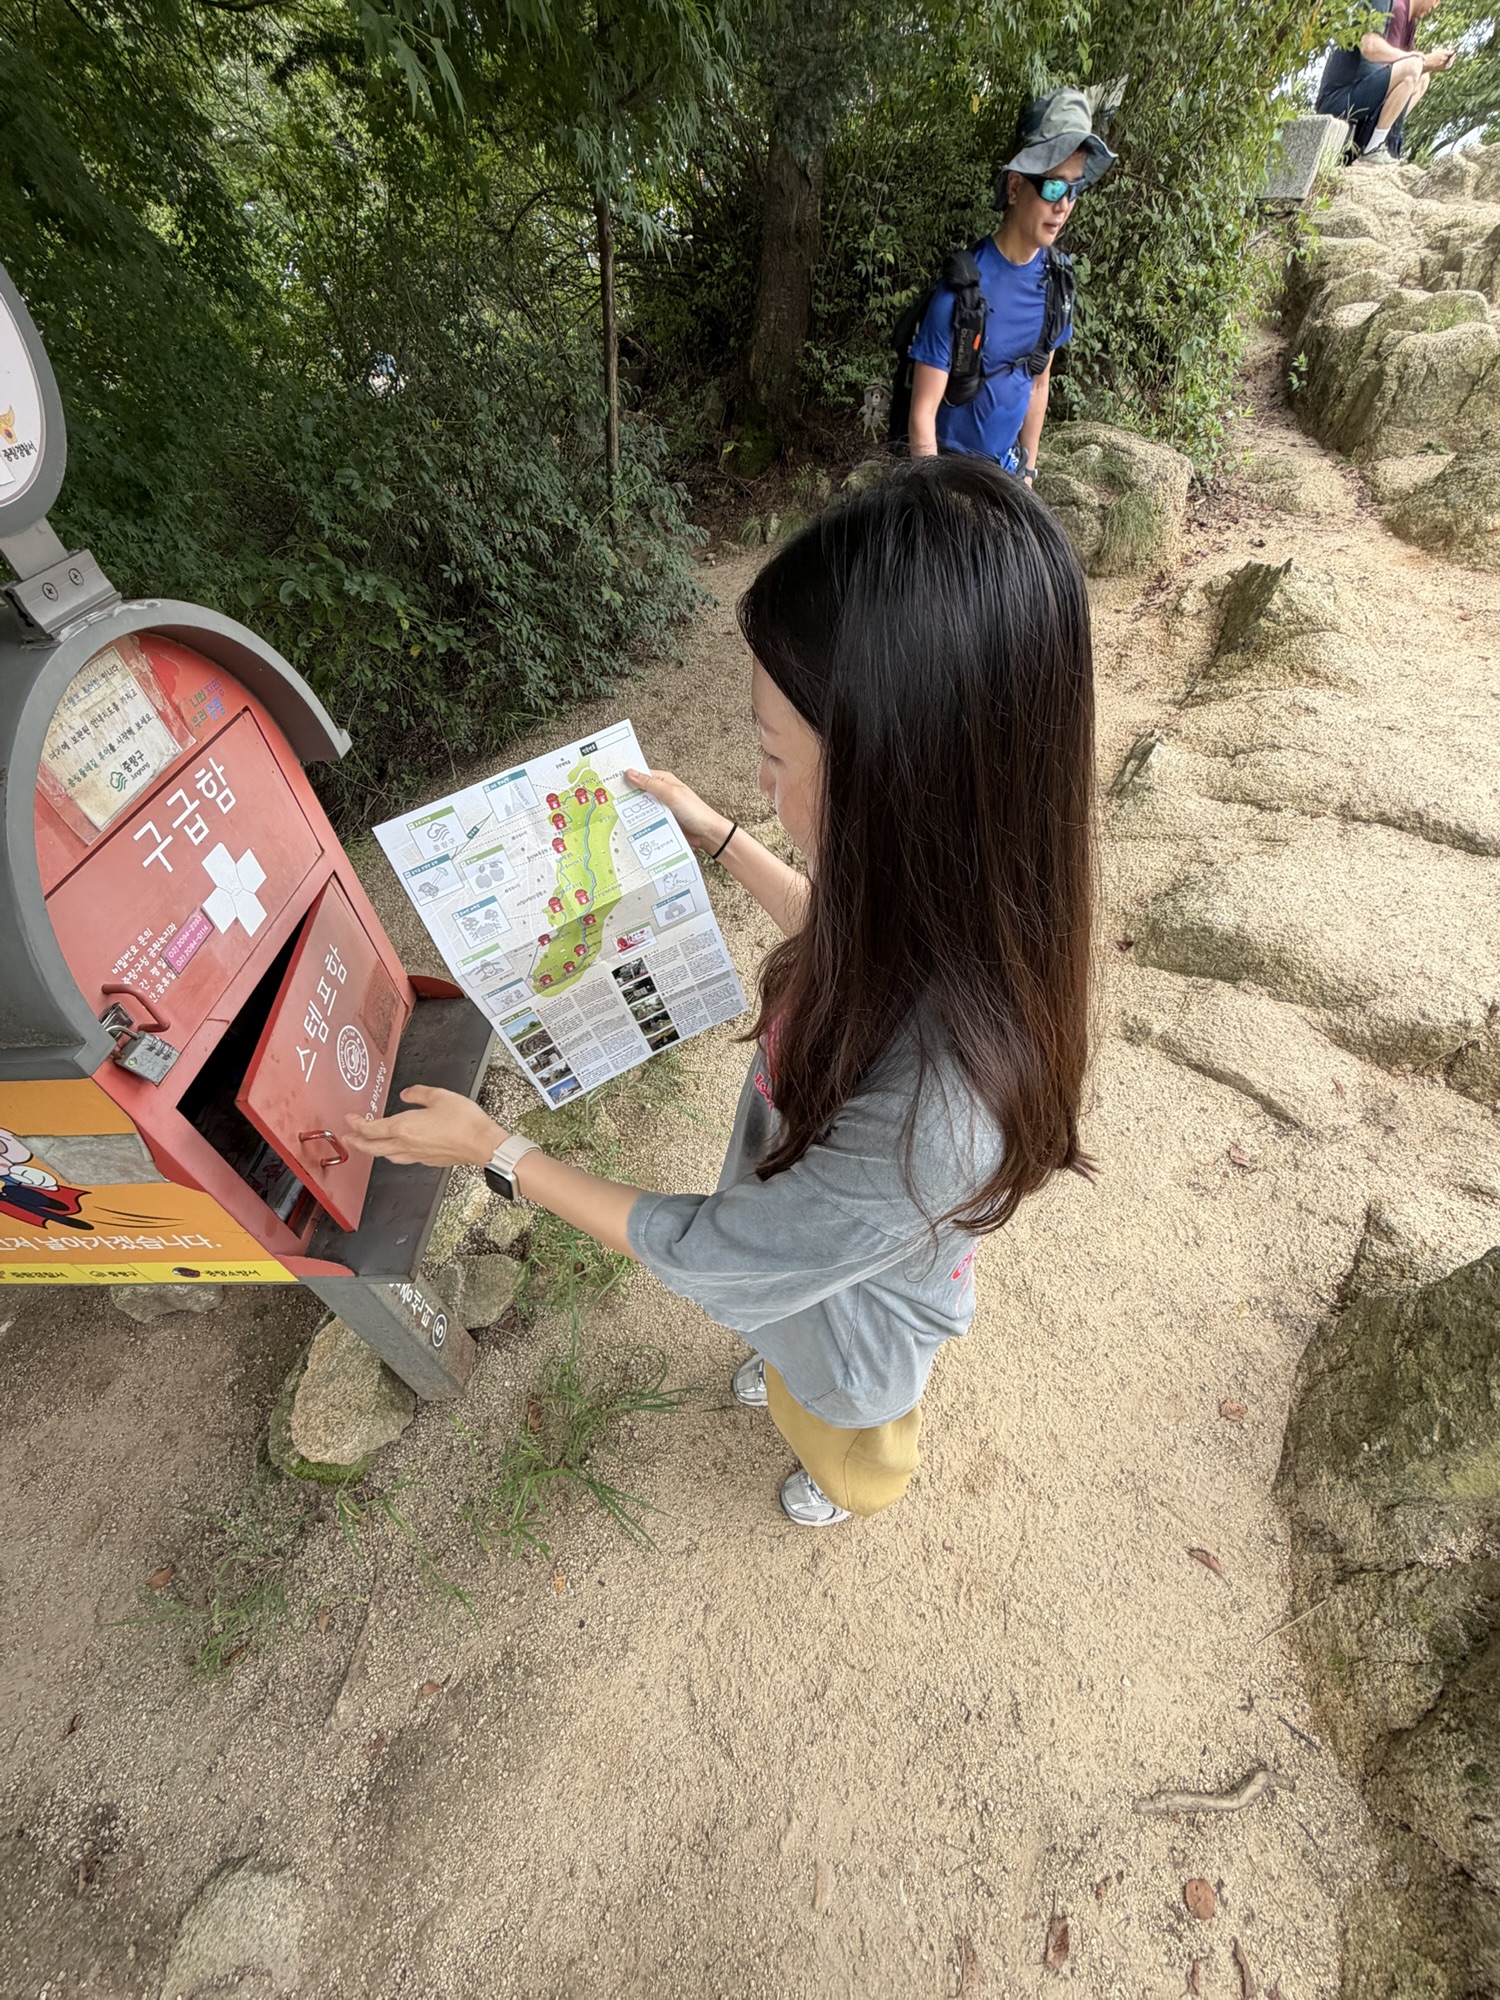
There’s also a stamp at the summit area, which was a cute little bonus. My outfit was basically walking clothes because I had underestimated the hike. Lesson learned.
Coming Down and the Achasan Option
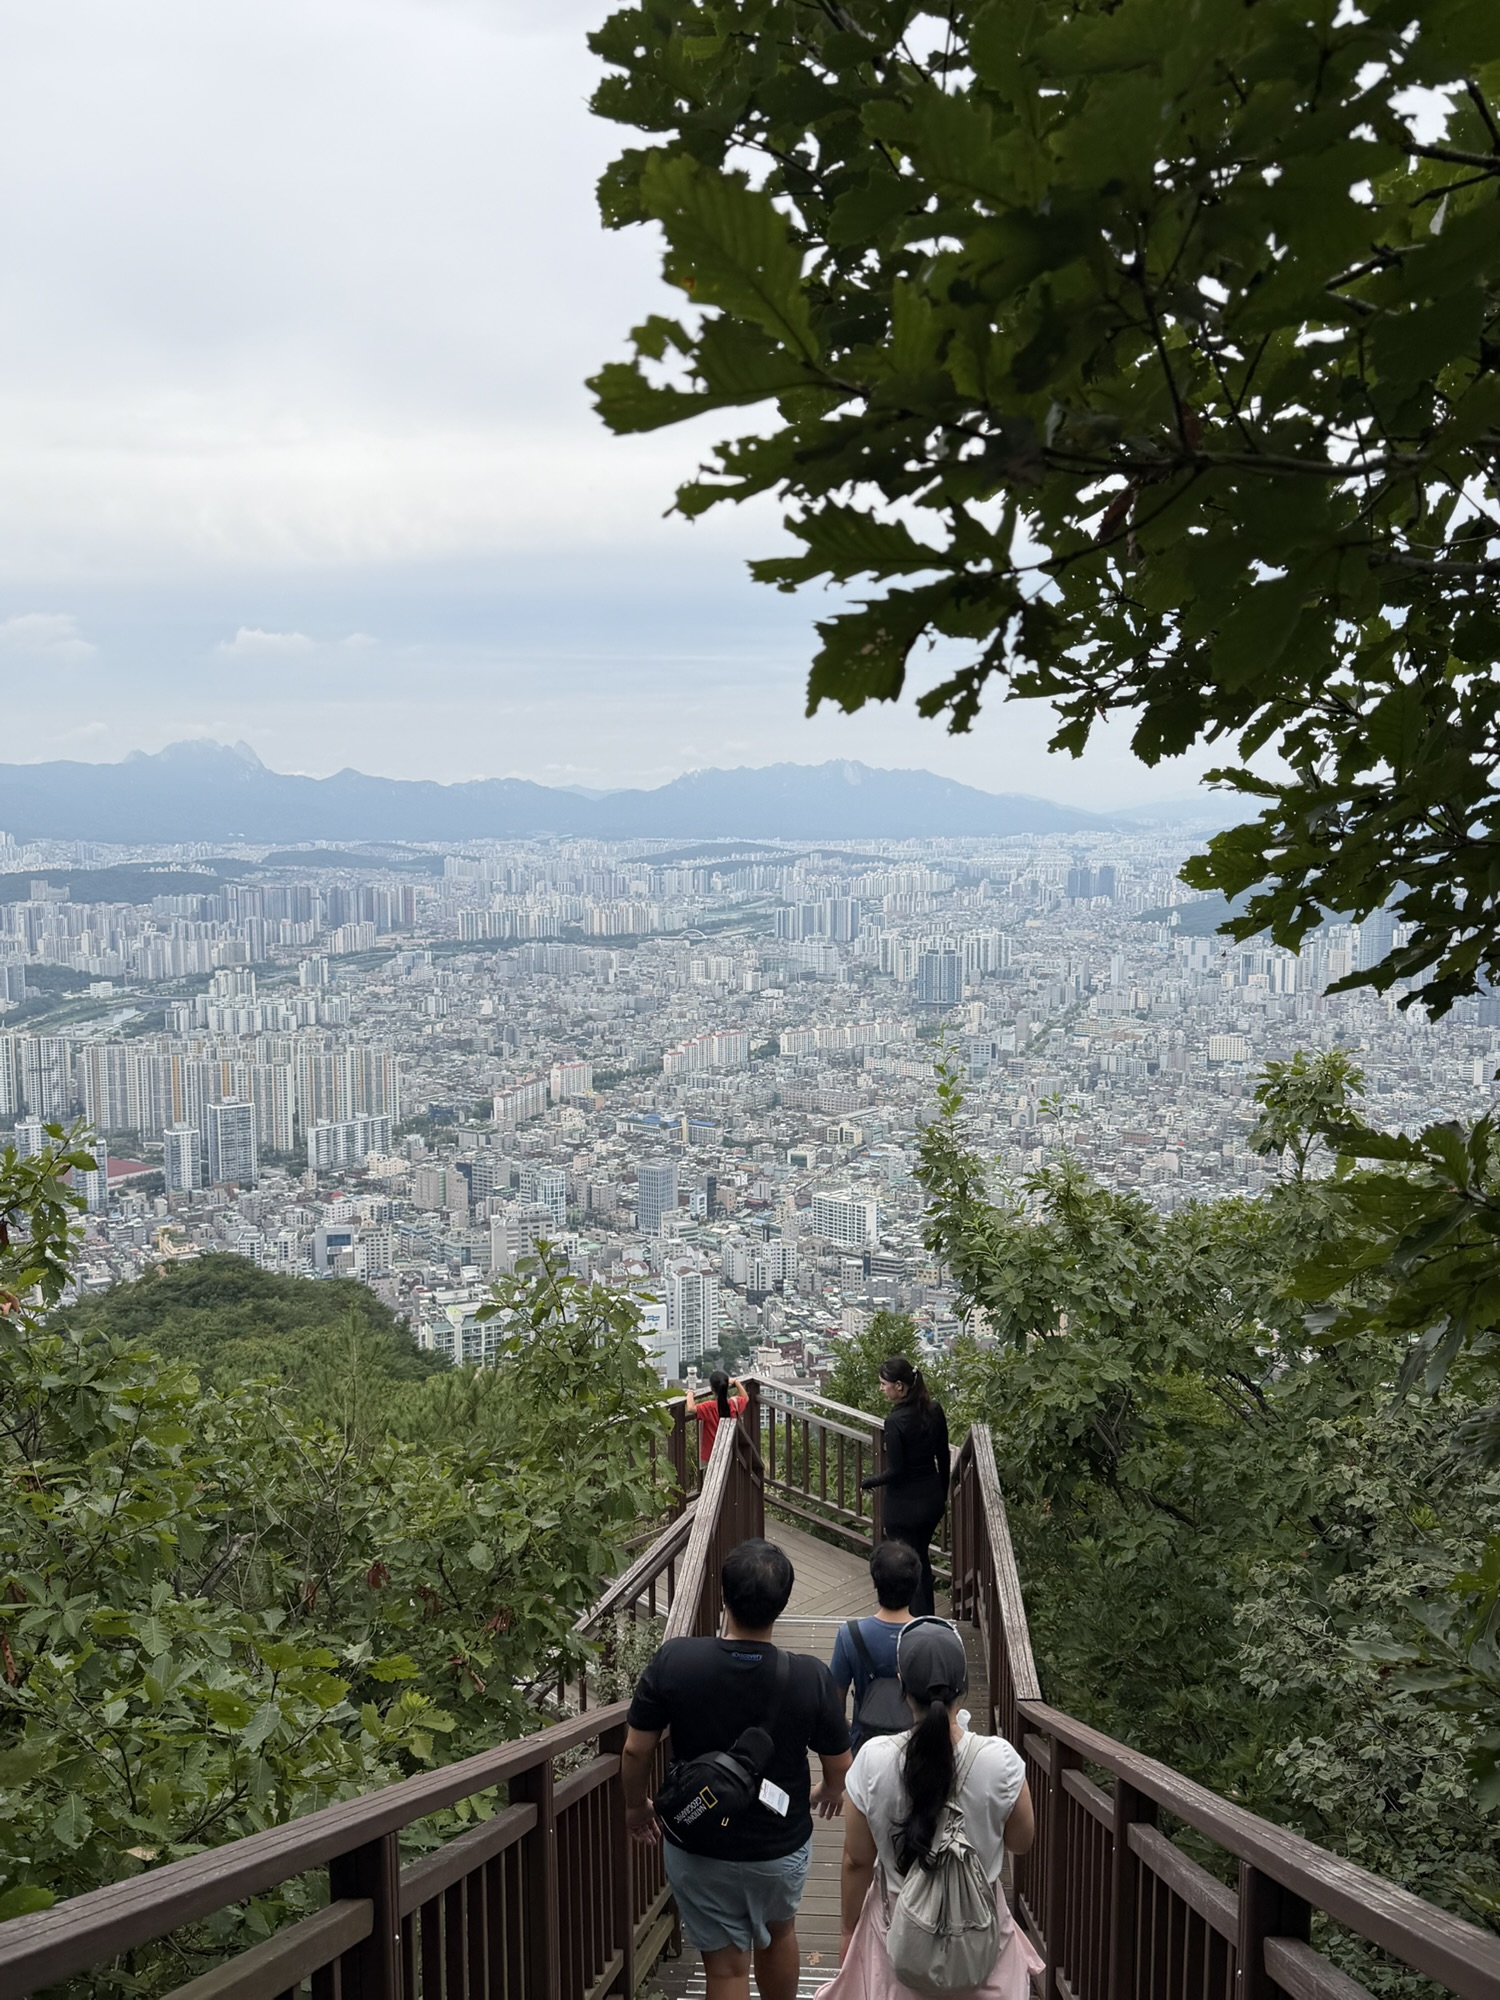
The descent was easier mentally because the city view stayed in front of me without needing to turn around. A lot of people continue from Yongmabong toward Achasan (아차산), which makes sense if you want a longer ridge walk. I understood the appeal, but I chose the shorter ending that day.
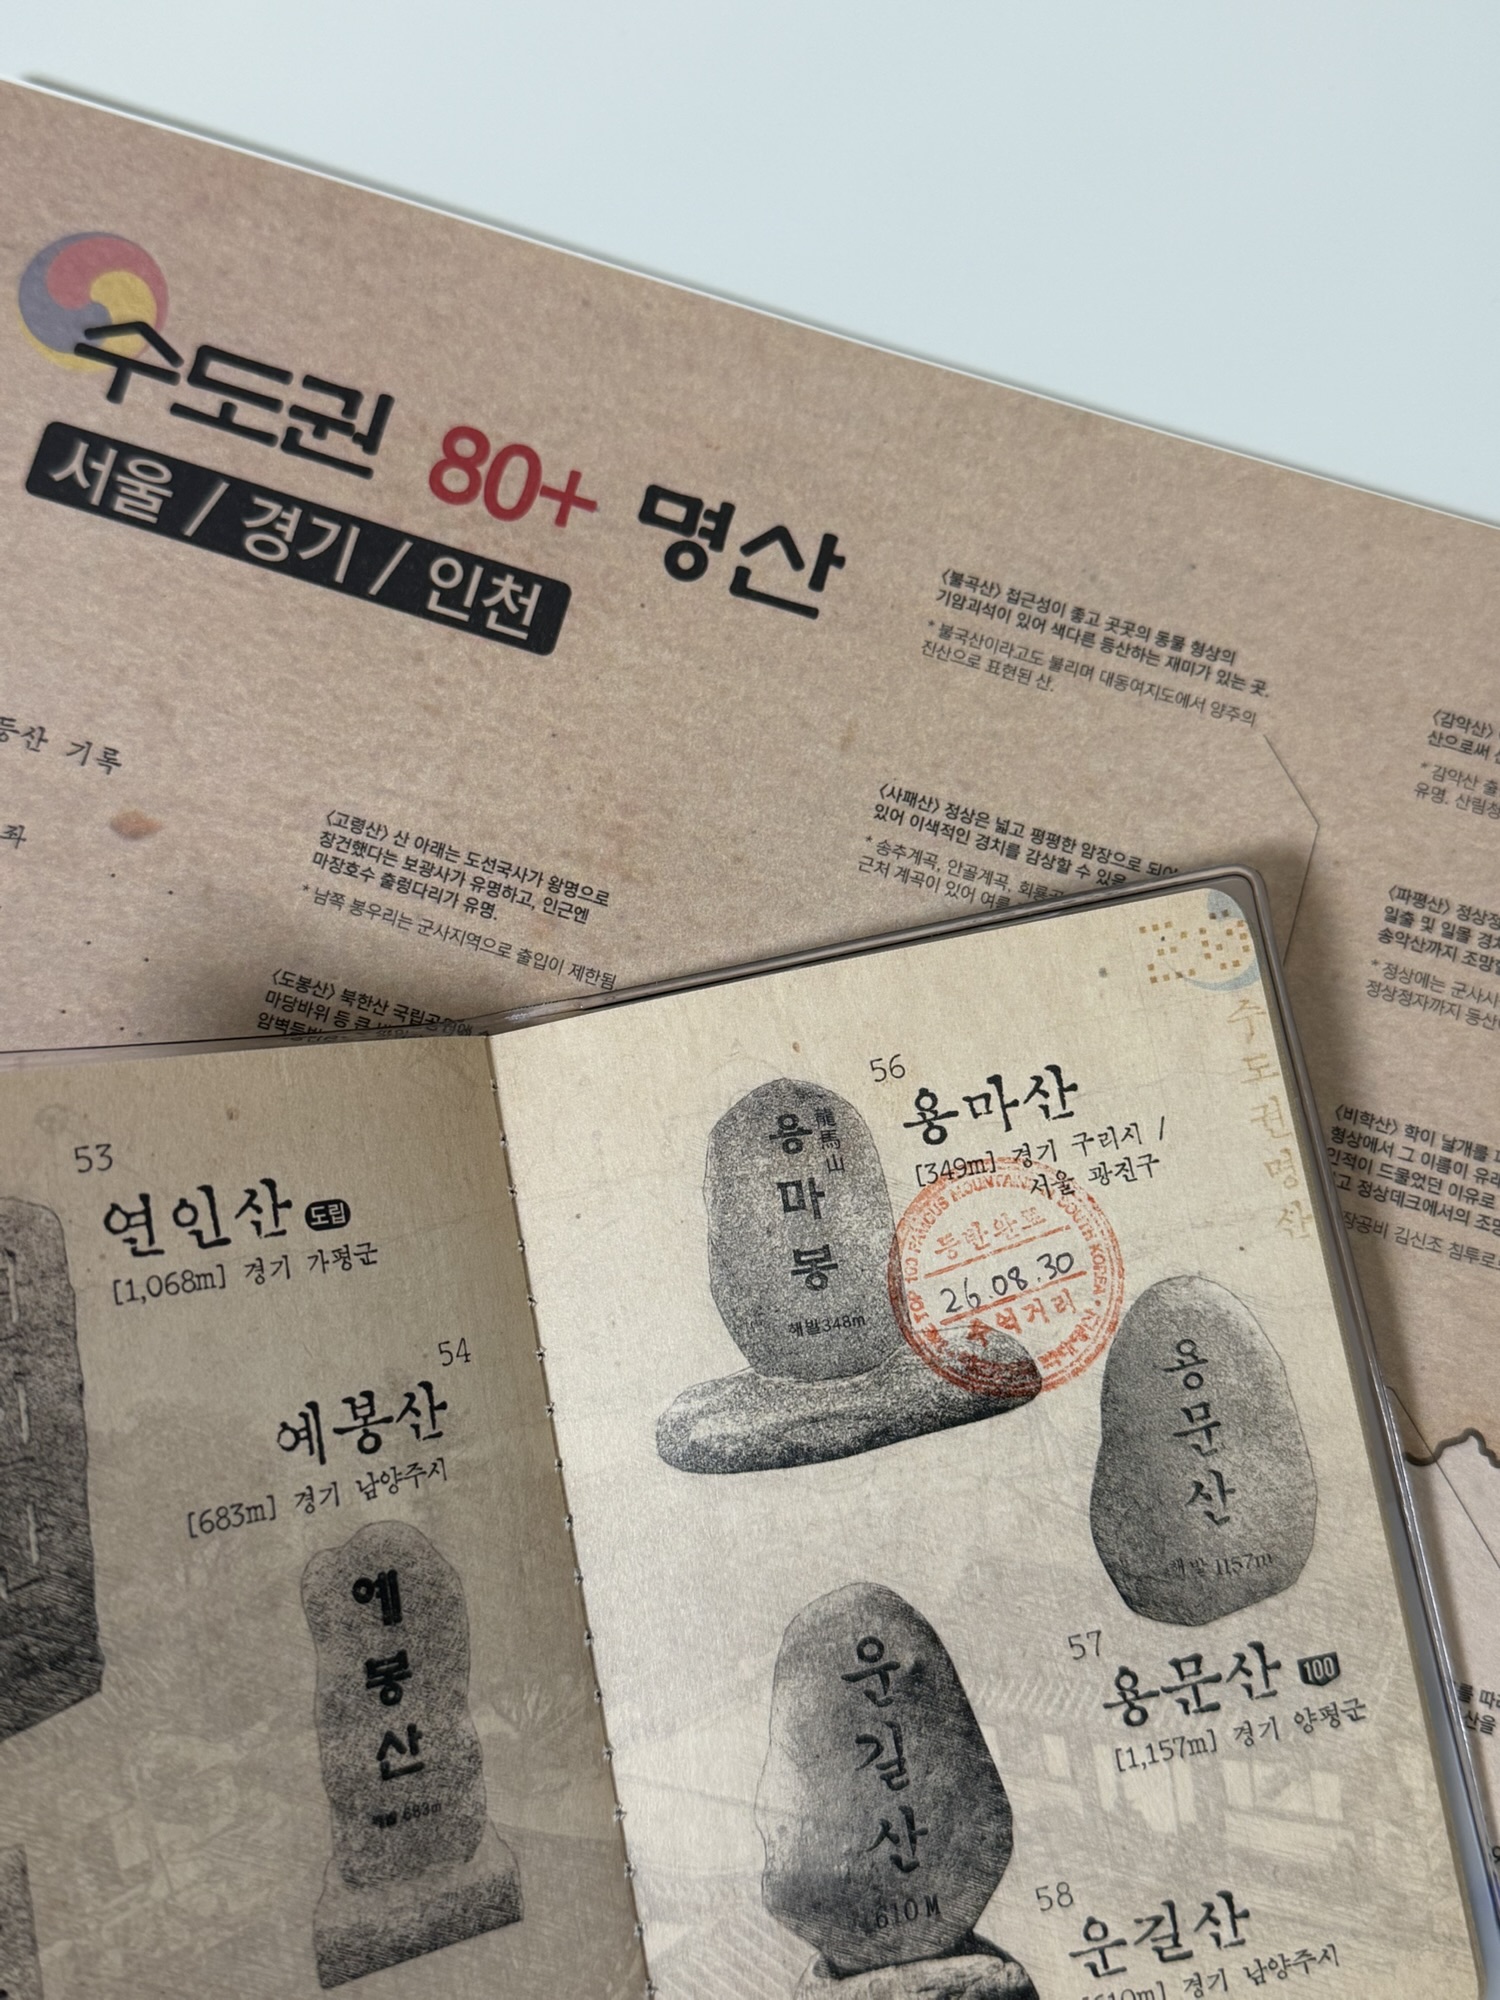
My takeaway: Yongmasan is a good Seoul hike if you want clear signs, easy access, and a real city view without committing to a half-day mountain route. It’s beginner-friendly in the practical sense, but not completely effortless. The course is short, and that short climb still comes with enough rocks and stairs to feel like a proper hike. If you want another short Seoul hike with a very different mood, I also wrote about the Inwangsan hike, which follows the Seoul Fortress Wall and feels more open from the beginning.
Quick Notes Before You Go
Starting point: Yongma Waterfall Park (용마폭포공원)
Nearest subway: Yongmasan Station (용마산역), Line 7
Parking: Yongma Waterfall Park parking lot. The fee was 100 won per 10 minutes when I visited.
Time: about 1 hour from the parking lot to Yongmabong, about 1 hour 40 minutes total with short stops
Difficulty: beginner-friendly, but expect steep rocks and stairs
Best for: a short Seoul hike with city views
Wear: comfortable sneakers with grip or light hiking shoes
Optional extension: continue toward Achasan if you want a longer hike
Where to Find the Trailhead
Yongma Waterfall Park (용마폭포공원)
Seoul, Jungnang-gu, Myeonmok-dong
About seven minutes on foot from Yongmasan Station, Line 7.
Leave a Reply